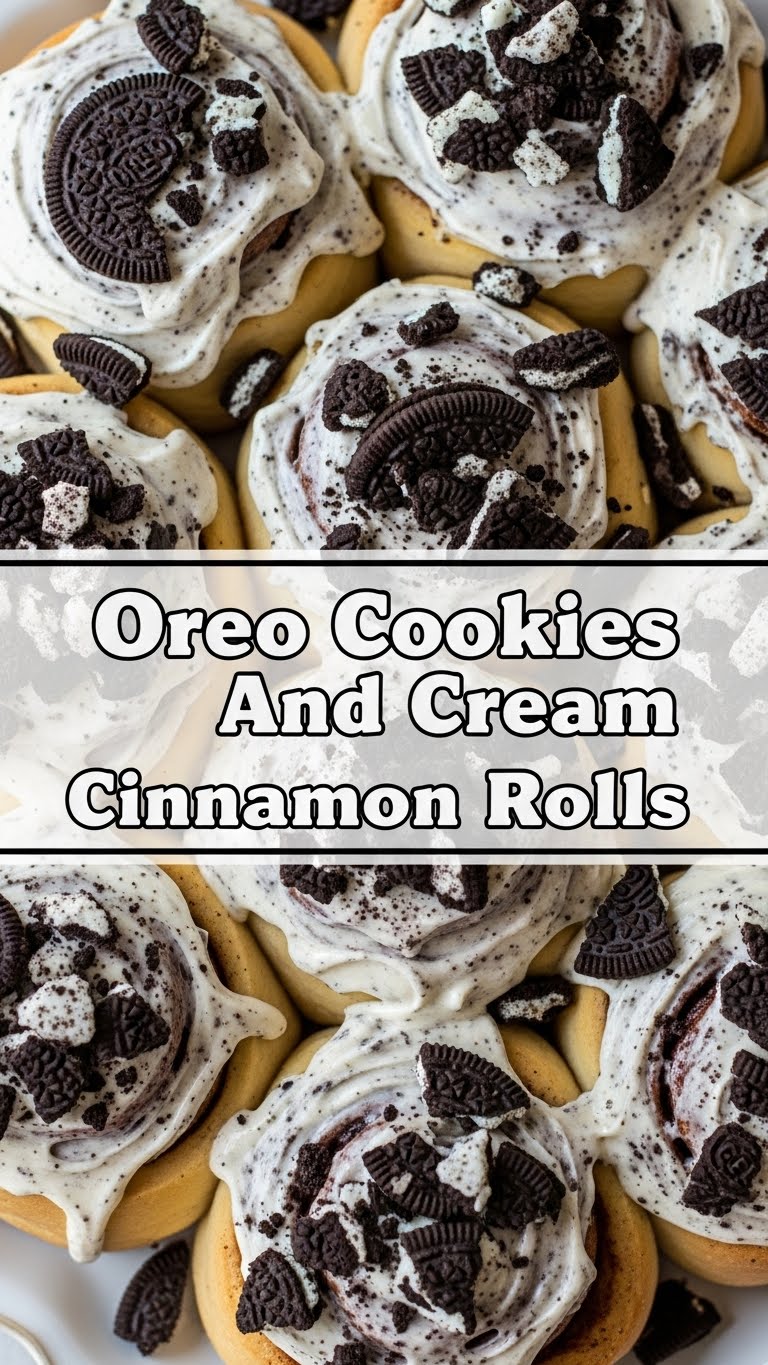
So, you’ve scrolled past one too many drool-worthy food videos, and now you’re wondering if life is truly worth living without something utterly decadent in your belly? Yeah, I get it. We’ve all been there. And let me tell you, friend, I’ve got just the thing to elevate your comfort food game from “pretty good” to “OMG, is this even legal?” We’re talking Oreo Cookies and Cream Cinnamon Rolls. Yes, you read that right. Prepare your taste buds for a party they’ll never forget.
Why This Recipe is Awesome
Okay, let’s be real. Cinnamon rolls are already amazing. But sometimes, you just need to take things up a notch, right? Like when you add a cape to a perfectly good superhero. This recipe isn’t just awesome; it’s a culinary genius move. It combines the warm, gooey, cinnamon-sugar goodness of a classic roll with the chocolatey, creamy, dreamy magic of Oreos. It’s basically two desserts in one, meaning you can technically eat twice as much. (Don’t quote me on that, but also, totally quote me on that.)
Plus, it’s surprisingly straightforward. No need for a culinary degree, just a willingness to get a little flour on your nose and a whole lot of joy in your heart. It’s practically idiot-proof. Even I, a self-proclaimed connoisseur of kitchen disasters, managed to pull these off without burning down the house. Your friends will think you spent hours slaving away, when in reality, you were probably just vibing to some tunes while the dough did its thing. Win-win!
Ingredients You’ll Need
Get ready to raid your pantry (and maybe make a quick run to the store for more Oreos, because, let’s be honest, those disappear quickly). Here’s your shopping list:
For the Dough (the soft, fluffy hug):
- 1 cup whole milk: Warm it up, but don’t scald it! Think bathwater, not lava.
- 2 ¼ teaspoons active dry yeast: One packet, usually. This is the magic potion that makes things rise.
- ¼ cup granulated sugar: Just a touch to sweeten the deal and wake up that yeast.
- 1 large egg: Room temperature, please. It mixes better!
- ¼ cup unsalted butter, melted: Because everything’s better with butter.
- ½ teaspoon salt: Balances everything out. Crucial, don’t skip it!
- 3 cups all-purpose flour: And maybe a little extra for dusting.
For the Filling (the sweet, crunchy core):
- ½ cup unsalted butter, softened: Not melted, just soft enough to spread.
- ¾ cup light brown sugar, packed: The sticky, sweet backbone.
- 2 teaspoons ground cinnamon: The classic hero, ready for action.
- 15-20 Oreo cookies, crushed: This is where the party starts! Leave some chunks for texture, IMO.
For the Frosting (the creamy, dreamy crown):
- 4 ounces cream cheese, softened: The star of the show. Full fat, please, for maximum indulgence.
- ¼ cup unsalted butter, softened: More butter, because we’re not shy.
- 2 cups powdered sugar: Sift it if you’re fancy, otherwise, just make sure there are no lumps.
- 1 teaspoon vanilla extract: A splash of warmth.
- 1-2 tablespoons milk: To get that perfect, drizzly consistency.
- 5-7 Oreo cookies, crushed: For garnish and extra cookie goodness!
Step-by-Step Instructions
Alright, apron on, good vibes only! Let’s get these bad boys baking.
- Activate the Yeast: In a large bowl, combine the warm milk, yeast, and a pinch of sugar. Stir gently and let it sit for about 5-10 minutes. It should get frothy – that means your yeast is alive and ready to party! If it doesn’t foam, your yeast might be dead (RIP) or your milk was too hot/cold. Start over.
- Mix the Dough: To the yeast mixture, add the remaining ¼ cup sugar, egg, melted butter, and salt. Whisk it all up. Gradually add the flour, one cup at a time, mixing until a shaggy dough forms.
- Knead It Out: Turn the dough out onto a lightly floured surface. Knead for about 5-7 minutes until it’s smooth and elastic. Don’t over-knead! It should spring back when you poke it. Place the dough in a lightly greased bowl, cover with plastic wrap, and let it rise in a warm spot for 1-1.5 hours, or until doubled in size.
- Prep the Filling: While your dough is doing its thing, crush those Oreos! You can put them in a zip-top bag and smash with a rolling pin (my preferred method for stress relief) or pulse them in a food processor. In a small bowl, mix the softened butter, brown sugar, and cinnamon until combined. Stir in the crushed Oreos.
- Roll ‘Em Up: Once the dough has doubled, punch it down gently to release the air. On a lightly floured surface, roll it into a large rectangle, roughly 12×18 inches. Spread the Oreo filling evenly over the entire surface, leaving a small border on one long edge.
- Slice and Dice: Starting from the long edge opposite the border, carefully roll the dough into a tight log. Use a sharp, un-serrated knife or, even better, unflavored dental floss to cut the log into 12 equal rolls. (Seriously, floss works wonders for clean cuts!)
- Second Rise: Arrange the rolls in a lightly greased 9×13 inch baking pan. Cover with plastic wrap and let them rise again for another 30-45 minutes, or until puffy. While they’re rising, preheat your oven to 375°F (190°C).
- Bake to Perfection: Uncover the rolls and bake for 20-25 minutes, or until golden brown and cooked through. If they’re browning too quickly, you can loosely tent them with foil.
- Whip Up the Frosting: While the rolls are baking, beat the cream cheese and butter together in a bowl until smooth. Gradually add the powdered sugar, then the vanilla extract. Add milk, one tablespoon at a time, until you reach your desired creamy, spreadable consistency. Crush your remaining Oreos for garnish.
- Frost and Devour: As soon as the rolls come out of the oven, generously spread that glorious cream cheese frosting all over them. Sprinkle with the reserved crushed Oreos. Let them cool slightly (if you have the patience, which I often don’t) and then serve warm. Enjoy your masterpiece!
Common Mistakes to Avoid
Nobody wants a sad, flat cinnamon roll. Here are some rookie mistakes to dodge:
- Killing the Yeast: Too-hot milk will murder your yeast, and too-cold milk won’t activate it. Aim for lukewarm! A thermometer reading between 105-115°F (40-46°C) is ideal.
- Not Kneading Enough (or Too Much): Under-kneading makes for dense rolls; over-kneading makes them tough. You want smooth, elastic, but still soft dough. Think of it as a gentle workout, not an arm wrestle.
- Skimping on the Second Rise: That second proofing is crucial for fluffy rolls. Don’t rush it! Let them puff up nicely.
- Over-baking: Dry cinnamon rolls are a tragedy. Pull them out when they’re golden brown but still look a little soft in the center. They’ll continue to cook slightly from residual heat.
- Forgetting to Crush Your Oreos: Trying to spread whole Oreos on your dough? Hilarious, but no. Crush ’em good!
Alternatives & Substitutions
Feeling adventurous? Or just realized you’re out of one tiny thing? No worries, we can usually make it work!
- Different Cookies: Not an Oreo fanatic (gasp!)? You could totally swap them for crushed chocolate chip cookies, Graham crackers, or even Nilla Wafers for a different vibe. Experiment!
- Dairy-Free? You can definitely use plant-based milk (almond, soy, oat) and dairy-free butter alternatives for both the dough and filling. For the frosting, look for vegan cream cheese and butter. Just make sure your Oreos are dairy-free (most are, but always check!).
- Frosting Variations: Don’t have cream cheese? A simple vanilla glaze (powdered sugar, milk, vanilla) would still be delicious. Or, for an extra chocolatey kick, melt some white chocolate into your cream cheese frosting. Yum!
- Spice It Up: A pinch of nutmeg or cardamom in the filling can add an extra layer of warmth and complexity.
FAQ (Frequently Asked Questions)
- Can I make these ahead of time? Absolutely! Prepare the rolls up to step 7, cover the pan tightly with plastic wrap, and pop them in the fridge overnight. In the morning, pull them out and let them come to room temperature and finish their second rise (about 1-1.5 hours) before baking. Easy peasy!
- What if my dough isn’t rising? Oh no! Did you check your yeast’s expiration date? Was your milk the right temperature? Cold kitchen? Try placing the covered bowl in a slightly warm oven (turned off!) or near a sunny window. Patience, grasshopper!
- Can I use self-rising flour? I wouldn’t recommend it for this recipe. The yeast is key for the airy texture. Stick to all-purpose and let the yeast do its magic.
- How long do these last? Honestly, not long in my house! But seriously, stored in an airtight container at room temperature, they’re best within 2-3 days. You can also refrigerate them for up to a week.
- Can I freeze them? You bet! You can freeze unbaked rolls (after the second rise) or baked, unfrosted rolls. Wrap them tightly. Thaw overnight in the fridge before baking or reheating.
- Why use dental floss to cut the rolls? Because it gives you super clean, perfect circles without squishing the dough, unlike a knife. It’s a game-changer! Trust me on this one.
Final Thoughts
So there you have it, folks! Your new favorite reason to get out of bed on a lazy weekend. These Oreo Cookies and Cream Cinnamon Rolls are more than just a treat; they’re an experience. They’re a hug in edible form. And they’re proof that you, my friend, are a kitchen wizard capable of creating pure joy.
Now go impress someone—or yourself—with your new culinary skills. You’ve earned it! Seriously, go make these. Your soul (and your stomach) will thank you. Happy baking!


