Ever have one of those days where you just *need* something sweet, but your energy levels are basically on vacation in a hammock somewhere? Yeah, me too. And that’s exactly why we’re making these bad boys: Oreo and White Chocolate Chip Cookies. They’re basically a hug for your taste buds, wrapped in pure cookie deliciousness.
Why This Recipe is Awesome
Okay, so why bother with *these* cookies specifically? Because, my friend, they are the culinary equivalent of hitting the jackpot without actually having to leave your couch. They’re dangerously easy – honestly, if I can make these without burning down the kitchen, you’re golden. Plus, it’s Oreos *and* white chocolate. It’s a party in your mouth, and everyone’s invited. No fancy techniques, no obscure ingredients, just pure, unadulterated cookie joy. You’re welcome.
Ingredients You’ll Need
- 1 cup (2 sticks) Unsalted Butter: The good stuff, softened. Don’t even *think* about rock-hard butter unless you want arm cramps.
- ¾ cup Granulated Sugar: Classic sweet stuff.
- ¾ cup Packed Brown Sugar: For that chewy goodness, because nobody likes a dry cookie.
- 2 Large Eggs: Because one just isn’t enough for this level of deliciousness.
- 1 teaspoon Vanilla Extract: A good splash, like perfume for your cookies.
- 2 ¼ cups All-Purpose Flour: The basic building block. Don’t substitute with self-rising unless you want a science experiment.
- 1 teaspoon Baking Soda: Just a bit, to give them that perfect puff.
- ½ teaspoon Salt: A pinch, because balance is key, even in a cookie.
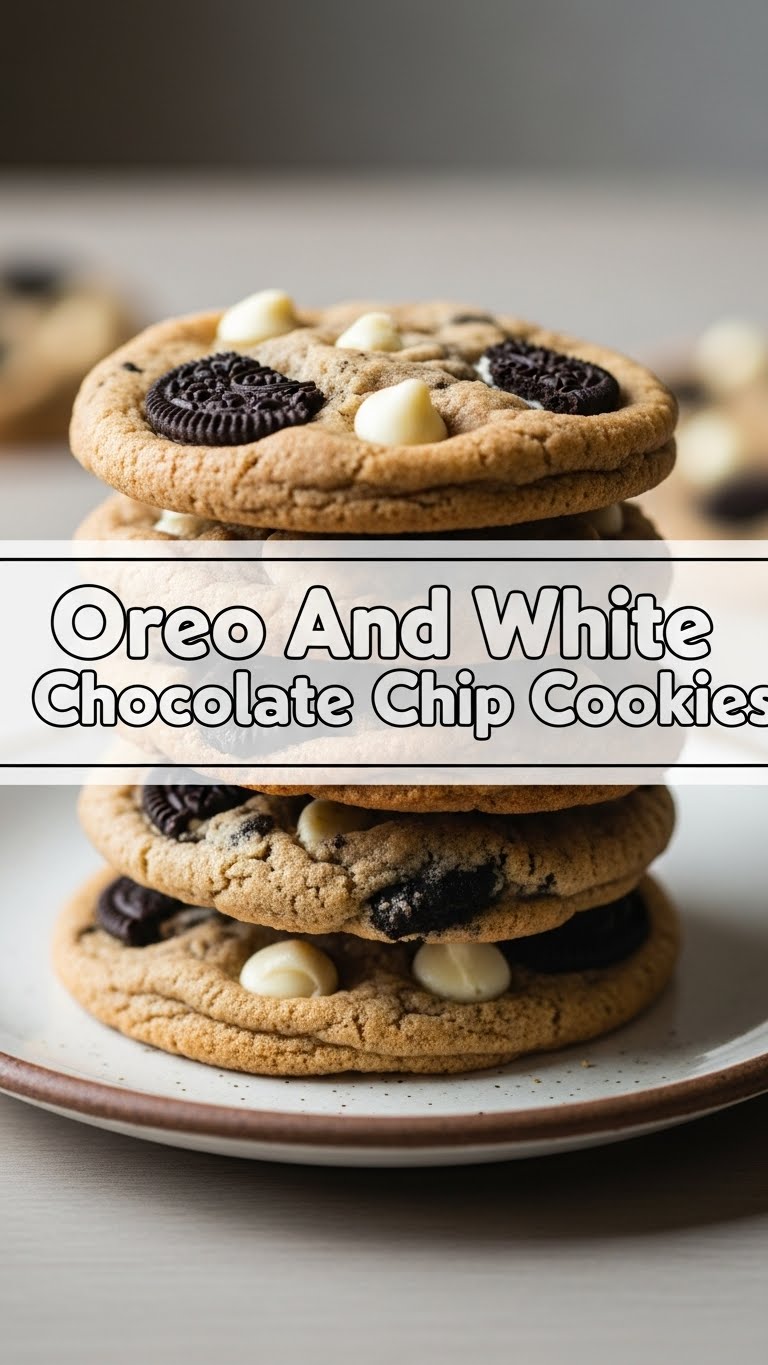
- 1 cup White Chocolate Chips: The star of the show (besides the Oreos, obviously). Get good quality ones, you deserve it.
- 1 ½ cups Chopped Oreo Cookies: We’re talking chunky bits, not dust. Go wild, smash ’em up! About 15-20 regular Oreos should do it.
Step-by-Step Instructions
- Preheat & Prep: Crank that oven to **350°F (175°C)** and line your baking sheets with parchment paper. Trust me on the parchment; it’s a lifesaver for easy cleanup and no-stick cookies.
- Cream the Fats & Sugars: In a big bowl, beat the softened butter, granulated sugar, and brown sugar together until it’s light and fluffy. We’re aiming for cloud-like texture here, folks, usually about 2-3 minutes with an electric mixer.
- Add Wet Ingredients: Toss in the eggs one at a time, mixing well after each addition. Then, stir in the vanilla extract until just combined. It’s starting to smell good already, right?
- Combine Dry Ingredients: In a separate, smaller bowl, whisk together the flour, baking soda, and salt. Give it a good mix so everything’s evenly distributed – no one wants a salty patch!
- Mix Dry into Wet: Gradually add the dry ingredients to the wet mixture, mixing on low speed until *just* combined. **Don’t overmix!** That’s how you get tough cookies, and nobody wants that. Stop mixing as soon as you no longer see streaks of flour.
- Fold in the Goodies: Now for the fun part! Gently fold in your white chocolate chips and those glorious chopped Oreos. Use a spatula for this, not your mixer, unless you want cookie confetti.
- Scoop & Bake: Drop rounded spoonfuls (about 1.5 tablespoons) of dough onto your prepared baking sheets, leaving a couple of inches between each. These babies like their personal space. Bake for **10-12 minutes**, or until the edges are golden and the centers are still looking a little soft.
- Cool Down: Let them cool on the baking sheets for a few minutes before transferring them to a wire rack to cool completely. Or, you know, eat them warm, who’s judging? (Definitely not me.)
Common Mistakes to Avoid
- Rock-Hard Butter: Trying to cream cold butter is like trying to convince a cat to take a bath. Futile and frustrating. **Soften your butter, people!** Leave it on the counter for an hour or so before you start.
- Overmixing: Seriously, once the flour is *just* incorporated, stop. Overmixing develops the gluten too much, leading to hockey pucks instead of chewy, tender cookies.
- No Parchment Paper: Think you can skip it? Enjoy chiseling your cookies off the pan. Parchment paper is your friend, embrace it. FYI, aluminum foil works too, if you lightly grease it.
- Impatience: Pulling them out too early or letting them burn. Keep an eye on those oven-dwellers! A slightly underbaked center is better than a burnt edge, IMO. Edges should be set, centers still soft.
- Ignoring the Cooling Time: Trying to move hot cookies from the sheet to the rack immediately? You’ll have cookie crumbles, not cookies. Let them set up a bit on the hot sheet; they’re still baking slightly.
Alternatives & Substitutions
- Chocolate Chips: Not a white chocolate fan? Gasp! Just kidding (mostly). Swap ’em out for semi-sweet, dark, or milk chocolate chips. Your cookie, your rules.
- Different Cookies: Feeling adventurous? Instead of Oreos, try Biscoff cookies, Nilla Wafers, or even digestive biscuits. Just chop ’em up! Get creative!
- Butter Alternatives: Can you use margarine? Technically yes, but why compromise on flavor? If you absolutely must, ensure it’s a baking-specific margarine. But **real butter is king** for cookies, just sayin’.
- No Brown Sugar? You’ll miss out on some chewiness and a little depth of flavor, but you can use all granulated sugar in a pinch. Just know the texture will be different – a bit crisper.
FAQ (Frequently Asked Questions)
- My cookies spread too much! What happened? Likely your butter was too soft (or even melted!) or your oven wasn’t hot enough. Make sure your butter is soft but *not* melted, and always preheat that oven properly! Chilling the dough briefly can also help.
- Can I chill the dough? Absolutely! Chilling the dough for 30 minutes to an hour (or even overnight!) can actually help prevent spreading, deepen the flavor, and make them extra chewy. Plus, it’s great if you want to bake some now, some later. Win-win!
- How long do these last? In my house? About 24 hours. But seriously, stored in an airtight container at room temperature, they’re good for about **3-5 days**. If they even last that long, you’re doing better than me.
- Can I freeze the dough? Yep! Scoop balls of dough onto a baking sheet and freeze until solid, then transfer to a freezer-safe bag. When you’re ready to bake, just pop them on a sheet (no need to thaw) and add a couple extra minutes to the bake time. Future you will thank you for this!
- My Oreos just turned to dust when I mixed them in. Help! You probably crushed them too finely or overmixed them. Aim for chunky bits when you chop them, and fold them in *gently* by hand at the very end. We want bites of Oreo, not just a faint memory.
- Is unsalted butter really necessary? Yes! It gives you control over the salt content. If you only have salted, just reduce the added salt in the recipe by about ¼ teaspoon to avoid overly salty cookies.
Final Thoughts
So there you have it, my friend. A recipe for pure cookie bliss that’s so easy, it practically bakes itself (okay, maybe not *that* easy, but close!). You’ve now got the power to whip up some seriously impressive treats that taste like they took all day, but only took you a fraction of the time. Now go forth and conquer that cookie craving! Share ’em, hoard ’em, whatever your heart desires. You’ve earned this sugar rush, and you’ve definitely earned some bragging rights. Happy baking!


