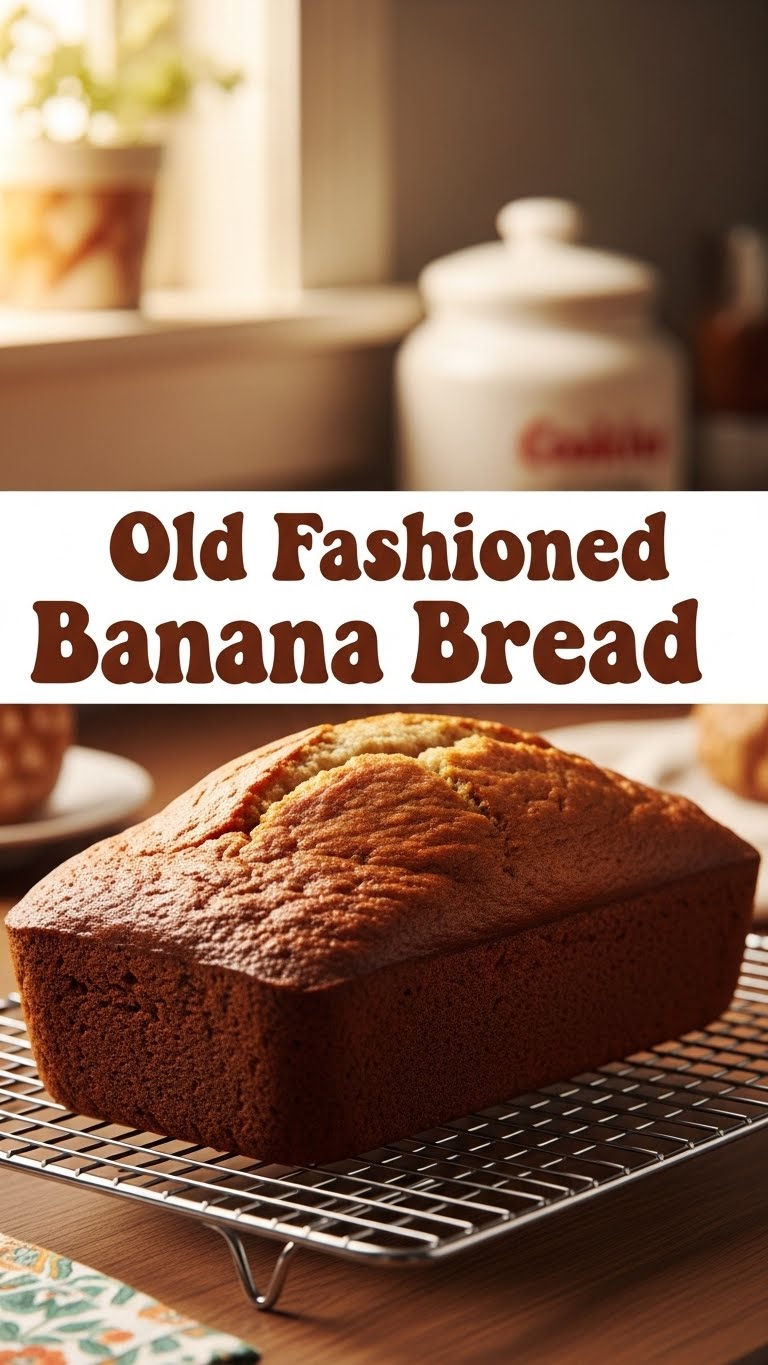
So you’re craving something warm, comforting, and seriously delicious, but the thought of spending hours in the kitchen makes you want to crawl back into bed with a snack-sized bag of chips? Been there, done that, bought the oversized t-shirt. But what if I told you there’s a magical, almost laughably simple recipe that turns those sad, spotty, ‘is-it-still-edible?’ bananas into pure golden joy? Yep, we’re talking about the one, the only, Old Fashioned Banana Bread. Get ready to bake like a boss without breaking a sweat (or a mental state).
Why This Recipe is Awesome
Okay, first things first. This isn’t just *any* banana bread recipe. This is THE banana bread recipe. Why? Because it’s practically idiot-proof. Seriously, if I, a person who once set off a smoke detector making toast, can nail this, so can you. It’s got that nostalgic, “Grandma just hugged me” vibe, but without the need for a time machine or actual grandmas in the kitchen (unless you have one, then rock on!). Plus, it uses up those ridiculously overripe bananas that are giving you the side-eye from your fruit bowl, turning potential food waste into a culinary masterpiece. It’s a win-win, really. Minimal effort, maximum deliciousness. That’s my kind of math.
Ingredients You’ll Need
Gather your troops! Here’s what you’ll need to transform into a banana bread wizard. No fancy gadgets, just good old kitchen staples.
- 3-4 super ripe bananas: I’m talking black-spotted, squishy, almost-molten gold. The uglier, the better. Don’t be shy!
- 1/2 cup (113g) unsalted butter: Melted and slightly cooled. Because butter makes everything better, duh.
- 1 large egg: Room temperature, if you’re feeling fancy (it helps with emulsification, but honestly, don’t stress if you forget).
- 1 teaspoon vanilla extract: The good stuff. It’s like a warm hug for your taste buds.
- 1 1/2 cups (180g) all-purpose flour: Just your basic flour. No need to get existential about it.
- 1 cup (200g) granulated sugar: Yep, a whole cup. Don’t judge. It’s banana bread, not a diet plan.
- 1 teaspoon baking soda: This is our magic leavening agent. Don’t skip it unless you want a banana brick.
- 1/2 teaspoon salt: Balances everything out and makes all those sweet flavors sing.
- Optional add-ins: 1/2 cup chocolate chips, chopped walnuts, or pecans. Because sometimes you just need that extra pizzazz.
Step-by-Step Instructions
Alright, apron on (or not, I’m not your boss), let’s do this! These steps are so easy, you could probably do them in your sleep.
- Preheat & Prep: First things first, preheat your oven to 350°F (175°C). Then, lightly grease and flour a 9×5-inch loaf pan. Trust me, you don’t want your beautiful creation sticking to the pan. That’s just tragic.
- Mash ‘Em Up: In a large bowl, take those gloriously ripe bananas and mash ’em good with a fork. You want some lumps, but mostly smooth sailing. Kinda like a chunky purée.
- Wet Ingredients Unite!: To your mashed bananas, add the melted butter, the egg, and the vanilla extract. Give it a good stir until everything is nicely combined. This is the wet dream team.
- Dry Ingredients Party: In a separate bowl, whisk together the flour, sugar, baking soda, and salt. Make sure there are no lumpy bits of baking soda chilling out on their own.
- Combine Forces: Now, gently add the dry ingredients to the wet ingredients. Mix until *just* combined. The key here is NOT to overmix! A few streaks of flour are totally fine. Overmixing leads to tough banana bread, and nobody wants a tough banana bread. If you’re using optional add-ins, fold them in now.
- Pour & Bake: Pour your glorious batter into the prepared loaf pan. Pop it into the preheated oven and bake for about 50-65 minutes.
- Check for Doneness: How do you know it’s ready? Insert a toothpick into the center of the loaf. If it comes out clean (or with a few moist crumbs, but no wet batter), you’re golden! If not, give it another 5-10 minutes and recheck.
- Cool Down: Let the banana bread cool in the pan for about 10 minutes before turning it out onto a wire rack to cool completely. Or, if you’re impatient like me, slice into it while it’s still warm and risk burning your mouth. Your call!
Common Mistakes to Avoid
Don’t fall into these culinary traps! Learn from my past banana bread blunders.
- Using Underripe Bananas: This is a cardinal sin. Green or barely yellow bananas just won’t give you that sweet, intense banana flavor. Embrace the brown spots!
- Overmixing the Batter: I said it once, I’ll say it again: DO NOT OVERMIX! It develops the gluten too much, making your bread dense and chewy instead of light and tender. Mix until just combined, a few flour streaks are perfectly fine.
- Not Preheating Your Oven: Rookie mistake. A cold oven won’t bake evenly, leading to an undercooked center and possibly burnt edges. Patience, young padawan!
- Opening the Oven Door Too Early/Often: Resist the urge to peek! Opening the oven door lets out heat and can cause your bread to sink in the middle. Wait until at least 40 minutes have passed before checking.
- Forgetting to Grease the Pan: Unless you enjoy chiseling your banana bread out of the pan in sad, crumbly pieces, don’t skip this step.
Alternatives & Substitutions
Feeling adventurous? Or maybe you just ran out of something? No worries, I got you.
- Chocolate Chips vs. Nuts: Can’t decide? Why not both? Or if you’re a purist, just leave them out. Dark chocolate chips are my personal fave, but milk chocolate works too. Walnuts or pecans add a nice crunch.
- Spice It Up: A teaspoon of cinnamon or a pinch of nutmeg can add an extra layer of warmth.
- Healthier-ish Version? You *could* try substituting half the all-purpose flour with whole wheat flour for a slightly nuttier flavor and some added fiber. Or cut down on the sugar a smidge, but IMO, this recipe is perfect as is.
- Dairy-Free: Use a plant-based butter substitute (like vegan butter sticks) if you’re avoiding dairy. The texture might vary slightly, but it’ll still be delish.
FAQ (Frequently Asked Questions)
Got questions? I’ve got (casual) answers!
- “My bananas aren’t super ripe, can I still use them?” Well, technically yes, but why hurt your soul like that? The riper the banana, the sweeter and more flavorful your bread will be. If you’re desperate, you can bake them in their peels at 300°F (150°C) for 15-20 minutes until black, then cool and mash.
- “Can I use margarine instead of butter?” You *can*, but for that rich, old-fashioned flavor, butter is king. Margarine will work in a pinch, but don’t say I didn’t warn you about the flavor difference.
- “How long does banana bread last?” If you can stop yourself from eating it all in one sitting, it’ll last about 3-4 days at room temperature, tightly wrapped. In the fridge, maybe up to a week.
- “Can I freeze banana bread?” Absolutely! Wrap individual slices or the whole loaf tightly in plastic wrap, then foil, and freeze for up to 3 months. Thaw at room temperature. Pro tip: make a double batch just for freezing!
- “What if I don’t have vanilla extract?” Don’t panic! It adds a lovely depth, but your banana bread won’t be ruined without it. You could add a tiny pinch of cinnamon instead, or just skip it entirely this time.
- “My banana bread is too dense/dry, what went wrong?” Chances are, you either overmixed the batter (see Common Mistakes!), or you overbaked it. Keep an eye on that baking time and the toothpick test!
- “Can I make muffins instead?” You bet! Pour the batter into a greased muffin tin, filling cups about two-thirds full. Bake at 375°F (190°C) for 20-25 minutes, or until a toothpick comes out clean.
Final Thoughts
And there you have it, folks! Your very own, absolutely delicious, utterly comforting Old Fashioned Banana Bread. See? I told you it was easy. Now go impress someone—or yourself—with your new culinary skills. Slice it thick, slather it with a little extra butter (because why not?), and enjoy every single moist, sweet bite. You’ve earned it! Happy baking, friend!

