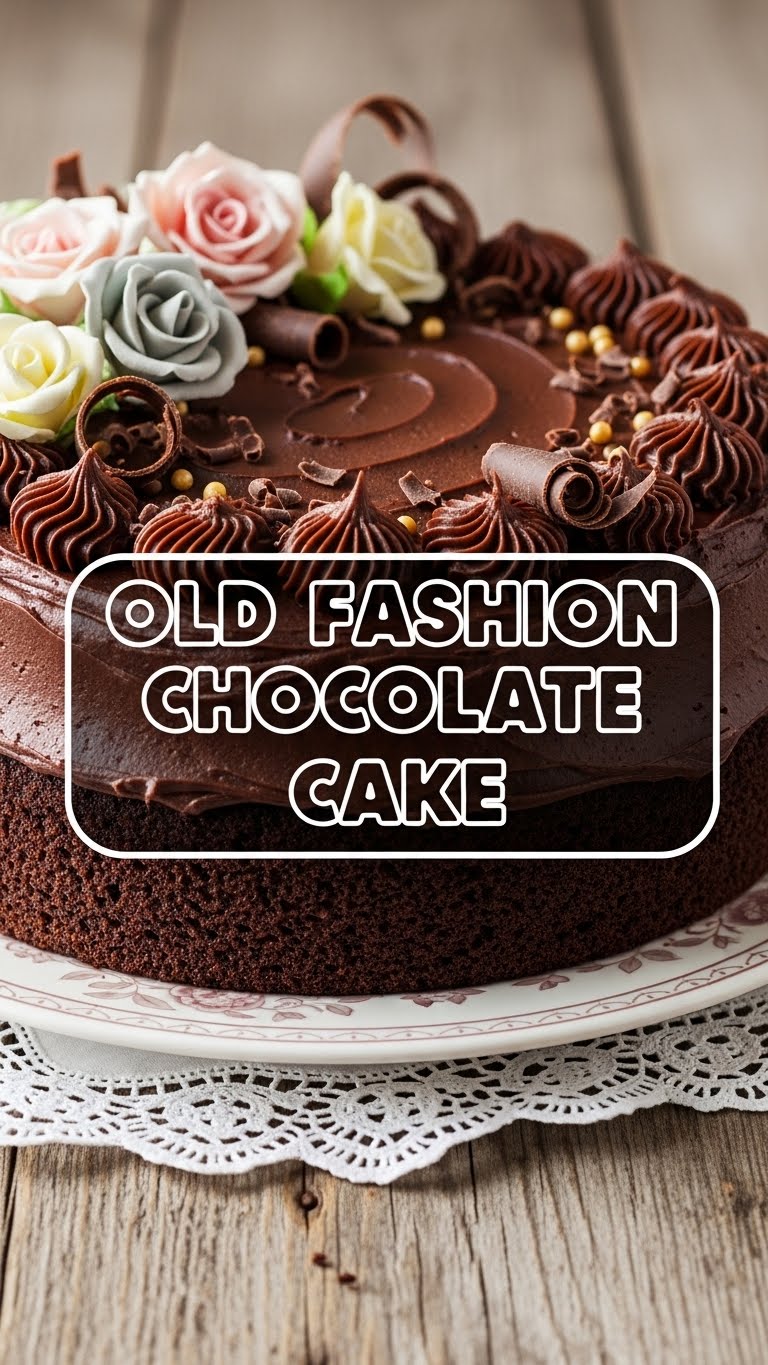
So you’ve scrolled past a gazillion perfect-looking cakes on Instagram and now your sweet tooth is staging a full-blown rebellion, huh? Same. You want something rich, chocolatey, and comforting, but also, like, *easy*? Because who has time for fussy recipes and a sink full of complicated dishes when there’s deliciousness to be devoured? Not us, friend. Which is why we’re diving headfirst into the glorious world of the Old Fashioned Chocolate Cake. Get ready to bake a little piece of heaven that tastes like your grandma made it, but without all the actual grandma-level effort.
Why This Recipe is Awesome
Okay, let’s be real. This isn’t just *any* chocolate cake recipe. This is THE chocolate cake recipe for when you need a win. It’s:
- Idiot-proof: Seriously, even I, a notorious baker of “rustic” (read: slightly burnt) goods, don’t mess this up.
- Ridiculously moist: We’re talking melt-in-your-mouth, ‘did-you-put-extra-magic-in-this?’ moist.
- Deeply chocolatey: None of that wimpy chocolate flavor here. This one means business.
- Fast AF: You can whip this up faster than you can decide what to watch on Netflix. Almost.
- Uses basic pantry stuff: No need to hunt down obscure ingredients. You probably have everything right now. Go check!
Basically, it’s a hug in cake form, and IMO, we all need more of those.
Ingredients You’ll Need
Gather your troops, folks! Here’s what you’ll need to assemble your chocolatey masterpiece:
- 1 ½ cups (190g) All-Purpose Flour: The backbone of our operation.
- 1 ½ cups (300g) Granulated Sugar: Because sweetness is non-negotiable.
- ¾ cup (65g) Unsweetened Cocoa Powder: Go for a good quality one, it makes a difference! This is where the magic happens.
- 1 ½ tsp Baking Soda: Our main leavening agent.
- 1 tsp Baking Powder: Gives it an extra little lift.
- 1 tsp Salt: Don’t skip it! It balances the sweetness and deepens the chocolate flavor. It’s like the unsung hero.
- 2 Large Eggs: Room temp, please. They mix better!
- 1 cup (240ml) Milk: Whole milk is preferred for richness, but any milk will do.
- ½ cup (120ml) Vegetable Oil: Or canola oil. This is our secret weapon for ultimate moistness. Butter is great, but oil wins for moistness here.
- 1 tsp Vanilla Extract: The fairy dust that makes everything taste better.
- 1 cup (240ml) Boiling Water or Hot Brewed Coffee: The real MVP! Coffee enhances chocolate flavor without making it taste like coffee. Trust me on this.
Step-by-Step Instructions
Alright, apron on, game face ready! Let’s get baking:
- Prep Your Pan & Oven: First things first, preheat your oven to 350°F (175°C). Then, grease and flour a 9×13 inch baking pan (or two 8-inch round pans) like your life depends on it. Seriously, don’t skimp on the greasing!
- Dry Mix Magic: In a large bowl, whisk together the flour, sugar, cocoa powder, baking soda, baking powder, and salt. Make sure there are no lumps—we’re aiming for smooth sailing here.
- Wet Wonders: In another medium bowl, whisk together the eggs, milk, vegetable oil, and vanilla extract until well combined.
- Combine & Conquer: Pour the wet ingredients into the dry ingredients. Mix on low speed (or by hand) until *just* combined. Don’t overmix! A few tiny lumps are okay.
- The Secret Weapon: Carefully pour the boiling water or hot coffee into the batter. It’ll look really liquidy, almost like soup, but this is totally normal. Whisk it in until smooth. This step is key for that incredible moistness and flavor.
- Into the Pan: Pour the thin batter evenly into your prepared baking pan(s).
- Bake It Off: Bake for 30-35 minutes for a 9×13 pan, or 30-40 minutes for round pans. How do you know it’s done? A wooden skewer or toothpick inserted into the center should come out clean.
- Cool Down: Let the cake cool in the pan on a wire rack for about 10-15 minutes before inverting it onto the rack to cool completely. Patience is a virtue here, my friend.
- Frost & Devour: Once completely cool (and I mean COMPLETELY), frost with your favorite chocolate frosting, or a simple dusting of powdered sugar. Then, slice it up and enjoy!
Common Mistakes to Avoid
We all make mistakes, especially in the kitchen. But let’s try to avoid these rookie blunders, shall we?
- Not Preheating Your Oven: This is like trying to run a marathon without warming up. Your cake needs a hot start to rise properly. Always preheat!
- Overmixing the Batter: The biggest sin! Overmixing develops gluten, leading to a tough, dry cake. Mix until *just* combined, then stop. Walk away from the mixer.
- Opening the Oven Door Too Early: Resist the urge! Opening the oven door lets cold air in and can make your cake sink in the middle. Give it at least 25 minutes before peeking.
- Trying to Frost a Warm Cake: Unless you enjoy a soupy, sliding mess, let your cake cool completely. Seriously. Go take a nap, read a book, do anything but frost a warm cake.
- Skipping the Salt: It might seem counterintuitive in a sweet cake, but salt is crucial for balancing flavors. Your cake will taste flat without it.
Alternatives & Substitutions
Feeling adventurous? Or just missing an ingredient? No stress, we got options!
- Milk Swap: Out of cow’s milk? Almond milk, soy milk, or oat milk all work beautifully here. Your cake won’t even know the difference.
- Oil Alternatives: If vegetable oil isn’t your jam, feel free to use canola oil, or even melted coconut oil (just make sure it’s liquid when you add it). You *could* use melted butter, but honestly, for moisture, oil is king in this recipe.
- No Coffee? No Problem! While hot coffee really makes the chocolate sing, if you’re not a coffee person or just don’t have it, simply use 1 cup of boiling water. It’ll still be fantastic.
- Frosting Flex: This cake is amazing with classic chocolate buttercream, a rich ganache, or even a simple dusting of powdered sugar for an understated elegance. Your call!
- Gluten-Free Version: Yes, you can! Substitute the all-purpose flour with a 1:1 gluten-free baking blend. The texture might be slightly different, but it’ll still be delicious.
FAQ (Frequently Asked Questions)
- “Can I make this dairy-free?” Absolutely! Just swap the milk for your favorite plant-based milk (almond, soy, oat all work) and ensure your chocolate frosting is dairy-free too. Easy peasy!
- “My cake sank in the middle! What gives?” Oh no! This usually happens if you overmixed the batter, opened the oven door too early, or your leavening agents (baking soda/powder) are old. Check those dates, folks!
- “Why boiling water/coffee? Doesn’t it cook the eggs?” Great question! The hot liquid actually ‘blooms’ the cocoa powder, releasing more of its deep chocolatey flavor and creating that super moist crumb. Because the batter is a mix of other ingredients, it cools enough not to cook the eggs. It’s science, baby!
- “How long does this cake last?” If you can keep your hands off it, it’ll last covered at room temperature for about 3-4 days. In the fridge, maybe a day or two longer, but it’s best at room temp for optimal moistness. TBH, it rarely makes it past day two in my house.
- “Can I make cupcakes instead?” You betcha! Pour the batter into cupcake liners, filling them about two-thirds full. Bake for approximately 18-22 minutes, or until a toothpick comes out clean.
- “Do I really need to use good quality cocoa powder?” While any cocoa powder will work, a higher quality one (like Dutch-processed) truly elevates the chocolate flavor, making it richer and deeper. It’s like the difference between regular coffee and a fancy barista-made latte – both are coffee, but one’s just… better.
Final Thoughts
So there you have it, folks! Your new go-to Old Fashioned Chocolate Cake recipe. You’ve conquered the cake, and now you have a glorious, moist, chocolatey masterpiece to show for it. Whether you’re sharing it with friends, bringing it to a potluck (and immediately becoming everyone’s favorite person), or just indulging solo (no judgment!), you’ve earned every single delicious bite.
Now go forth and impress someone—or just yourself—with your newfound (or refined) culinary skills. You’ve earned it!


