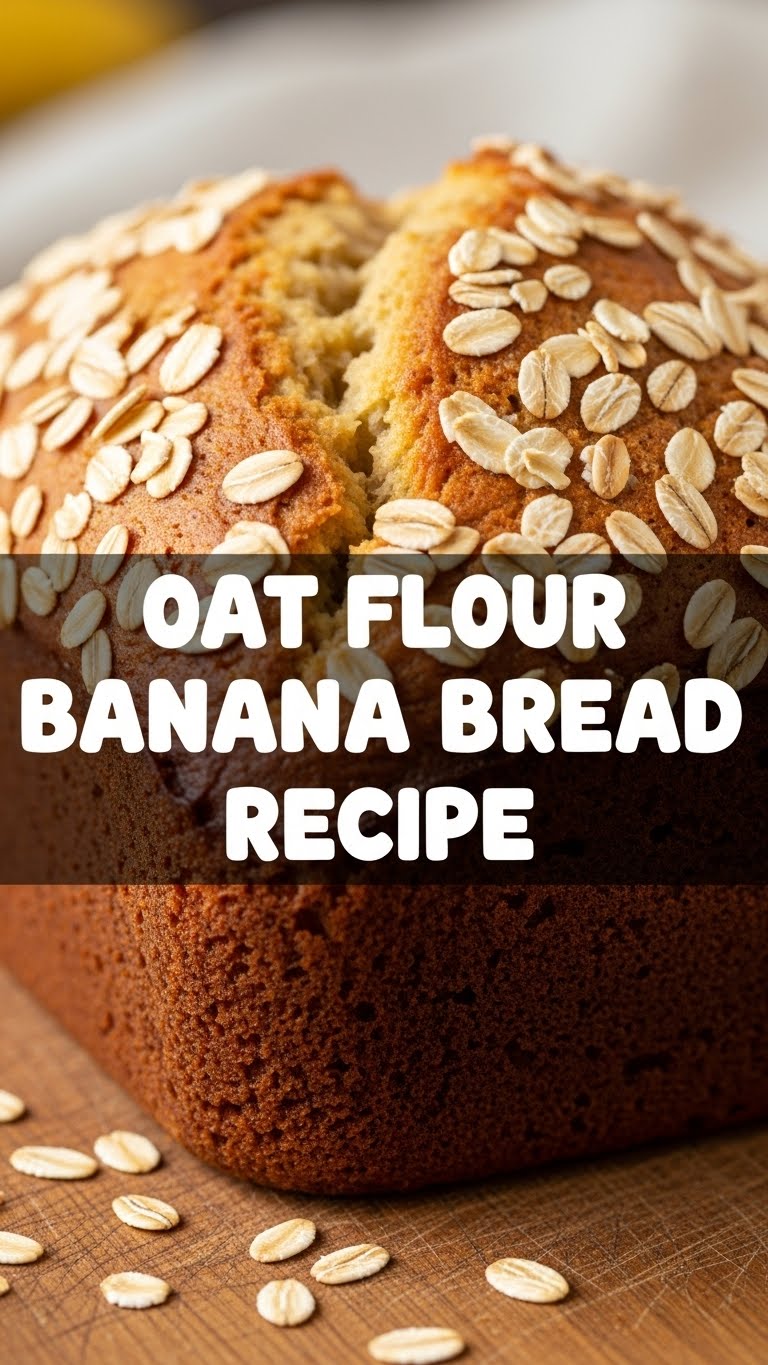
So, you’ve got those sad, spotty bananas glaring at you from the counter, practically begging for a purpose beyond fruit fly bait, right? Or maybe you’re just craving something warm, comforting, and undeniably delicious that doesn’t require a culinary degree or an entire weekend. Same. Get ready, because we’re about to turn those overripe beauties into the most ridiculously easy and satisfying oat flour banana bread you’ve ever had. No fuss, maximum yum.
Why This Recipe is Awesome
Let’s be real, life’s too short for complicated recipes that make you want to throw your spatula across the room. This banana bread? It’s practically magic. Seriously, it’s so **idiot-proof**, even *I* didn’t mess it up, and my track record in the kitchen is… spotty, at best. Here’s the lowdown on why you’re gonna love it:
- It uses **oat flour**, so you can feel smugly “healthy-ish” while devouring slice after glorious slice.
- **One bowl wonder**, mostly! Less dishes means more time for eating said banana bread.
- It’s ridiculously **moist and flavorful**, thanks to those super ripe bananas. No dry, crumbly sadness here.
- **No fancy equipment needed.** Just a bowl, a spoon, and maybe a whisk if you’re feeling extra.
Ingredients You’ll Need
Gather your troops! Here’s what you’ll need to make this masterpiece. Don’t sweat it, most of these are probably already lurking in your pantry.
- **3-4 Very Ripe Bananas:** We’re talking brown, spotty, practically black. The uglier, the sweeter, the better! Think of them as nature’s pre-sweetener.
- **1 ½ cups Oat Flour:** The star of the show. You can buy it, or make your own by blending rolled oats until fine. Easy peasy.
- **2 Large Eggs:** Our binding agents. No, they won’t judge your banana choices.
- **½ cup Maple Syrup (or honey/agave):** For that kiss of sweetness. Adjust to your liking, sweet tooth!
- **¼ cup Melted Butter (or coconut oil/vegetable oil):** For glorious moisture. Don’t skimp, your bread deserves this.
- **1 tsp Baking Soda:** Our lift-off engineer. This is crucial for that perfect rise.
- **1 tsp Vanilla Extract:** Because everything’s better with a splash of vanilla, IMO.
- **½ tsp Ground Cinnamon (optional but highly recommended):** Adds a warm, cozy hug to your bread.
- **¼ tsp Salt:** Just a pinch to make all the flavors pop.
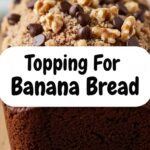
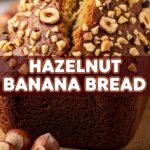
- **Optional Add-ins (½ cup):** Chocolate chips (duh!), chopped walnuts, pecans, or whatever your heart desires.
Step-by-Step Instructions
Alright, let’s do this! It’s so simple, you could probably do it with one eye closed (but please don’t, hot oven and all).
- **Preheat Your Oven:** Crank that oven up to **350°F (175°C)**. While it’s heating, lightly grease and flour a 9×5 inch loaf pan, or line it with parchment paper for easy removal. Don’t skip this, unless you enjoy playing “pry the banana bread.”
- **Mash Those Bananas:** In a large bowl, mash your super ripe bananas with a fork until they’re mostly smooth but still have a few small lumps. Lumps are character, remember that.
- **Combine Wet Ingredients:** Add the eggs, maple syrup, melted butter (or oil), and vanilla extract to the mashed bananas. Whisk everything together until it’s well combined and looks like a glorious golden mixture.
- **Add Dry Ingredients:** Now, sprinkle in the oat flour, baking soda, cinnamon (if using), and salt over the wet ingredients.
- **Mix Until Just Combined:** Gently fold the dry ingredients into the wet ingredients using a spatula or spoon. **Do not overmix!** Mix until you no longer see streaks of dry flour. A few lumps are totally fine and actually preferred for tender bread.
- **Fold in Add-ins (Optional):** If you’re using chocolate chips or nuts, fold them in now. Be generous, life’s too short for skimpy chocolate.
- **Pour and Bake:** Pour the batter into your prepared loaf pan. Give it a little wiggle to settle evenly. Bake for **50-65 minutes**, or until a wooden skewer or toothpick inserted into the center comes out clean. If the top starts browning too quickly, you can loosely tent it with foil.
- **Cool it Down:** Once baked, let the banana bread cool in the pan for about 10-15 minutes before transferring it to a wire rack to cool completely. This is the hardest part, FYI, but crucial for it to set properly.
Common Mistakes to Avoid
We all make mistakes, darling, but let’s try to avoid these rookie errors for maximum banana bread glory:
- **Using Underripe Bananas:** Seriously, green bananas are not your friend here. They lack the sweetness and moisture needed. You want mushy, almost-black beauties.
- **Overmixing the Batter:** This is a biggie! Overmixing develops gluten in oat flour just like regular flour, leading to a tough, dense bread instead of a soft, tender one. Mix until *just* combined. Lumpy is good!
- **Opening the Oven Door Too Much:** Resist the urge to peek every five minutes! You’ll drop the oven temperature and mess with the rise. Trust the process.
- **Not Greasing Your Pan Properly:** Nothing is sadder than a beautiful loaf stuck to the bottom of the pan. Grease and flour, or use parchment paper. Your future self will thank you.
- **Cutting it Hot:** I know, I know, the smell is intoxicating. But warm bread crumbles. Let it cool for at least an hour for clean slices and a better texture. Patience, grasshopper.
Alternatives & Substitutions
Feeling creative? Or just missing an ingredient? No stress, we’ve got options!
- **Sweetener Swap:** Don’t have maple syrup? Honey, agave nectar, or even brown sugar will work just fine. Start with ½ cup and adjust to your sweet preference.
- **Fat Options:** Melted butter is divine, but coconut oil or any neutral-flavored vegetable oil (like canola or avocado oil) are perfect substitutes. Want it super light? Some people use unsweetened applesauce, but I find it sacrifices a bit of the richness. Your call!
- **Add-in Adventure:** Get wild! Instead of just chocolate chips, try dried cranberries, raisins, chopped dried apricots, or a mix of nuts. A sprinkle of flaky sea salt on top before baking is also a game-changer.
- **Dairy-Free Version:** Easily done! Use coconut oil or a plant-based butter alternative, and ensure your chocolate chips are dairy-free.
FAQ (Frequently Asked Questions)
Got questions? I’ve got (casual and slightly sarcastic) answers!
- **Can I use regular flour instead of oat flour?** Well, technically yes, but then it wouldn’t be *oat flour* banana bread, would it? The texture will be different, and you might need to adjust the liquid, so proceed with caution if you deviate.
- **My bananas aren’t ripe enough! Help!** Disaster averted! Pop them on a baking sheet in a 300°F (150°C) oven for 15-20 minutes until they’re soft and black. Let them cool, then mash. You’re a wizard now!
- **Can I make muffins instead of a loaf?** Absolutely! Divide the batter into a greased muffin tin. Bake for about 20-25 minutes, or until a toothpick comes out clean. Makes about 12 muffins.
- **How do I store this deliciousness?** Keep it in an airtight container on the counter for 2-3 days, or in the fridge for up to a week. It also freezes beautifully for up to 3 months – just wrap slices tightly in plastic wrap and then foil.
- **Is this banana bread *actually* healthy?** It’s got oats, bananas, and less refined sugar than many recipes, so let’s call it “healthier-ish.” It’s definitely better for you than a donut, but it’s still a treat. Enjoy it without guilt!
- **What if I don’t have baking soda?** You need it for this recipe! It reacts with the acidic bananas to give your bread its glorious rise. Don’t skip it.
Final Thoughts
See? I told you it was easy! You’ve just whipped up a batch of delicious, wholesome-ish oat flour banana bread like a pro. Now go forth and conquer those banana bread cravings. Share it with friends (if you’re feeling generous), or hoard it all for yourself. No judgment here – you’ve earned it! You’re basically a culinary genius now. Don’t forget us little people when you open your artisanal banana bread shop.
