So you’re scrolling through TikTok, see someone with an energy bar, and suddenly your stomach’s rumbling, but the thought of actually *baking* something feels like climbing Everest? Been there, my friend. We’re talking about a snack that says, “Yeah, I’m healthy,” but also whispers, “I taste like a dream and took zero effort.”
Why This Recipe is Awesome
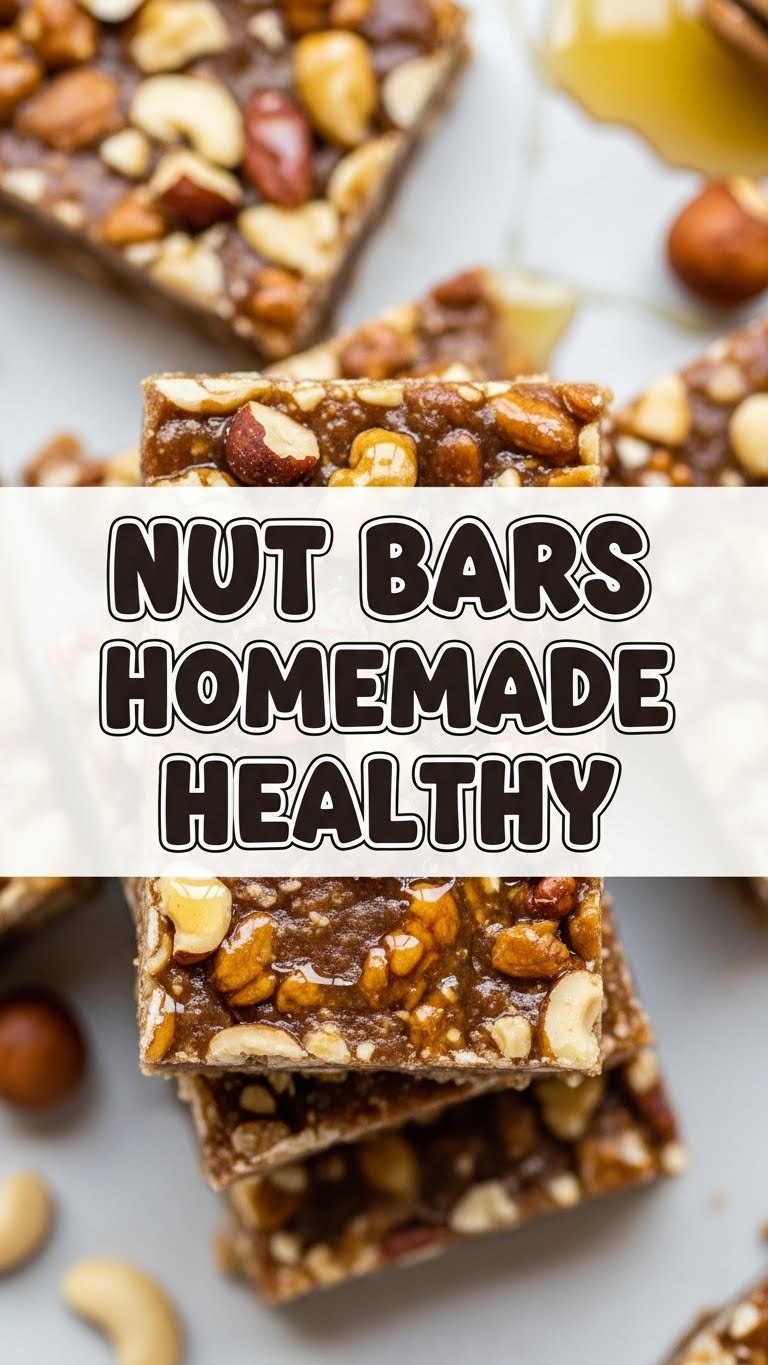
Okay, let’s be real. Most “healthy” snacks taste like cardboard that’s been thinking about a carrot. Not these bad boys! This recipe for homemade nut bars is like the Beyoncé of healthy snacks: **flawless, powerful, and everyone wants a piece.**
It’s practically idiot-proof – seriously, if I can make these without setting off the smoke alarm, you’re golden. You get to control exactly what goes in (bye, weird preservatives!), it’s packed with actual goodness, and it takes less time than deciding what to watch on Netflix. Plus, your kitchen will smell like a fancy health food store, which is a definite bonus, IMO.
Ingredients You’ll Need
- **Mixed Nuts (2 cups):** Your choice! Almonds, walnuts, pecans, cashews – go wild! Just make sure they’re unsalted, unless you’re into that whole salty-sweet thing, which, no judgment.
- **Rolled Oats (1 cup):** The OG healthy filler. Don’t even think about instant oats unless you’re trying to make mush.
- **Dried Fruit (1/2 cup):** Cranberries, chopped apricots, raisins – whatever tickles your fancy. Adds a nice chew and natural sweetness.
- **Nut Butter (1/2 cup):** Peanut, almond, cashew – make sure it’s the natural kind, no added sugar. This is our sticky glue, holding all the dreams together.
- **Honey or Maple Syrup (1/4 cup):** For that “Mmm, sweet” factor. Choose your poison, both work beautifully.
- **Coconut Oil (2 tbsp):** Helps things set nicely. If you don’t have it, a little extra nut butter can pinch-hit, but coconut oil is the MVP here.
- **Vanilla Extract (1 tsp):** A little splash of magic. Don’t skip it!
- **Pinch of Salt:** Just a tiny bit to make all the other flavors sing.
Step-by-Step Instructions
- **Prep Your Pan:** Grab an 8×8 inch square baking pan. Line it with parchment paper, leaving an overhang on the sides. This is your future self saying “thank you” when it’s time to pull out the bars.
- **Toast ‘Em Up (Optional, but Recommended!):** Spread your nuts and oats on a baking sheet. Pop them into a preheated oven at 300°F (150°C) for about 5-7 minutes. This brings out their nutty awesomeness. Let them cool slightly.
- **Melt the Goo:** In a microwave-safe bowl or small saucepan, gently heat the nut butter, honey/maple syrup, and coconut oil until melted and smooth. Stir in the vanilla extract and salt.
- **Combine the Goodies:** In a large bowl, mix your toasted nuts and oats with the dried fruit. Pour the melted gooey mixture over them. Stir it all up with a spatula until everything is evenly coated – no dry spots allowed!
- **Press & Chill:** Transfer the mixture to your prepared pan. Use the back of a spoon or your (clean!) hands to **press it down firmly and evenly.** The firmer, the better; this prevents crumbly bars later.
- **Patience, Grasshopper:** Pop the pan into the fridge for at least 2 hours (or freezer for 30-45 minutes if you’re impatient like me). They need to get super solid.
- **Slice & Serve:** Once firm, lift the whole block out of the pan using the parchment paper overhang. Place it on a cutting board and slice into your desired bar size. Voila! Healthy, homemade goodness.
Common Mistakes to Avoid
- **Not pressing firmly enough:** This is probably the #1 culprit for crumbly bars. Think of it like packing a suitcase for a trip to Mars – **you need to compress that stuff!** Otherwise, you’ll end up with granola bits, not bars. Still tasty, but not what we’re going for.
- **Impatience with chilling:** Trying to cut them before they’re properly chilled is like trying to ice skate on jelly. It won’t work. Give them their full beauty sleep in the fridge.
- **Using instant oats:** Please, for the love of all that is holy, don’t. They’ll absorb too much liquid too fast and give you a weird, gummy texture. Stick to rolled oats, trust me.
- **Ignoring the salt:** A tiny pinch of salt isn’t just for savory dishes. It actually enhances the sweetness and balances everything out. Don’t skip it unless you want your bars to taste a bit… flat.
Alternatives & Substitutions
This recipe is super forgiving, which is why I love it. Think of it as a canvas for your snack-time artistry!
- **Nut-free version?** Absolutely! Swap out the nuts for seeds like pumpkin seeds, sunflower seeds, or even puffed rice cereal. Just make sure your nut butter is a seed butter (tahini or sunbutter work great!).
- **Add-ins galore:** Feel free to throw in a handful of chia seeds, flax seeds, or hemp seeds for extra omega-3s. A sprinkle of mini chocolate chips (dark chocolate, of course, for health…ish) wouldn’t hurt anyone either!
- **Spice it up:** A dash of cinnamon, nutmeg, or even a tiny bit of ginger can totally change the flavor profile. Imagine a pumpkin spice nut bar – *chef’s kiss*!
- **Sweetener swap:** If you’re out of honey or maple syrup, brown rice syrup or agave nectar can step in. Just be mindful that they might alter the stickiness slightly.
FAQ (Frequently Asked Questions)
- **Can I make these vegan?** Duh! Just swap the honey for maple syrup or agave nectar. Easy peasy lemon squeezy.
- **How long do these magical bars last?** In an airtight container in the fridge, they’re usually good for up to two weeks. But let’s be honest, they’ll probably be gone much, much sooner.
- **Can I freeze them?** You betcha! Wrap them individually or in small batches and freeze for up to 3 months. Perfect for meal prepping your snacks. Just thaw for a few minutes before devouring.
- **My bars are too crumbly! What went wrong?** Ah, my friend, did you press them down like you were trying to win a wrestling match? And were they chilled sufficiently? These are usually the culprits. More pressure, more chill time!
- **Do I *have* to toast the nuts and oats?** Technically no, but why wouldn’t you want to unlock that extra layer of nutty flavor? It’s like watching a movie in black and white when you could be watching it in glorious Technicolor. Your call, though!
- **Can I add protein powder?** You totally can! Add a scoop or two (whey or plant-based) to the dry ingredients before mixing in the wet. You might need a tiny bit more liquid (a splash of water or milk) to get the right consistency, so adjust as needed.
Final Thoughts
So there you have it! You’ve just created a batch of delicious, healthy, and totally customizable nut bars. No weird ingredients, no hours slaving in the kitchen, just pure, unadulterated snack perfection. Your future self (and stomach) will thank you.
Now go forth and enjoy your masterpiece! Share them if you’re feeling generous, or hoard them all for yourself (I won’t tell). You’ve earned this moment of culinary triumph. Happy snacking, you magnificent kitchen wizard!

