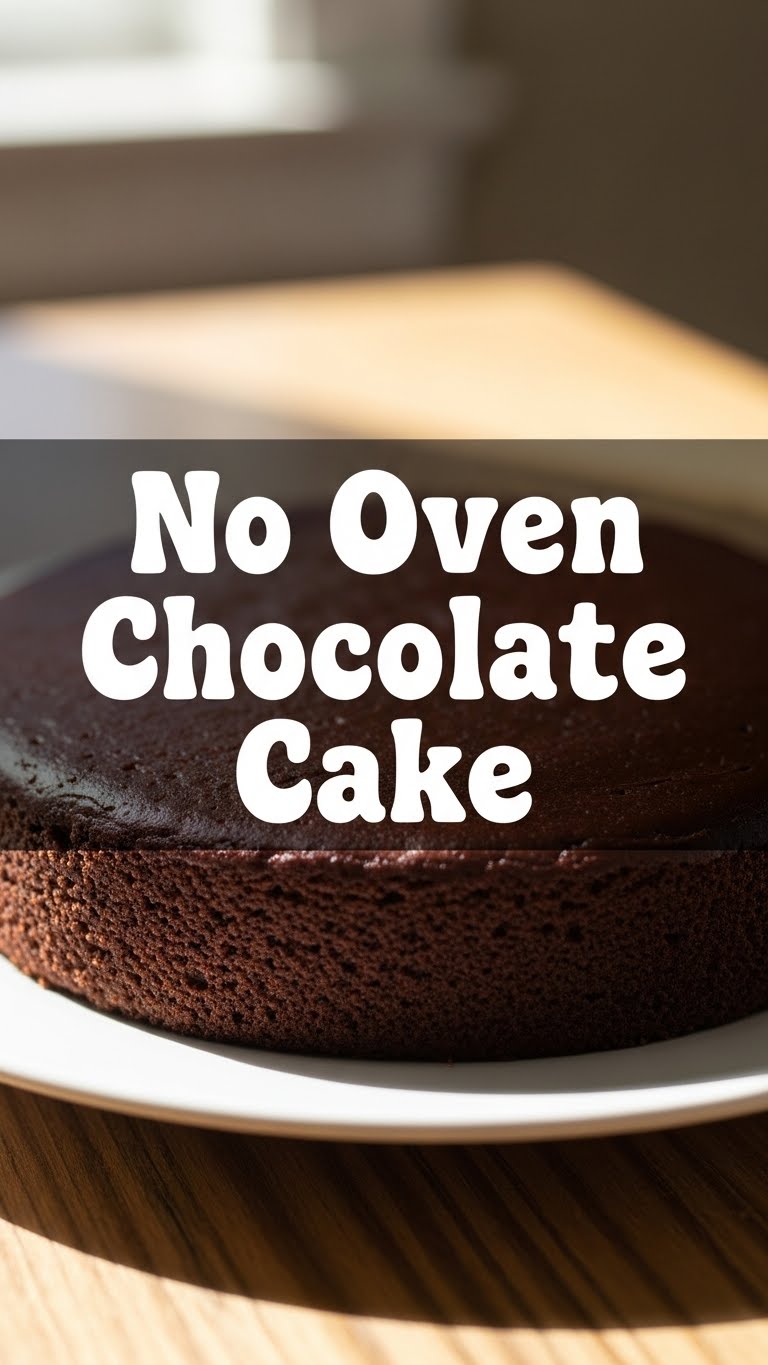
So you’re craving something tasty but too lazy to spend forever in the kitchen, huh? Same. And maybe your oven is just for shoe storage, or, like, you live in a dorm? No judgment here, friend. Today, we’re making magic happen without ever touching that fiery box of doom. Get ready for the easiest, most delicious **no-oven chocolate cake** you’ve ever dreamed of!
Why This Recipe is Awesome
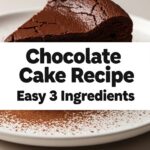
Okay, first things first: this isn’t just *any* chocolate cake. This is a **no-oven, no-fuss, practically-idiot-proof** chocolate cake. Seriously, if I can do it without setting off the smoke alarm, you can too! It’s rich, it’s fudgy, and it comes together faster than your latest online shopping addiction. Plus, think of the bragging rights! “Oh, this? I just whipped it up. No oven, darling.” Instant culinary guru status, IMO.
Ingredients You’ll Need
- All-purpose flour: 1 ½ cups. The usual suspect for cake crimes.
- Granulated sugar: 1 cup. Because life’s too short for unsweetened misery.
- Unsweetened cocoa powder: ½ cup. Make it good quality; your taste buds will thank you.
- Baking soda: 1 teaspoon. Our secret agent for puffiness. Don’t skip this crucial step!
- Salt: ½ teaspoon. Just a pinch to balance things out, not for seasoning your tears.
- Milk: 1 cup. Whole milk is best for richness, but almond milk works if you’re feeling fancy/dairy-free.
- Vegetable oil: ½ cup. Or any neutral oil. This is our moisture hero.
- Vanilla extract: 2 teaspoons. The MVP of flavor, don’t be shy.
- White vinegar: 1 teaspoon. Sounds weird, but trust the process. It’s a baking soda BFF.
- Hot water or coffee: ½ cup. For extra depth and dissolving power. Coffee makes it super chocolatey without making it taste like coffee!
Step-by-Step Instructions
- **Prep Your Pot:** Grab a heavy-bottomed pot (like a Dutch oven or a sturdy saucepan) that comes with a lid. Grease and flour it like you’re preparing for royalty. **This is crucial, folks!** You don’t want your masterpiece sticking.
- **Whisk the Dry Stuff:** In a large bowl, combine your flour, sugar, cocoa powder, baking soda, and salt. Give it a good whisk until everything’s playing nice and evenly distributed. No lumpy surprises, please!
- **Mix the Wet Gang:** In a separate, medium-sized bowl, pour in the milk, oil, vanilla extract, and vinegar. Stir ’em up until they’re fully acquainted.
- **Combine Forces:** Pour the wet ingredients into the dry ingredients. Mix gently until just combined. **Don’t overmix;** we’re making cake, not tough bread.
- **Add the Hot Stuff:** Stir in the hot water or coffee. The batter will be thin—that’s okay! It’s supposed to be like that, trust the magic.
- **Into the Pot:** Carefully pour your glorious batter into the prepared pot. Tap it gently on the counter a few times to release any rogue air bubbles.
- **Cook It Up:** Cover the pot tightly with its lid. Place it on your stove over the **lowest possible heat**. Seriously, barely a whisper of flame.
- **Patience, Grasshopper:** Let it cook for about 45-60 minutes. **DO NOT lift the lid** for the first 40 minutes! That’s where the steam magic happens. After 40 mins, you can peek. It’s done when a toothpick inserted into the center comes out clean.
- **Cool Down:** Once cooked, turn off the heat but leave the lid on for another 10-15 minutes to let it set. Then, remove the lid and let it cool in the pot for a bit before carefully inverting it onto a wire rack. Let it cool completely before frosting (if you’re feeling fancy!).
Common Mistakes to Avoid
- **Lifting the Lid Too Soon:** This is the ultimate sin! That trapped steam is what cooks your cake. Peek early, and your cake will collapse faster than your New Year’s resolutions.
- **Too High Heat:** You’re not trying to deep-fry a cake, friend. Low and slow is the name of the game. High heat = burnt bottom, raw top. Sad.
- **Overmixing:** Remember what I said? Overmixing develops gluten, which is great for chewy bread, terrible for light, fluffy cake. Mix until *just* combined.
- **Skipping the Grease & Flour:** Think you’re slick, huh? Nope. Your cake will stick, and you’ll end up with chocolatey crumbs instead of a beautiful cake. Don’t be that person.
Alternatives & Substitutions
- **Milk:** Any milk works! Dairy, almond, soy, oat – go wild. Just keep the quantity the same.
- **Oil:** Melted butter is a delicious substitute for vegetable oil if you want that buttery richness. Just make sure it’s cooled slightly before adding.
- **Hot Water/Coffee:** If you’re not a coffee fan, just use hot water. But seriously, the coffee really enhances the chocolate flavor without making it taste like coffee itself. **Trust me on this.**
- **Vinegar:** Lemon juice works too! It’s just there to react with the baking soda and give us that lovely rise.
- **Frosting:** No oven, no problem! Melt some chocolate chips with a splash of milk or cream for a quick ganache. Or just dust with cocoa powder or powdered sugar. Easy peasy!
FAQ (Frequently Asked Questions)
- **Can I use self-rising flour?** Nah, stick to all-purpose. This recipe relies on specific leavening agents (baking soda + vinegar) that self-rising flour would mess with. Don’t complicate things!
- **What if I don’t have a lid for my pot?** Get creative! A baking sheet or even some heavy-duty foil tightly crimped around the rim can work in a pinch. Just ensure it’s a tight seal to trap that precious steam.
- **My cake isn’t rising! What went wrong?** Did you check your baking soda’s expiry date? Old baking soda is a party pooper. Also, did you peek too much? Or use too high heat? Go back and re-read the “mistakes” section, champ.
- **How do I know when it’s truly done?** The toothpick test is your best friend. Insert it into the very center; if it comes out clean (maybe a few moist crumbs are okay, but no wet batter!), you’re golden.
- **Can I add chocolate chips to the batter?** Heck yes! Who’s going to stop you? Add about half a cup with your dry ingredients for extra chocolatey explosions. Just don’t say I didn’t warn you about the intensity!
- **How long does it keep?** Covered at room temp, it’s usually good for 2-3 days. But honestly, it rarely lasts that long, does it? 😉
Final Thoughts
So there you have it, folks! Your very own, oven-free, delicious chocolate cake. You’ve conquered a culinary challenge, bypassed traditional baking, and probably saved yourself from a messy kitchen (mostly). Now go impress someone—or yourself—with your new culinary skills. You’ve earned it! Grab a slice, put your feet up, and bask in the glory of your no-bake masterpiece. You’re basically a kitchen wizard now. Don’t forget to share a pic!

