So you’re craving something tasty but too lazy to spend forever in the kitchen, huh? Same, friend, same. We’ve all been there: a sudden, overwhelming urge for something cold, creamy, and utterly delicious, but the thought of digging out an ancient ice cream maker (or, worse, *buying* one) just makes you want to lie down and re-evaluate your life choices. Well, what if I told you there’s a way to get ridiculously good homemade ice cream with zero churning, minimal effort, and ingredients you probably already have? Buckle up, buttercup, because your dessert game is about to get a serious upgrade.
Why This Recipe is Awesome
Let’s be real, this isn’t just a recipe; it’s a magic trick. It’s the kind of culinary wizardry that makes people think you’re some kind of kitchen deity, when in reality, you barely broke a sweat. Why is it awesome? First off, no fancy equipment needed. Seriously, just a mixer (hand or stand, whatever floats your boat), a bowl, and a freezer-safe container. That’s it! It’s practically idiot-proof – even I didn’t mess it up, and my track record with complex kitchen gadgets is… questionable.
Secondly, it’s fast. Like, *really* fast to prep. We’re talking 10-15 minutes max, before you tuck it away in the freezer to do its thing. And the texture? Oh. My. Goodness. It’s unbelievably smooth, creamy, and rich, thanks to our secret weapon (spoiler: it’s in the title!). Plus, it’s super customizable. You can go wild with flavors and mix-ins, making it perfect for literally any mood. Impress your friends, impress your cat, or just impress yourself with your newfound superpower.
Ingredients You’ll Need
Gather ’round, my fellow lazy gourmands! Here’s your super-short shopping list. Don’t blink, you might miss it.
- **2 cups (about 470ml) Heavy Cream (or Heavy Whipping Cream):** This is your fluffy cloud base. Make sure it’s *cold* for best results.
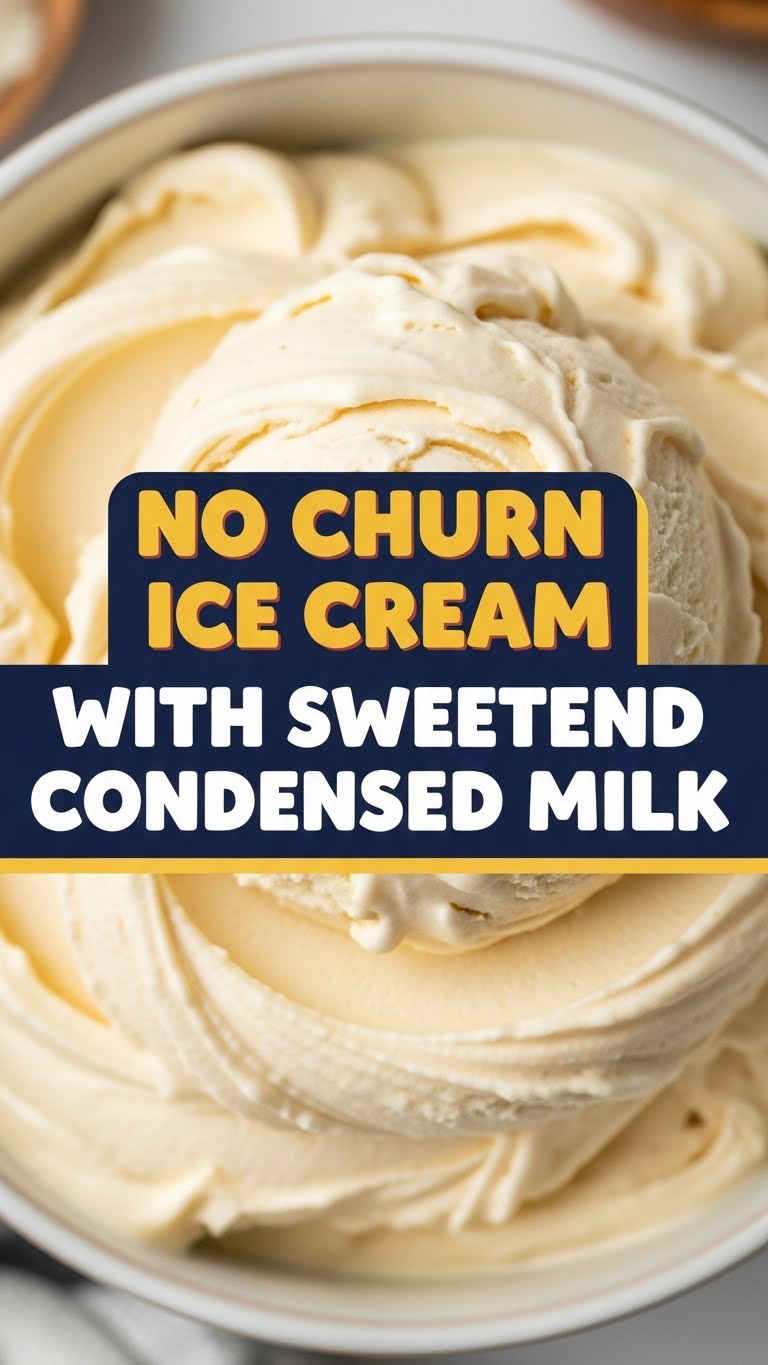
- **1 (14-ounce/397g) can Sweetened Condensed Milk:** The absolute superstar. This is what gives us that magical no-churn texture and sweetness. Don’t substitute this, unless you enjoy sadness.
- **1-2 teaspoons Vanilla Extract:** Just a dash of pure deliciousness to round out the flavors. Go for the good stuff if you have it!
- **Optional Mix-ins (Your Imagination is the Limit!):** This is where the party starts! Think chocolate chips, crushed cookies, fruit purees, chopped nuts, candy bars, sprinkles, coffee granules, cocoa powder… you get the picture.
Step-by-Step Instructions
- **Chill Out (Literally):** Pop your mixing bowl and whisk attachment (if using a stand mixer) into the freezer for 10-15 minutes. A cold bowl helps the cream whip up faster and fluffier. Trust me on this.
- **Whip It Good:** Pour your super-cold heavy cream into your chilled bowl. Using an electric mixer on medium-high speed, whip the cream until it forms **stiff peaks**. This means when you lift the whisk, the peaks stand straight up and don’t flop over. This usually takes about 3-5 minutes, but keep an eye on it – nobody wants over-whipped cream turning into butter (unless you’re making butter, which you’re not).
- **The Sweet Fold:** In a separate bowl, stir together the sweetened condensed milk and vanilla extract. Now, here’s the crucial part: gently **fold** about a third of your whipped cream into the condensed milk mixture to lighten it. Then, carefully fold in the remaining whipped cream until just combined. You want to be gentle here to keep all that glorious air in the cream, which contributes to the ice cream’s fluffiness.
- **Mix-in Madness (Optional but Recommended!):** If you’re adding any fun mix-ins, now’s the time! Gently fold them into your ice cream base. Don’t go overboard, but don’t be shy either. This is *your* ice cream.
- **Freeze for Glory:** Pour your delightful concoction into a freezer-safe container (a loaf pan covered with plastic wrap works great!). Smooth the top, cover it tightly, and pop it into the freezer for at least 6 hours, or ideally, overnight. **Patience, my friend, is a virtue.**
Common Mistakes to Avoid
Alright, listen up, because even though this recipe is easy-peasy, there are a few potholes you can sidestep to ensure maximum deliciousness:
- **Over-whipping the Cream:** We want stiff peaks, not butter! If you whip it too long, it’ll get grainy and eventually separate. Keep a close watch.
- **Using the Wrong Milk:** **Do NOT** confuse sweetened condensed milk with evaporated milk. They are *not* the same. Evaporated milk will give you icy sadness; sweetened condensed milk gives you creamy dreams.
- **Not Chilling Your Bowl/Cream:** This isn’t just a suggestion; it’s a plea! Cold cream whips up better and faster. Warm cream? It’s a struggle.
- **Impatience:** I know it’s hard, but don’t dig into it after two hours. It needs time to fully set and get that perfect scoopable texture. **Good things come to those who wait!**
Alternatives & Substitutions
This is where you truly become a master chef! The base is so versatile, you can seriously make any flavor your heart desires:
- **Chocolate Dream:** Add 1/2 cup of unsweetened cocoa powder (sifted!) to the condensed milk mixture. Then fold in chocolate chips, of course.
- **Coffee Kick:** Dissolve 2-3 tablespoons of instant espresso powder or strong instant coffee in a tiny bit of hot water, let it cool, then mix it into the condensed milk. Add chocolate shavings for a mocha vibe.
- **Fruity Bliss:** Swirl in some fruit purees (strawberry, raspberry, mango – cooked down and cooled). Just be mindful that too much water from fruit can make it a bit icier, so don’t overdo it.
- **Cookie Monster:** Crush up your favorite cookies (Oreos, chocolate chip, Biscoff) and fold them in. So simple, so good.
- **Vegan Vibes:** For a dairy-free version, swap out the heavy cream for full-fat coconut cream (chilled overnight, use the thick cream from the top of the can) and use a can of sweetened condensed coconut milk. The texture is slightly different, but still delish!
FAQ (Frequently Asked Questions)
- **Do I really need heavy cream? Can I use half-and-half or milk?**
Nope, sorry! Heavy cream (with at least 36% fat) is crucial. It’s the fat content that whips up beautifully and gives you that rich, creamy texture without churning. Anything less won’t get you the same results. - **My ice cream is icy, what went wrong?**
Ah, a common lament! This usually means there wasn’t enough fat (did you use heavy cream?), or there was too much water in your mix-ins (like watery fruit purees). Also, make sure your container is sealed tightly to prevent ice crystals from forming. - **How long does no-churn ice cream last in the freezer?**
It’s best enjoyed within 1-2 weeks for optimal freshness and texture. Not that it’ll ever last that long, IMO. - **Why is it called “no-churn” anyway?**
Because you don’t need an ice cream machine to “churn” it! The magic of whipping air into the heavy cream, combined with the thickness of the condensed milk, creates that smooth, scoopable texture without all the extra gadgets. - **Can I reduce the sweetness?**
You *can*, but sweetened condensed milk is pretty essential to the structure and texture of this specific recipe. Reducing it too much might mess with the consistency. If you want less sweet, focus on bitter or tangy mix-ins (like dark chocolate or tart berries) to balance it out! - **Can I make multiple flavors at once?**
YAS! Simply divide the plain base into smaller containers *before* adding your mix-ins, and then customize each portion. Mini flavor adventures!
Final Thoughts
See? I told you it was easy! You just unlocked a whole new level of dessert making, my friend. No more sad store-bought pints when you can whip up something spectacular (literally!) in minutes. This no-churn ice cream is a total game-changer for those of us who love delicious treats but also value our couch time. Now go impress someone—or yourself—with your new culinary skills. You’ve earned it!


