So you’re craving something tasty but too lazy to spend forever in the kitchen, huh? Same. And if you’ve got tiny humans orbiting your pantry, demanding snacks like their lives depend on it (spoiler: they kinda do), then you’re in the right place, my friend. Forget preheating, forget hot ovens, forget the sheer terror of little hands near burning metal. We’re diving headfirst into the glorious, messy, utterly brilliant world of **no-bake recipes for kids**!
Why This Recipe is Awesome
Let’s be real, most of us have enough on our plate without turning into a Michelin-star chef just for a snack. This recipe for No-Bake Peanut Butter Oatmeal Cookies is basically a high-five to your sanity. Why is it awesome? Let’s count the ways:
- **No Oven Required!** Duh, it’s in the name. But seriously, this means no fear of burnt offerings, no waiting for the oven to heat up, and no excuses about a broken appliance.
- **Kid-Friendly (Truly!):** Your little kitchen helpers can actually *do* stuff, like stirring (the fun part!) and dropping spoonfuls. Just keep an eye on the hot pot stage, unless your kids are training for a future in professional hot lava handling.
- **Speedy Gratification:** From start to “OMG, these are amazing!” is probably less time than it takes to scroll through social media for the 10th time today.
- **Minimal Cleanup:** We’re talking one pot, one bowl, and a couple of spoons. You might even trick a kid into washing them. (Good luck with that, BTW.)
- **It’s Idiot-Proof.** No, really. Even *I* didn’t mess it up, and my track record in the kitchen is… spotty.
Ingredients You’ll Need
Gather ’round, pantry explorers! Here’s what you’ll need for these magical munchies. Keep descriptions simple, funny, or sarcastic where appropriate.
- 1¾ cups Granulated Sugar: The sweet stuff. Because, well, cookies.
- ½ cup Milk: Any kind works. Dairy, almond, oat – whatever lives in your fridge. We’re not picky.
- ½ cup (1 stick) Unsalted Butter: Real butter, folks. Don’t even *think* about the “spread” or the “margarine” unless you want to hurt your soul and your cookies.
- ¼ cup Unsweetened Cocoa Powder (Optional, but highly recommended): If you’re feeling fancy, or just want chocolate (which, let’s be honest, is always).
- ½ cup Creamy Peanut Butter: Creamy is key here. Chunky makes for… interesting texture, but not in a good way for this recipe.
- 1 teaspoon Vanilla Extract: A dash of fancy, a hint of “Mmm, what’s that delicious smell?”
- 3 cups Quick-Cooking Oats: The MVP! This is what gives us that chewy, satisfying texture. Don’t grab the steel-cut; it’s not the same party.
Step-by-Step Instructions
Alright, let’s get down to business! Follow these simple steps and prepare for snack supremacy.
- **Prep Your Landing Pad:** Line a baking sheet (or two, depending on how ambitious you are) with parchment paper or wax paper. This is where your delicious creations will chill out and firm up.
- **The Great Melt & Mix:** In a medium-sized saucepan, combine the sugar, milk, butter, and cocoa powder (if you’re going chocolatey). Place it over medium heat.
- **Boil, Baby, Boil!** Bring the mixture to a rolling boil. Stir constantly to make sure everything melts and mixes nicely. Once it’s boiling, set a timer and let it boil for exactly **1 minute**. Not 30 seconds, not 2 minutes. One. Minute. This is crucial for texture!
- **Off the Heat & Flavor Blast:** Immediately remove the saucepan from the heat. Stir in the creamy peanut butter and vanilla extract until everything is smooth and wonderfully fragrant. Your kitchen should smell amazing right about now!
- **Oatmeal Avalanche:** Now, dump in those 3 cups of quick-cooking oats. Stir, stir, stir until they’re all coated and happy in their new, sweet home. This is where little hands can safely help!
- **Drop & Set:** Quickly (because it starts to set fast!), drop spoonfuls of the mixture onto your prepared baking sheets. You can use a regular spoon, or a small cookie scoop for perfectly uniform treats.
- **Patience is a Virtue (Especially for Snacks):** Let the cookies cool completely and set up. This takes about 30 minutes at room temperature, or you can pop them in the fridge for 15-20 minutes to speed things up.
- **Devour!** Once firm, peel them off the paper and enjoy your delicious, no-bake masterpieces!
Common Mistakes to Avoid
Listen up, buttercup! Even though this recipe is pretty foolproof, there are a few common pitfalls that can turn your cookie dreams into a crumbly or sticky nightmare. Avoid these rookie blunders:
- **Not Boiling Long Enough:** If your cookies end up too gooey and never truly set, you likely didn’t boil the sugar mixture for the full minute. Don’t be impatient; that boil time is magical!
- **Boiling Too Long:** Conversely, if your cookies are dry, crumbly, and fall apart, you probably over-boiled the mixture. Set a timer, people! Precision matters here.
- **Substituting the Oats:** Quick-cooking oats are specifically designed for this. Don’t try to use old-fashioned or steel-cut oats unless you want a completely different (and probably not good) texture.
- **Trying to Eat Them Immediately:** I know, the smell is intoxicating. But these cookies need to set to reach their full potential. **Patience, young grasshopper!**
- **Using Margarine Instead of Butter:** Seriously, just don’t. The fat content and water content are different, and your cookies will suffer. Don’t hurt your soul (or your taste buds) like that.
Alternatives & Substitutions
Feeling adventurous? Want to customize? Here are some simple swaps and additions to keep things interesting:
- **Nut Butter Bonanza:** Don’t like peanut butter? Try almond butter, cashew butter, or even sunflower seed butter for a nut-free option. Just make sure it’s creamy!
- **Chocolate Overload:** Stir in a handful of mini chocolate chips with the oats for an extra chocolatey kick.
- **Coconut Craze:** Add ½ cup of shredded coconut for a tropical twist. It adds a lovely chewiness!
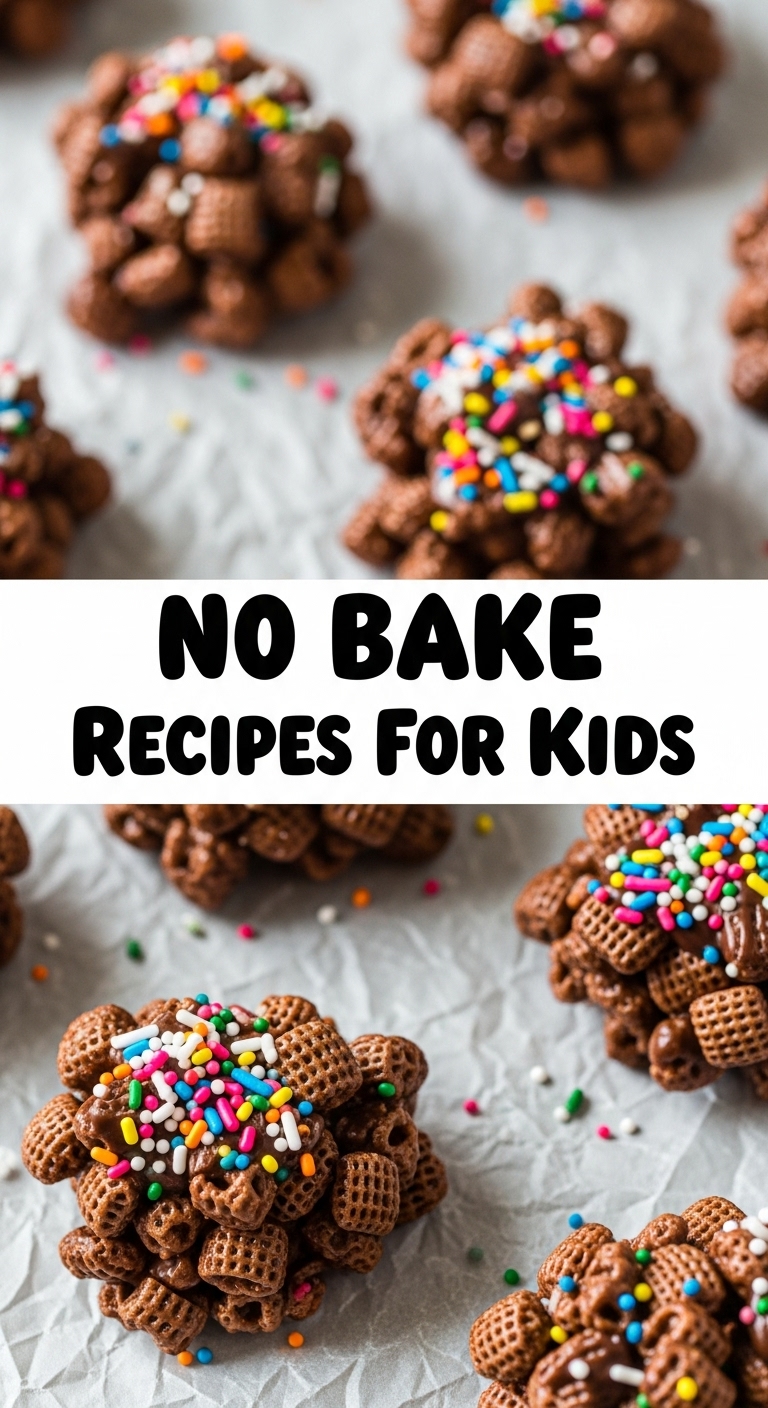
- **Sprinkle Fun:** Top the cookies with colorful sprinkles right after you drop them on the parchment paper. Because everything is better with sprinkles, IMO.
- **Dairy-Free Delight:** Easily make these vegan by swapping butter for a good quality vegan butter stick and using your favorite plant-based milk.
- **Spice it Up:** A pinch of cinnamon or a tiny bit of espresso powder (for a more adult palate) can add some depth to the chocolate version.
FAQ (Frequently Asked Questions)
Got questions? I’ve got (casual and humorous) answers!
- **Can I use chunky peanut butter?** Well, technically yes, but why hurt your soul like that? It makes the cookies harder to form and gives them an inconsistent texture. Stick with creamy for the win!
- **How long do these last?** If you can make them last (a true test of willpower!), they’ll keep for about a week in an airtight container at room temperature. Or in the fridge, if you prefer them a bit firmer.
- **Do I *have* to boil the mixture?** Yep, that’s the absolute magic that melts the sugar and butter just right, creating the “glue” that holds everything together. No boiling, no cookies!
- **Can my kids do this recipe by themselves?** The stirring after boiling, and definitely the dropping of the cookies? Absolutely! The actual boiling part should be supervised by a very tall, very responsible adult. Safety first, delicious cookies second!
- **My cookies are too sticky/crumbly. What went wrong?** Ah, my friend, that’s the great “boil-time debate.” Too sticky means you didn’t boil long enough (less than a minute). Too crumbly means you boiled too long (more than a minute). Practice makes perfect!
- **Can I make these vegan?** Absolutely! Just swap out the butter for a good quality vegan butter alternative (like Miyoko’s Kitchen or Earth Balance sticks) and use your favorite plant-based milk (almond, soy, oat all work great).
- **What if I don’t have vanilla extract?** The flavor won’t be quite as complex or “oomph-y,” but they’ll still be edible and tasty. Don’t let it stop you from making them! You can always add a pinch of salt to boost other flavors.
Final Thoughts
See? That wasn’t so hard, was it? You’ve just created a batch of delicious, kid-friendly (and adult-approved) treats without even looking at your oven. You’re basically a kitchen wizard. These no-bake wonders are perfect for a rainy afternoon, a quick dessert emergency, or just because you felt like making something sweet without breaking a sweat.
Now go impress someone—or yourself—with your new culinary skills. You’ve earned it!


