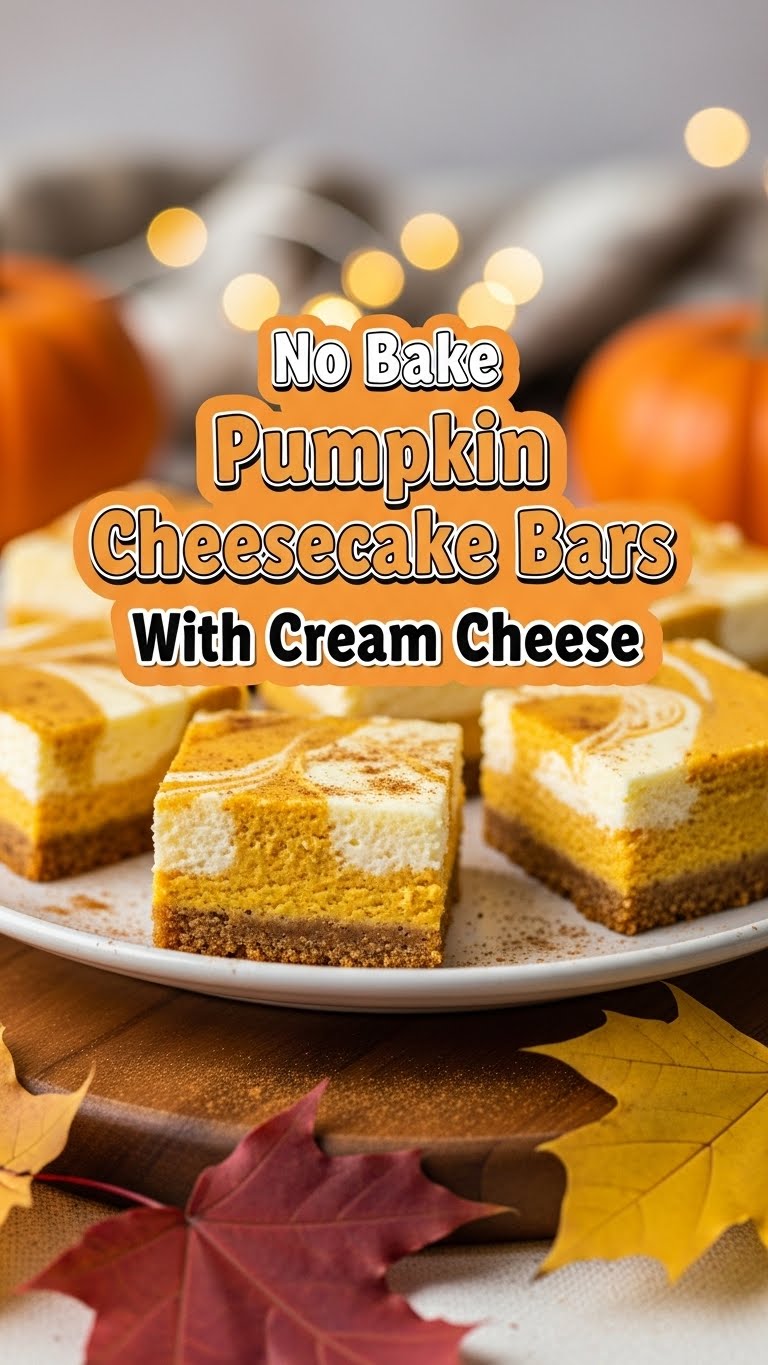
So you’re craving something tasty but too lazy to spend forever in the kitchen, huh? Same. And it’s pumpkin season (or, let’s be real, any season is pumpkin season if you’re a true fan), but the thought of firing up the oven just feels… heavy. Fear not, my friend, because I’ve got your back with a recipe so easy, it practically makes itself. Get ready for No-Bake Pumpkin Cheesecake Bars that are so good, they’ll make you question all your life choices (in a good way, obviously).
Why This Recipe is Awesome
First off, **NO OVEN REQUIRED**. Let that sink in. This bad boy is an absolute lifesaver when you want to impress without breaking a sweat. It’s **idiot-proof**, honestly. I’ve made it after a long day, with one eye half-closed, and it still turned out phenomenal.
Plus, it’s creamy, pumpkin-y, and hits all those fall-favorite notes without any baking fuss. It’s the perfect blend of elegant dessert and ‘I literally just threw this together’ magic. Your friends will think you’re a culinary genius, and you can just smirk knowingly.
Ingredients You’ll Need
For the Crust:
- **1 ½ cups graham cracker crumbs:** The unsung hero of no-bake desserts. Grab a box, crush ’em up. Easy peasy.
- **¼ cup granulated sugar:** Just a tiny bit to make the crumbs sing. Don’t overthink it.
- **½ cup unsalted butter, melted:** The glue! Make sure it’s good quality; your taste buds will thank you.
For the Filling:
- **16 oz cream cheese, softened:** The star of the show! Make sure it’s proper room temp, or you’ll have lumpy sadness.
- **1 cup pumpkin puree:** **NOT pumpkin pie filling!** We’re talking pure, unadulterated pumpkin goodness.
- **1 cup powdered sugar:** For that silky smooth sweetness. Don’t skip sifting if you’re feeling fancy, but no biggie if you don’t.
- **½ cup heavy cream:** Adds a luxurious richness that’ll make you swoon.
- **1 tsp vanilla extract:** A classic for a reason. Go for the good stuff if you can!
- **1 tsp pumpkin pie spice:** The flavor bomb! Adjust to your spice level, you adventurer.
- **Pinch of salt:** Always, always a pinch of salt. It balances everything out.
Optional Topping:
- Whipped cream, extra pumpkin pie spice, caramel drizzle: Because sometimes, more is more, right?
Step-by-Step Instructions
- **Crush those crackers!** Get your graham cracker crumbs ready. Mix them with sugar and melted butter in a medium bowl until they’re all moist and happy.
- **Press it down.** Line an 8×8 or 9×9 inch baking pan (FYI, parchment paper helps with easy lifting!) with parchment paper. Press the crumb mixture firmly into the bottom. Use the bottom of a glass to get it really compact. Pop it in the fridge while you make the filling.
- **Cream cheese time.** In a large bowl, beat the softened cream cheese until it’s super smooth and fluffy. No lumps allowed here, folks!
- **Add the pumpkin power.** Mix in the pumpkin puree, powdered sugar, heavy cream, vanilla extract, pumpkin pie spice, and that essential pinch of salt. Beat until everything is well combined and gloriously smooth.
- **Pour and chill.** Spoon the pumpkin cheesecake mixture evenly over your chilled crust. Smooth the top with a spatula.
- **The hardest part: waiting!** Cover the pan and refrigerate for **at least 4-6 hours**, or even better, overnight. This is crucial for setting!
- **Slice and serve.** Once fully chilled and firm, lift the cheesecake out using the parchment paper. Slice into bars. Top with whipped cream, a sprinkle of spice, or a caramel drizzle if you’re feeling extra. Enjoy!
Common Mistakes to Avoid
- **Impatience is not a virtue:** Trying to slice these bars before they’re properly chilled is like trying to catch smoke. You’ll end up with a delicious mess, but a mess nonetheless. **Seriously, chill for the recommended time!**
- **Lumpy cream cheese:** If your cream cheese isn’t soft enough, you’ll have tiny lumps of sadness in your otherwise perfect filling. Let it sit out, people!
- **Using pumpkin pie filling:** Read the can! Pumpkin puree is just pumpkin. Pie filling has added sugars and spices. You want the pure stuff for this recipe.
- **Not pressing the crust firmly:** A loose crust will crumble. Use the bottom of a glass or your knuckles and really compact it.
Alternatives & Substitutions
- **Crust variations:** Not a graham cracker fan? Try crushed Biscoff cookies for a spiced touch, or even Oreos for a chocolatey twist. Totally changes the vibe, IMO.
- **Spice it up (or down):** If pumpkin pie spice isn’t your jam, try just cinnamon and a touch of nutmeg. Or go wild with a pinch of ginger or allspice!
- **Cream cheese alternative:** While nothing truly beats full-fat cream cheese for that classic texture, you *could* try Neufchatel (light cream cheese) for a slightly lighter version. But honestly, treat yo’ self.
- **Toppings galore:** Beyond whipped cream, think candied pecans, a sprinkle of toasted coconut, or even a drizzle of white chocolate. Get creative!
FAQ (Frequently Asked Questions)
- **Can I use margarine instead of butter for the crust?** Well, technically yes, but why hurt your soul like that? Butter is always better for flavor and texture, my friend.
- **My filling is lumpy! What did I do wrong?** Ah, the classic ‘impatient cream cheese’ scenario. You likely didn’t let it soften enough. Next time, let it hang out on the counter for a good hour or two before you start.
- **How long do these last?** In your fridge, tightly covered, they’ll be delicious for 3-4 days. But honestly, they rarely last that long, BTW.
- **Can I freeze them?** Yep! Wrap individual bars tightly in plastic wrap, then foil, and freeze for up to a month. Thaw in the fridge before serving.
- **Do I have to use parchment paper?** You don’t *have* to, but it makes lifting the entire glorious slab out SO much easier. Trust me on this one.
Final Thoughts
And there you have it! A dessert that screams ‘fall indulgence’ without any of the baking stress. Seriously, these No-Bake Pumpkin Cheesecake Bars are a game-changer. Whip them up for your next get-together, a cozy night in, or just because it’s Tuesday and you deserve something amazing. Now go impress someone—or yourself—with your new culinary skills. You’ve earned it, chef!

