So you’re staring into the pantry, the kids are doing that “I’m starving!” dance, and the thought of firing up the oven just makes you want to crawl back into bed? Yeah, me too. We’ve all been there. But what if I told you there’s a magical snack that requires zero baking, minimal effort, and tastes like a tiny hug for your taste buds? Enter the glorious, life-saving, No-Bake Energy Bite!
Why This Recipe is Awesome
Listen, if you can stir a bowl, you can make these. Seriously, it’s so idiot-proof, even I didn’t mess it up (and my kitchen usually looks like a science experiment gone terribly wrong). These little wonders are perfect for those “hangry” moments, after-school snacks, or when you just need a quick, delicious pick-me-up without the guilt. No oven required, minimal cleanup, and they’re secretly packed with good stuff. Your kids will love them, and you’ll love that they’re not raiding the cookie jar for the tenth time. Win-win, if you ask me!
Ingredients You’ll Need
Get ready for a super simple shopping list. You probably have most of this stuff already!
- 1 ½ cups Rolled Oats: The classic, boring-but-essential stuff. Don’t grab instant oats unless you want mushy bites.
- ½ cup Creamy Peanut Butter: This is the sticky glue that holds our dreams together. Almond butter or cashew butter works too, if you’re feeling fancy or have allergies.
- ⅓ cup Honey or Maple Syrup: For that touch of sweetness, honey makes them extra chewy, maple syrup keeps them vegan-friendly. Pick your poison!
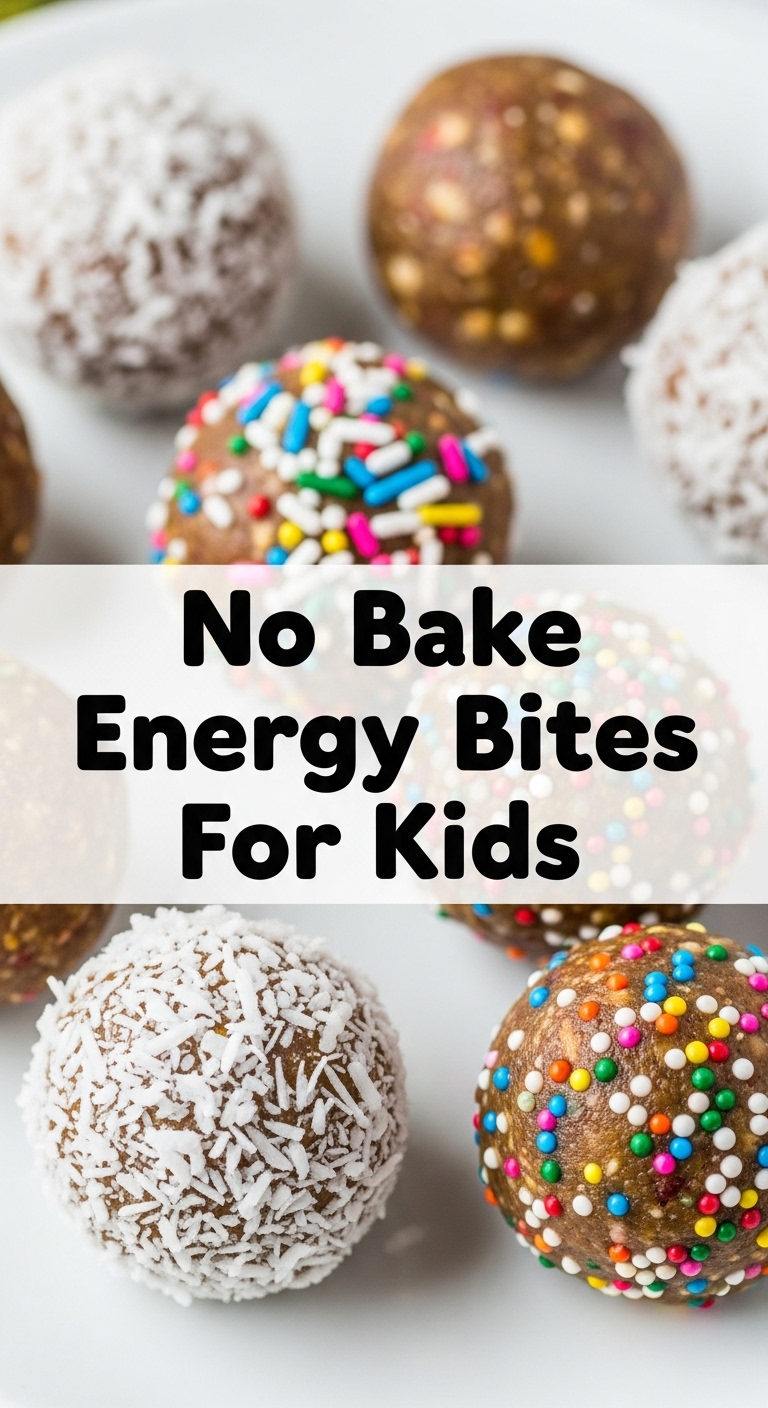
- ½ cup Mini Chocolate Chips: Because happiness, obviously. Dark, milk, white – whatever floats your boat (or your kid’s boat).
- 1 tsp Vanilla Extract: A little extra oomph. Don’t skip it!
- Optional: 2 tbsp Chia Seeds or Ground Flaxseed: Shhh, don’t tell the kids it’s healthy fiber and omega-3s. 😉 It’s our little secret.
- Optional: A pinch of Salt: Just a tiny bit really makes the flavors pop. Trust me on this one.
Step-by-Step Instructions
- Grab a Bowl: In a medium-sized mixing bowl, combine the rolled oats, mini chocolate chips, and any optional seeds you’re throwing in. Give it a quick stir just to mix everything up.
- Wet Ingredients Unite: In a separate (or the same, if you’re feeling rebellious) microwave-safe bowl, gently warm the peanut butter and honey/maple syrup for about 20-30 seconds. This makes it super easy to mix. Stir in the vanilla extract and that tiny pinch of salt.
- Mix it Up: Pour the warm peanut butter mixture over the oat mixture. Now, get in there with a spatula (or your hands, if you’re brave!) and mix everything until it’s really well combined. You want every oat flake to be coated in that sticky goodness.
- Chill Out: Cover the bowl with plastic wrap and pop it into the fridge for at least 30 minutes. This step is crucial! It helps the mixture firm up, making it much easier to roll.
- Roll ‘Em Up: Once chilled, take small spoonfuls of the mixture (about 1-inch in diameter) and roll them into cute little balls between your palms. If they’re too sticky, wet your hands slightly.
- Store & Enjoy: Place the finished energy bites on a parchment-lined plate or in an airtight container. Keep them in the fridge for up to a week, or freeze them for longer-term snacking bliss.
Common Mistakes to Avoid
- Skipping the Chill Time: Oh, you thought you could just roll them immediately? Bless your optimistic heart. You’ll end up with a sticky, shapeless mess. Don’t skip the fridge!
- Using Instant Oats: While convenient for breakfast, they’ll give your bites a mushy, less satisfying texture. Stick to old-fashioned rolled oats.
- Not Mixing Thoroughly: Bits of dry oats are a sad surprise. Make sure every single oat flake is coated in that sticky peanut butter mixture.
- Eating All the Batter: It’s tempting, I know. But try to save some for the actual energy bites. Your future self (and kids) will thank you.
Alternatives & Substitutions
Feeling creative? Here are a few ways to switch things up:
- Nut Butter Swaps: Not a peanut butter fan? Almond butter, cashew butter, or even sunflower seed butter (for nut allergies!) work wonderfully. Just make sure it’s creamy, not overly dry.
- Sweetener Options: Agave nectar is another great alternative to honey or maple syrup. Just be mindful of the consistency – you might need a tiny bit more oats if it’s super runny.
- Mix-in Madness:
- Dried Fruit: Chopped apricots, cranberries, raisins, or even finely diced dates.
- Coconut Flakes: Shredded coconut adds a lovely texture and flavor.
- Protein Powder: For a bigger protein punch, add a scoop of your favorite vanilla or unflavored protein powder. You might need a splash more liquid to maintain consistency.
- Spices: A dash of cinnamon or nutmeg can add a cozy twist!
FAQ (Frequently Asked Questions)
- Can I make these dairy-free? Yep! Just make sure your chocolate chips are dairy-free (most dark chocolate chips are) and you’re good to go.
- How long do they last? In an airtight container in the fridge, they’re good for about a week. But honestly, they rarely last that long in my house!
- Can I freeze them? Absolutely! They freeze beautifully. Just pop them in a freezer-safe bag or container for up to 2-3 months. Thaw them in the fridge or just eat them frozen for a chilly treat.
- Are these actually healthy? Well, they’re definitely healthier than a candy bar! They’ve got whole grains, healthy fats, and some fiber. Plus, you control the sugar. It’s all about moderation, right?
- My mixture is too sticky/dry, help! If it’s too sticky, add a tablespoon more oats. Too dry? A tiny splash more honey/maple syrup or peanut butter. Adjust until it’s just right – like Goldilocks, but with energy bites.
Final Thoughts
So there you have it, your new go-to, no-stress snack. These No-Bake Energy Bites are ridiculously easy, super customizable, and genuinely delicious. They’re perfect for busy parents, hungry kids, or anyone who just wants a little treat without a huge fuss. Now go impress someone—or yourself—with your new culinary skills. You’ve earned it!


