So you’re craving something ridiculously delicious, but the mere thought of turning on an oven makes you sweat? And washing a mountain of dishes after a complex baking project? Nah, we’re better than that. Welcome, my friend, to your new happy place: the land of no-bake cheesecake. Specifically, one that uses the humble, yet mighty, lady finger!
Why This Recipe is Awesome
Okay, let’s be real. We all love cheesecake, but who has the time (or the patience) for water baths, cracked tops, and existential baking dread? Not us! This recipe is basically your culinary superhero: no baking required, minimal dishes, and it tastes like a dream. It’s so foolproof, I’m pretty sure my cat could make it (if she had opposable thumbs and a sweet tooth). Plus, those lady fingers? They’re like little edible sponges soaking up all the creamy goodness. Pure genius, IMO.
Ingredients You’ll Need
- Lady Fingers: One standard pack (about 7 oz or 200g). The unsung heroes of this no-bake wonder. Don’t worry, they’re not *actually* fingers.
- Cream Cheese: Two 8-oz (226g) blocks, softened. Go full-fat; this ain’t the time for diet decisions, my friend.
- Heavy Cream (or Whipping Cream): About 1 ½ cups, super cold. This is where the magic happens and things get fluffy.
- Powdered Sugar (Confectioners’ Sugar): ½ cup (or more if you’ve got a serious sweet tooth). No one’s judging.
- Granulated Sugar: ¼ cup. Just a little boost for our cream cheese party.
- Vanilla Extract: 1-2 teaspoons. Don’t skimp on the good stuff!
- Lemon Zest: From one medium lemon. Gives it that *zing* that elevates everything. Trust me on this.
- Fresh Berries or Chocolate Shavings: For topping. Because presentation matters, even if you’re eating it straight from the pan at 2 AM.
Step-by-Step Instructions
- Whip It Good: In a large, super-clean bowl, pour your super-cold heavy cream. Whip it with an electric mixer on high until it forms stiff peaks. You want it fluffy and stable, like a cloud. Don’t overmix, or you’ll get butter!
- Cheesecake Base: In another bowl, beat the softened cream cheese, granulated sugar, powdered sugar, vanilla extract, and lemon zest until smooth and lump-free. Scrape down the sides, making sure it’s all incorporated.
- Fold ‘Em In: Gently, oh so gently, fold the whipped cream into the cream cheese mixture. Do this in two additions, using a spatula. You’re trying to keep that glorious airiness. This is crucial!
- Lady Finger Layer One: Grab a 9×13 inch baking dish (or a fancy springform pan if you’re feeling ambitious). Arrange a single layer of lady fingers on the bottom. You might need to snap a few to fit. No biggie.
- Creamy Layer One: Spread half of your cheesecake mixture evenly over the lady fingers. Get it nice and smooth.
- Lady Finger Layer Two: Add another layer of lady fingers on top of the cheesecake mixture. You see where this is going, right?
- Creamy Layer Two & Chill: Spread the remaining cheesecake mixture over the second layer of lady fingers. Cover the dish with plastic wrap and pop it in the fridge. Chill for at least 4-6 hours, or better yet, overnight. Patience, young Padawan. It’s worth it.
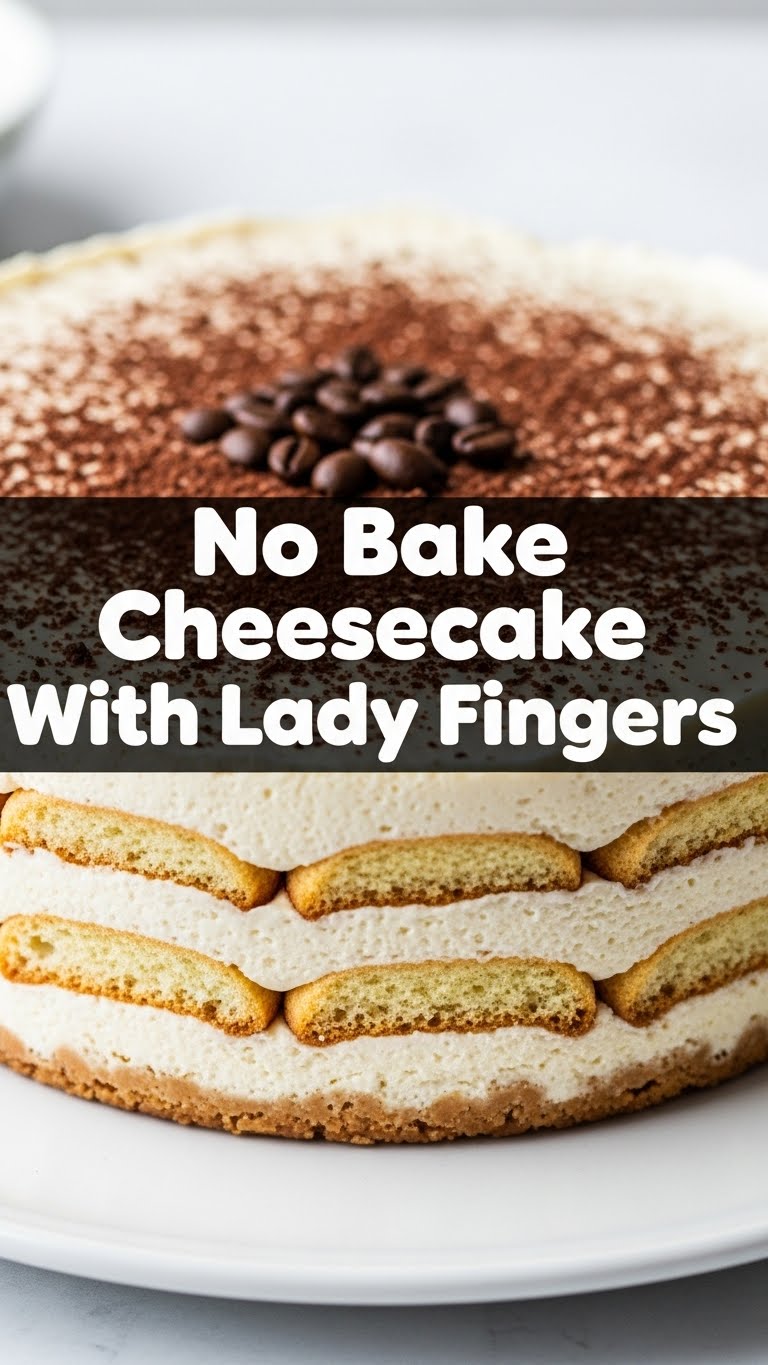
- Decorate & Devour: Once it’s firm, garnish with fresh berries, chocolate shavings, or a dusting of cocoa powder. Slice and serve! Prepare for compliments.
Common Mistakes to Avoid
- Using cold cream cheese: Seriously, don’t. It’ll be lumpy, and no one wants lumpy cheesecake. Take it out hours before.
- Overmixing the whipped cream: As mentioned, you’ll get butter. Which is great for toast, but not for cheesecake. Stop when it’s just firm.
- Not chilling long enough: Impatience is a virtue sometimes, but not here. If you cut it too soon, it’ll be a sad, soupy mess. Trust the process.
- Forgetting the lemon zest: It seems small, but it brightens up the whole thing. Don’t skip it unless you absolutely have to.
Alternatives & Substitutions
No lady fingers? You could totally use graham cracker crumbs for a traditional crust (mix with melted butter and press down), or even shortbread cookies. But honestly, the lady fingers are part of the charm, aren’t they?
Berries are classic for toppings, but chocolate sauce, caramel, crushed nuts, or even a simple dusting of cocoa powder would be amazing. Get creative! Want to go wild? Add a tablespoon of instant espresso powder to the cream cheese mixture for a mocha vibe, or some orange zest instead of lemon. A splash of your favorite liqueur (like Kahlua or Grand Marnier) would also be a fun grown-up twist, but maybe not if serving kids.
FAQ (Frequently Asked Questions)
- Can I make this ahead of time? Absolutely! In fact, it tastes even better the next day once all those flavors have melded. It’s a lifesaver for parties.
- My whipped cream isn’t getting stiff, what gives? Is your cream super cold? Is your bowl cold? Sometimes even chilling the bowl and beaters for 15 minutes helps! Also, make sure you’re using heavy cream, not half-and-half.
- Do I have to use a 9×13 dish? Nope! A 9-inch springform pan works wonderfully for a taller, more traditional cheesecake look. Just arrange the lady fingers to cover the bottom, and maybe around the sides if you’re feeling fancy.
- Can I use light cream cheese? Well, technically yes, but why hurt your soul like that? Full-fat gives you that luscious, creamy texture we all crave. You’re making cheesecake, not a health smoothie, friend.
- How long does it last in the fridge? Covered tightly, it’ll be delicious for 3-4 days. But let’s be honest, it probably won’t last that long.
- Can I add fruit *inside* the layers? You bet! Thinly sliced strawberries or raspberries between the cheesecake layers would be divine. Just don’t go overboard with super watery fruits.
Final Thoughts
So there you have it, folks! Your new go-to dessert for when you want to impress without, you know, *actually* working hard. This No-Bake Lady Finger Cheesecake is proof that deliciousness doesn’t need to be complicated. Now go whip up this masterpiece, chill it, and then proceed to bask in the glory of your culinary genius. You’ve earned it!


