So you’re craving something ridiculously delicious but the mere thought of turning on the oven makes you want to crawl back into bed, huh? Same, friend, same. Good news: I’ve got a recipe that’s about to become your new best friend. It’s cheesecake, it’s chocolate, and it requires absolutely NO baking. Consider your lazy dessert dreams officially answered.
Why This Recipe is Awesome
Let’s be real: who has time for complicated? This no-bake wonder is like the superhero of desserts – it swoops in, saves the day (and your sanity), and tastes phenomenal without making you break a sweat. Seriously, it’s so **idiot-proof**, even I didn’t mess it up, and my kitchen adventures often end in… ‘creative’ culinary results. It’s perfect for impressing guests (who will think you’re a genius), or just for devouring solo in your pajamas (no judgment here, it’s my preferred method). Plus, that chocolate base? Pure genius. You’re welcome.
Ingredients You’ll Need
Gather ’round, buttercups! Here’s what you’ll need for this dessert masterpiece. Don’t worry, nothing too fancy, just the good stuff.
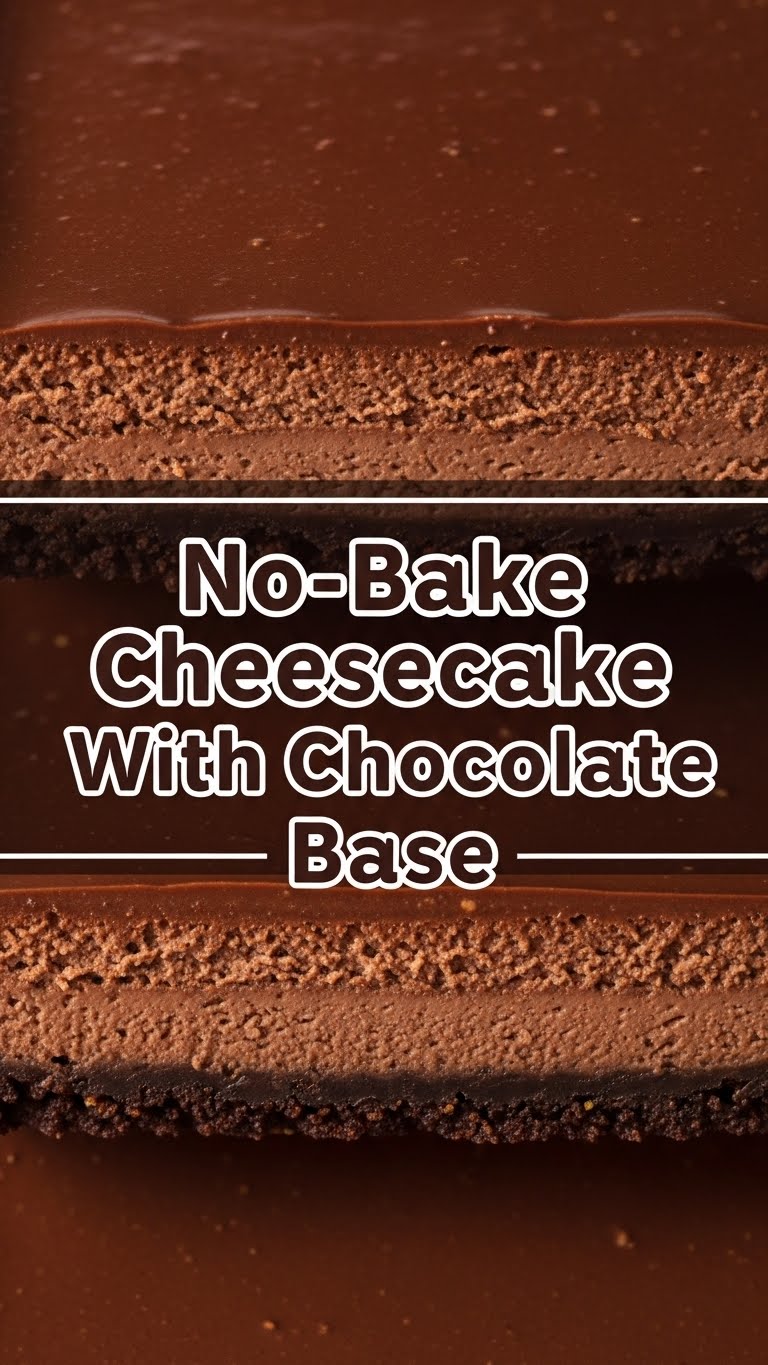
- **For the Chocolate Base:**
- **1 ½ cups (about 20-24 cookies) chocolate sandwich cookies** (like Oreos, filling and all, because waste not, want not!)
- **½ cup unsalted butter**, melted (Yes, actual butter. Don’t even *think* about margarine. Your taste buds deserve better.)
- **For the Cheesecake Filling:**
- **2 (8-ounce) blocks cream cheese**, full-fat, softened (Leave it on the counter for a bit. Cold cream cheese is the enemy of smooth filling.)
- **1 cup powdered sugar** (aka confectioners’ sugar. Sift it if you’re feeling fancy and want zero lumps.)
- **1 teaspoon vanilla extract** (The good stuff, please. It makes a difference.)
- **1 cup heavy cream**, chilled (Keep it cold! We want peaks, not sad puddles.)
- **Pinch of salt** (Just a tiny bit to balance the sweetness. It’s like a secret weapon.)
- **For the Garnish (Optional, but highly recommended for extra fabulousness):**
- Chocolate shavings, cocoa powder, fresh berries, or a drizzle of chocolate syrup. Go wild!
Step-by-Step Instructions
Alright, apron up (or don’t, I won’t tell). Let’s make some magic happen!
- **Crush Those Cookies:** Pop your chocolate sandwich cookies into a food processor and pulse until they’re fine crumbs. No food processor? No problem! Stick them in a Ziploc bag and unleash your inner Hulk with a rolling pin.
- **Butter Up the Base:** Pour the melted butter over the cookie crumbs and mix until it’s all nicely combined and looks like wet sand. This is your foundation for deliciousness.
- **Press and Chill:** Press the buttery crumbs firmly into the bottom of an 8 or 9-inch springform pan. **Pro Tip: Use the bottom of a glass or a flat measuring cup to get it super compact.** Pop that bad boy into the fridge for at least 15-20 minutes to firm up while you make the filling.
- **Cream Cheese Dream:** In a large bowl, beat the softened cream cheese with an electric mixer until it’s super smooth and fluffy. Scrape down the sides of the bowl.
- **Sweeten the Deal:** Add the powdered sugar, vanilla extract, and that pinch of salt to the cream cheese. Beat again until everything is well combined and lump-free.
- **Whip It Good:** In a separate, chilled bowl (yes, chilling the bowl helps!), whip the cold heavy cream until it forms stiff peaks. You want it to stand up proudly!
- **Fold in the Fluff:** Gently fold the whipped cream into the cream cheese mixture. **Be gentle!** We want to keep all that beautiful air in there. Fold just until no streaks of whipped cream remain.
- **Assemble Your Masterpiece:** Pour the cheesecake filling over your chilled chocolate base. Smooth the top with a spatula.
- **The Hardest Part: Chill Out!** Cover the pan loosely with plastic wrap and refrigerate for at least **4-6 hours**, or even better, overnight. This is crucial for it to set properly, so no peeking every five minutes!
- **Garnish and Devour:** Once firm, carefully remove the cheesecake from the springform pan. Garnish as desired, slice, and bask in the glory of your no-bake triumph.
Common Mistakes to Avoid
Listen, we’ve all been there. Learn from my (numerous) mistakes so you don’t have to!
- **Using Cold Cream Cheese:** Rookie error! Your filling will be lumpy and sad. **Always use softened cream cheese.** Let it sit out for an hour or so before you start.
- **Not Chilling Long Enough:** This isn’t a suggestion, it’s a command! Trying to cut into a cheesecake that hasn’t fully set is like trying to cut water—it’s going to be a messy, disappointing blob. **Patience, grasshopper.**
- **Over-Mixing the Filling After Adding Whipped Cream:** You just spent all that time whipping air into the cream. Don’t beat it out! **Fold gently** to keep that light, airy texture.
- **Skimping on the Butter in the Base:** That butter is the glue holding your base together. If you use too little, it’ll be crumbly and won’t hold its shape. **Follow the measurements!**
Alternatives & Substitutions
Feeling adventurous? Or just realized you’re out of one tiny ingredient? No stress, we’ve got options!
- **Cookie Base Swap:** Not a chocolate fiend? You can totally swap the chocolate sandwich cookies for graham crackers, shortbread cookies, or even vanilla wafers. Just adjust the butter amount slightly if needed (start with ¼ cup and add more if too dry).
- **Cream Cheese Light:** While I highly recommend full-fat for the best texture, you *can* use “light” cream cheese. Just know that it might be a tad softer and less rich. But hey, sometimes you gotta do what you gotta do, right?
- **Sweetener Switch:** Out of powdered sugar? Granulated sugar can work in a pinch, but your filling might be slightly less smooth. You can also play with adding a tablespoon or two of maple syrup or honey for a different flavor profile, but beware of adding too much liquid.
- **Flavor Boosts:** Want to jazz up the filling? Try adding a tablespoon of instant espresso powder (hello, mocha cheesecake!), a splash of almond extract, or some citrus zest (lemon or orange would be divine!).
FAQ (Frequently Asked Questions)
Got questions? I’ve got (casual) answers!
Can I use margarine instead of butter for the base? Well, technically yes, but why hurt your soul (and your taste buds) like that? For real, butter just tastes better and sets up firmer. It’s worth it, IMO.
My cream cheese isn’t soft! What now? Panic not! Unwrap it, cut it into smaller cubes, and microwave it in 15-second intervals, stirring in between, until it’s softened. Don’t melt it, though!
How long will this cheesecake last in the fridge? If you can resist devouring it all in one go, it’ll last beautifully for about 3-4 days in an airtight container. Good luck with that, though.
Can I freeze this cheesecake? You bet! For best results, freeze the whole cheesecake (after it’s fully set) on a baking sheet until firm, then wrap it tightly in plastic wrap and then foil. It’ll keep for up to a month. Thaw in the fridge overnight.
I don’t have a springform pan. Any alternatives? A regular 9×13 inch baking dish works perfectly for a slab cheesecake (just press the base into the bottom). You can also use a regular round cake pan lined with parchment paper, leaving an overhang on two sides to lift it out. It won’t look as “cheesecake-y” but it’ll taste just as good!
Can I make it less sweet? You absolutely can! Reduce the powdered sugar in the filling by ¼ to ½ cup. Just taste as you go! FYI, the cookies in the base are pretty sweet already, so keep that in mind.
Final Thoughts
And there you have it! A seriously amazing no-bake cheesecake that’s ridiculously easy and even more ridiculously delicious. You’ve navigated the tricky waters of no-bake desserts and emerged victorious. Now go impress someone—or yourself—with your new culinary skills. You’ve earned it! Seriously, go make it, eat it, and then tell me all about it. Happy no-baking!


