So, you’re craving something ridiculously delicious, impressively easy, and absolutely no-bake because who has time for ovens and their demanding temperatures, right? Same. You’ve landed in the right spot, my friend, because today we’re diving headfirst into the creamy, dreamy world of No-Bake Cheesecake Cups with Cool Whip. Get ready to have your mind (and taste buds) blown!
Why This Recipe is Awesome
Let’s be real, sometimes you want dessert now, without the drama. This recipe is your culinary superhero. It’s so gloriously simple, it’s practically idiot-proof – and trust me, if I didn’t mess it up, you’re golden. We’re talking no oven required, minimal dishes (score!), and a dessert that looks like you spent hours slaving away, when in reality, you probably spent more time picking out your Netflix show. It’s perfect for last-minute guests, a solo treat, or just because Tuesday deserves a little extra joy.
Ingredients You’ll Need
Gather your weapons, chef! Here’s what you’ll need for these cups of pure bliss:
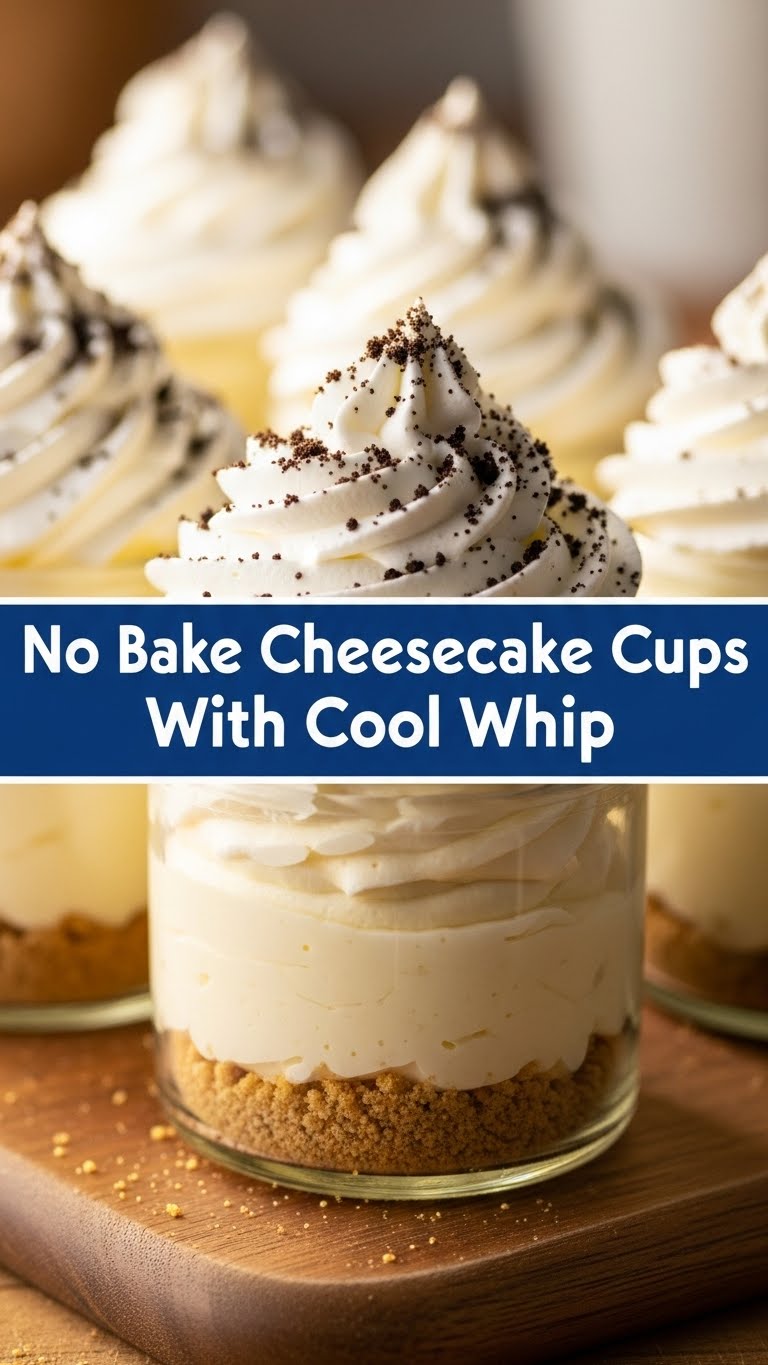
- 1 ½ cups Graham Cracker Crumbs: Your crunchy foundation. Feel free to smash your own crackers; it’s therapeutic.
- ¼ cup Granulated Sugar: Just a little extra sweetness for the crust.
- 6 tablespoons Unsalted Butter, melted: The magical glue that holds everything together.
- 1 (8-ounce) package Cream Cheese, softened: The heart and soul of cheesecake. Seriously, let it soften!
- ½ cup Granulated Sugar: For that signature sweet cheesecake tang.
- 1 teaspoon Vanilla Extract: Adds a little fancy, a little warmth.
- 1 (8-ounce) container Cool Whip, thawed: Our fluffy cloud of convenience and pure joy. Don’t knock it ’til you’ve tried it!
Step-by-Step Instructions
Alright, apron on (optional, let’s be honest), let’s get cooking (also optional, since there’s no actual cooking)!
- Crust Time! In a medium bowl, combine your graham cracker crumbs, ¼ cup sugar, and melted butter. Mix it all up until it looks like wet sand. Don’t be shy; get in there with your hands if you want!
- Cup ‘Em Up. Grab a 12-cup muffin tin and line it with paper liners. Now, spoon about 1 ½ tablespoons of the crumb mixture into the bottom of each liner. Press it down firmly with the back of a spoon or a small glass. Pop this in the fridge while you make the filling.
- Cheesecake Base. In a large bowl, using an electric mixer, beat the softened cream cheese, ½ cup sugar, and vanilla extract until it’s super smooth and fluffy. There should be no lumps – we’re going for silky perfection here.
- Fold in the Fluff. Gently, and I mean gently, fold in the thawed Cool Whip. Use a spatula for this. You want to keep that light, airy texture, so don’t overmix! You’re aiming for a dreamy, cloud-like consistency.
- Fill ‘Em Up! Spoon or pipe (if you’re feeling extra fancy) the cheesecake filling evenly over your chilled crusts in the muffin tin.
- Chill Out. This is arguably the hardest part: chilling. Cover the muffin tin loosely with plastic wrap and refrigerate for at least 4 hours, but ideally longer, like overnight. This is where the magic happens and they firm up perfectly.
- Serve and Shine! Once firm, carefully remove the cheesecake cups from the muffin tin and peel off the liners. Top with your favorite goodies (more on that below!) and prepare for applause.
Common Mistakes to Avoid
Even though this recipe is basically foolproof, here are a few rookie errors to sidestep, because nobody wants a cheesecake fail:
- Not Softening Cream Cheese: Trying to beat cold cream cheese is like trying to arm wrestle a rock. It won’t yield, and you’ll end up with lumps. Plan ahead!
- Overmixing the Cool Whip: You want that light, airy texture, right? Aggressively beating the Cool Whip will deflate it, and your cheesecake will be dense. Be gentle, young padawan.
- Skipping the Chill Time: Impatience is a virtue, but not here. Don’t rush the chill time! Those 4 hours (or more) are crucial for the cups to set properly. Otherwise, you’ll have a delicious, but messy, puddle.
Alternatives & Substitutions
Feeling creative? Want to mix things up? I got you. Here are some fun ways to customize your cheesecake cups:
- Crust Variations: Instead of graham crackers, try crushed Oreos (chocolatey goodness!), Biscoff cookies (spicy heaven!), or vanilla wafers (classic elegance!).
- Flavor Boosts: Add some lemon zest to the filling for a tangy kick. A spoonful of instant coffee powder can give it a mocha vibe. Or try almond extract instead of vanilla!
- Topping Extravaganza: This is where the real fun begins! Think fresh berries (strawberries, blueberries, raspberries), chocolate shavings, a drizzle of caramel or hot fudge, chopped nuts, or even some sprinkles for a festive touch. The world is your topping oyster!
FAQ (Frequently Asked Questions)
Got questions? I’ve got answers! (Mostly.)
- Can I use low-fat cream cheese? Well, technically yes, but why hurt your soul (and the creaminess) like that? Full-fat truly makes for the best texture and taste, IMO.
- How long do these last in the fridge? If they make it past the first day (a big “if”!), they’re good for about 3-4 days in an airtight container.
- Can I make them ahead of time for a party? Absolutely! They’re actually better made a day in advance as it gives them ample time to set and for flavors to meld. Pro tip!
- Can I freeze them? You bet! Freeze them unwrapped on a baking sheet until solid, then transfer to a freezer-safe bag or container for up to a month. Thaw in the fridge for a few hours.
- What if I don’t have a muffin tin? You can make this in a pie plate for a full no-bake cheesecake! Just press the crust into the bottom and up the sides, then add the filling.
Final Thoughts
So there you have it, folks! Your new go-to dessert for when you want maximum deliciousness with minimum effort. These No-Bake Cheesecake Cups are proof that sometimes, the simplest things are the most satisfying. Go ahead, whip up a batch (or two!), impress your friends, or just hoard them all to yourself – no judgment here! You’ve earned this sweet escape. Happy “non-baking”!


