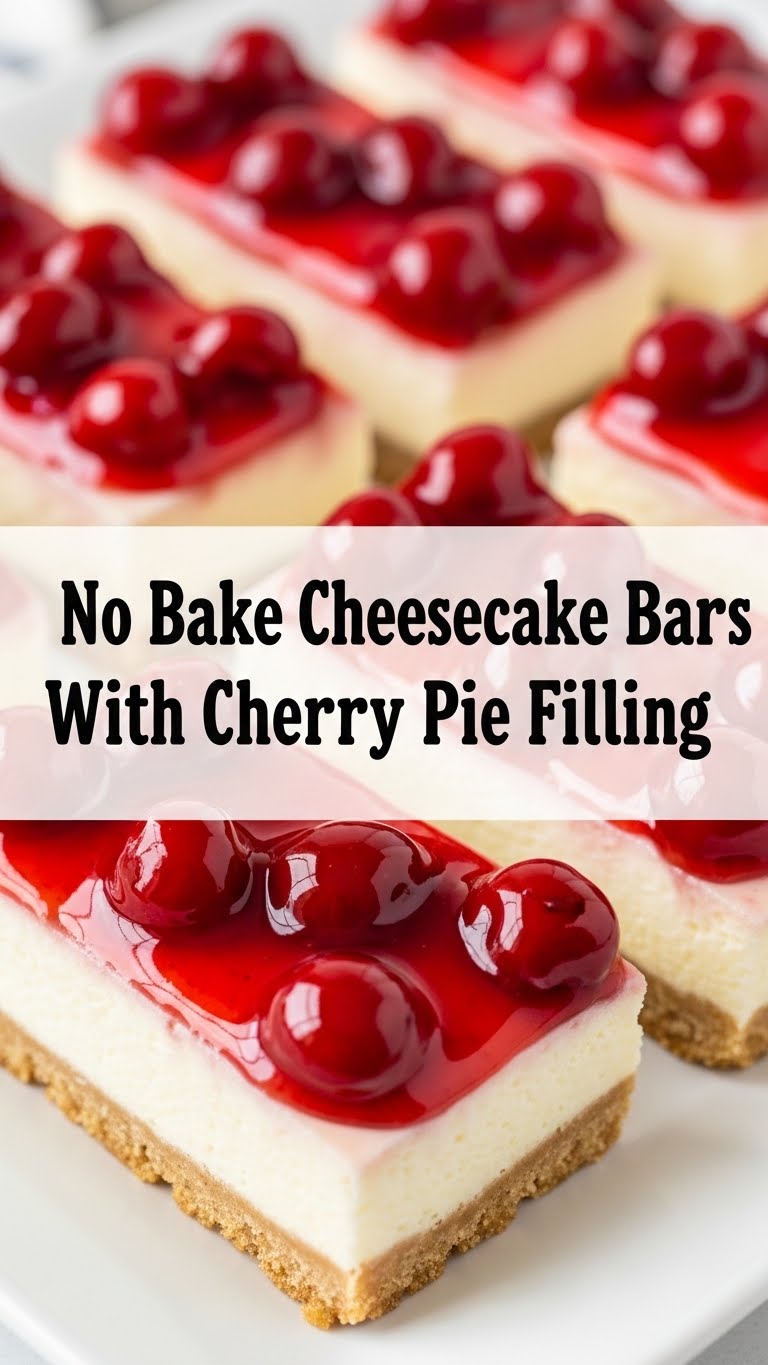
So you’re craving something tasty but too lazy to spend forever in the kitchen, huh? Same. High five! We’ve all been there: that sudden, undeniable urge for something sweet, creamy, and utterly delicious, but the thought of turning on the oven or dirtying every single dish in your kitchen just makes you want to crawl under a blanket and binge-watch reality TV. Well, my friend, I have a secret weapon for you, something so ridiculously easy and satisfying, it almost feels like cheating. Get ready for the No-Bake Cheesecake Bars with Cherry Pie Filling. Your tastebuds (and your lazy inner chef) are about to thank you.
Why This Recipe is Awesome
Okay, let’s be real: this recipe is awesome because it requires **zero oven time**. Yes, you heard that right. NO BAKING. That alone should make you jump for joy. Beyond that crucial detail, it’s pretty much idiot-proof. Seriously, even I, someone who once mistook salt for sugar (don’t ask), have never messed this up. It’s quick to assemble, looks fancy enough to impress, and delivers that classic tangy, sweet cheesecake flavor with a burst of cherry goodness without breaking a sweat. Plus, it’s perfect for those scorching summer days when the mere thought of heat gives you a migraine. It’s also incredibly versatile, but we’ll get to that later. For now, just know it’s your new go-to for effortless deliciousness.
Ingredients You’ll Need
Gather ’round, pantry explorers! Here’s what you’ll need for this culinary masterpiece. Don’t worry, it’s all stuff you can easily find, probably even in your pajamas.
- **For the Crust:**
- **1 ½ cups graham cracker crumbs:** You can buy them pre-crushed, or unleash your inner Hulk on some whole graham crackers. A food processor or a Ziploc bag and a rolling pin work wonders.
- **½ cup unsalted butter, melted:** Because everything is better with butter. Don’t skimp here, it’s the glue of our dreams.
- **2 tablespoons granulated sugar:** Just a little sweetness to complement the graham crackers.
- **For the Cheesecake Filling:**
- **2 (8-ounce) blocks cream cheese, softened:** Let it sit out for a bit! Cold cream cheese is the enemy of smooth filling.
- **1 cup powdered sugar:** Sift it if you’re feeling fancy, but if not, just break up any lumps.
- **1 teaspoon vanilla extract:** The soul of almost any dessert. Don’t skip it!
- **Pinch of salt:** Enhances all the other flavors. Trust me on this one.
- **1 (8-ounce) container whipped topping (like Cool Whip), thawed:** Or, if you’re feeling ambitious (and have heavy cream), make your own. But thawed whipped topping makes this truly “no-fuss.”
- **For the Topping:**
- **1 (21-ounce) can cherry pie filling:** The star of the show! Feel free to grab your favorite brand.
Step-by-Step Instructions
Alright, let’s get down to business. Follow these steps, and you’ll be chilling (literally) with cheesecake in no time.
- **Prep Your Pan:** Line an 8×8 or 9×9 inch baking pan with parchment paper, leaving an overhang on the sides. This makes lifting the bars out super easy. No wrestling with sticky cheesecake, thank you very much!
- **Crust Time!** In a medium bowl, combine the graham cracker crumbs, granulated sugar, and melted butter. Mix it really well until it looks like wet sand. You want every crumb coated!
- **Press the Crust:** Press the crumb mixture firmly and evenly into the bottom of your prepared pan. Use the bottom of a glass or your knuckles to get it nice and compact. **This is key for a sturdy crust!** Pop it in the fridge for about 10-15 minutes to firm up a bit while you make the filling.
- **Make the Cheesecake Filling:** In a large bowl, beat the softened cream cheese with the powdered sugar, vanilla extract, and a pinch of salt until it’s super smooth and creamy. No lumps allowed! A hand mixer makes this a breeze.
- **Fold in the Whipped Topping:** Gently fold in the thawed whipped topping until just combined. Be gentle here; you want to keep that light, airy texture. Don’t overmix!
- **Assemble the Bars:** Pour the cheesecake filling over your chilled crust and spread it evenly with a spatula. Get it nice and smooth.
- **Add the Cherries:** Spoon the cherry pie filling over the cheesecake layer. You can spread it evenly or get artistic with swirls, it’s your masterpiece!
- **Chill Out:** Now comes the hardest part: waiting. Cover the pan loosely with plastic wrap and **refrigerate for at least 4 hours**, or ideally, overnight. This is crucial for the bars to set properly.
- **Slice and Serve:** Once firm, use the parchment paper overhang to lift the entire slab of cheesecake out of the pan. Slice into bars, serve, and bask in the glory of your no-bake genius!
Common Mistakes to Avoid
Even though this recipe is super chill, there are a few rookie errors that can derail your dessert dreams. Let’s make sure you don’t fall victim!
- **Not softening the cream cheese:** This is probably the number one mistake. If your cream cheese is cold, you’ll end up with lumpy filling, and no one wants that. Plan ahead!
- **Not chilling long enough:** Impatience is a virtue, but not here. If you cut into it too soon, it’ll be a glorious mess instead of neat bars. **Give it time to set!**
- **Not pressing the crust firmly:** A loose crust will crumble when you try to cut it. Press it down with purpose!
- **Overmixing the whipped topping:** When you fold in the whipped topping, do it gently. Overmixing can deflate it and make your cheesecake less airy.
- **Using the wrong kind of cream cheese:** Make sure it’s full-fat block cream cheese, not the spreadable kind in a tub. The spreadable stuff has too much water and won’t set properly.
Alternatives & Substitutions
Feeling creative? This recipe is a fantastic canvas for your culinary whims. Here are some ideas:
- **Crust:** Not a graham cracker fan? No prob! Try crushed Oreos (chocolate crust, yum!), Nilla Wafers, shortbread cookies, or even gingersnaps for a spiced twist. Just adjust the butter if needed to get that wet sand consistency.
- **Fruit Topping:** Cherries are classic, but why stop there? Peach pie filling, blueberry, strawberry, or even a simple mixed berry compote would be divine. Lemon curd would also be a zesty game-changer!
- **Whipped Topping:** If you prefer, you can definitely make your own whipped cream (2 cups heavy cream, ½ cup powdered sugar, 1 tsp vanilla, beaten until stiff peaks form). It’ll taste amazing, but it does add an extra step to your “no-fuss” journey. Cool Whip is great for convenience, though!
- **Low-Fat Option:** You can use reduced-fat cream cheese, but be aware that the texture might be slightly softer and less rich. It’ll still be tasty, just a different vibe.
FAQ (Frequently Asked Questions)
Got burning questions? I’ve got (casual) answers!
- **”Can I make this ahead of time for a party?”** Absolutely! In fact, it tastes even better the next day once all the flavors have had a chance to meld. Just keep it covered in the fridge.
- **”How long do these bars last in the fridge?”** If they even last that long without being devoured, they’re good for about 3-4 days in an airtight container.
- **”Can I freeze these?”** You bet! Slice them, then flash-freeze them on a baking sheet until solid. Once frozen, transfer to an airtight container or freezer bag for up to a month. Thaw in the fridge before serving.
- **”My cheesecake didn’t set, what happened?”** Usually, this means the cream cheese wasn’t soft enough, or it didn’t get enough chill time. Or, possibly, you used the wrong kind of cream cheese (see “Common Mistakes”). More fridge time is usually the answer!
- **”What if I don’t have parchment paper?”** While highly recommended, you can grease your pan really well, but be prepared for a slightly trickier removal process.
- **”Can I use margarine instead of butter?”** Well, technically yes, but why hurt your soul like that? Butter just tastes better and sets the crust more reliably. For the best results, stick with butter.
Final Thoughts
There you have it, folks! A ridiculously easy, unbelievably delicious, and totally no-stress recipe for No-Bake Cheesecake Bars with Cherry Pie Filling. You’ve officially conquered dessert without even turning on your oven. That, my friend, is a win in my book. So go ahead, whip these up, impress your friends, charm your family, or just hoard them all for yourself (no judgment here, IMO). You’ve earned this sweet, creamy slice of heaven. Now go impress someone—or yourself—with your new culinary skills. You’ve earned it!


