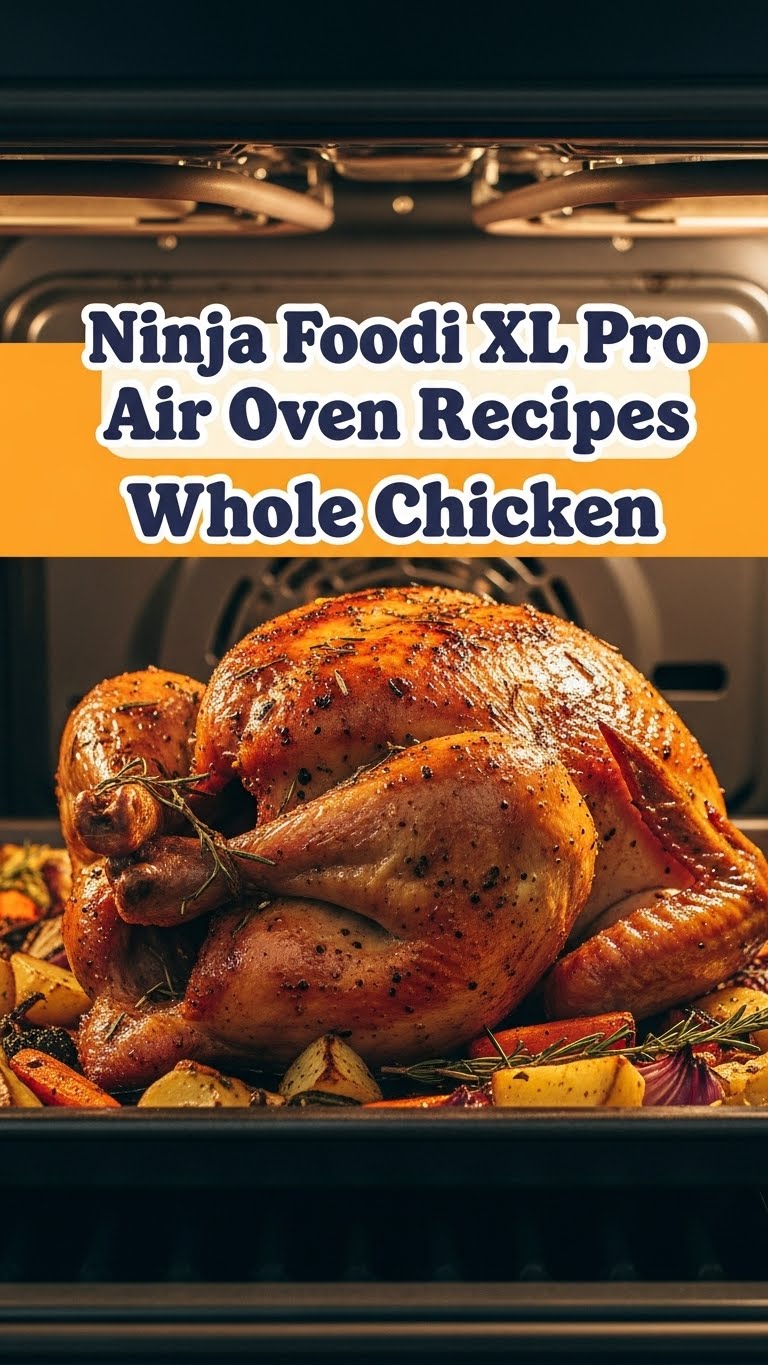
So, you’ve got this magnificent Ninja Foodi XL Pro Air Oven sitting on your counter, looking all shiny and promising, right? Or maybe you’re just dreaming of getting one? Either way, you’re probably thinking, “Can this thing *really* make a whole chicken that’s juicy on the inside and crispy on the outside, without me setting off the smoke alarm or spending all day in the kitchen?” The answer, my friend, is a resounding YES. And it’s gonna be glorious, ridiculously easy, and possibly the best decision you make all week.
Why This Recipe is Awesome
Let’s be real, cooking a whole chicken can sound intimidating. Visions of dry, sad birds or undercooked, terrifying ones often dance in our heads. But not with this recipe, oh no! This isn’t just a meal; it’s a magic trick performed by your Ninja Foodi. Here’s why it’s about to become your new favorite:
- It’s practically idiot-proof. Seriously, even I, a person who once set off the fire alarm microwaving popcorn, can nail this.
- Crispy skin, juicy meat. This isn’t a drill! The air fry function is a wizard at making skin crackle while keeping the inside unbelievably tender.
- Less fuss, less mess. Compared to traditional roasting, it feels like a breeze. Cleanup is easier, and you’re not battling oven splatter.
- Hands-off cooking. Once it’s in, you’re free to scroll TikTok, binge-watch your favorite show, or pretend you’re doing something productive.
- Quick-ish. For a whole chicken, it’s surprisingly fast. Dinner will be ready before you know it!
Ingredients You’ll Need
Gather your crew! These are the essentials for a show-stopping whole chicken. Don’t worry, nothing too exotic here.
- Whole Chicken: About 3-4 lbs (1.5-2 kg) is ideal for most Ninja Foodi XL Pro Air Ovens. Make sure it fits comfortably!
- Olive Oil: About 1-2 tablespoons. Or whatever fancy oil you’re into. This is our glow-up serum for the chicken.
- Unsalted Butter: 2 tablespoons, softened. This is the secret to ultimate juiciness. Don’t skip it unless you want to hurt my feelings (and your chicken’s flavor).
- Spices (the Dream Team):
- 1 tablespoon garlic powder
- 1 tablespoon onion powder
- 1 teaspoon paprika (smoked paprika if you’re feeling fancy!)
- 1 teaspoon dried thyme
- 1 teaspoon dried rosemary (or 1 sprig fresh, roughly chopped)
- 1 teaspoon salt (or to taste, depending on your sodium vibes)
- ½ teaspoon black pepper
- Lemon: Half a lemon, cut into wedges (optional, but it adds a lovely zesty kick).
- Fresh Herbs: A few sprigs of rosemary or thyme to stuff inside (also optional, but makes it smell amazing).
Step-by-Step Instructions
Alright, let’s get cooking! Follow these simple steps and prepare for compliments.
- Prep Your Bird: First things first, unwrap your chicken. Remove any giblets from the cavity (don’t forget, it happens!). Pat the chicken thoroughly dry with paper towels. This is crucial for crispy skin—don’t skimp on this step!
- Mix the Magic Dust: In a small bowl, combine your garlic powder, onion powder, paprika, dried thyme, dried rosemary, salt, and black pepper. Stir it all up until it’s perfectly blended.
- Butter Up: Gently separate the skin from the breast meat of the chicken using your fingers. Be careful not to tear it. Take your softened butter and rub it evenly under the skin, over the breast meat. This is where the magic happens, folks!
- Get Oily & Spiced: Drizzle the olive oil all over the outside of the chicken, then rub it in to coat evenly. Now, liberally sprinkle your spice mix all over the chicken, making sure to get every nook and cranny. Don’t be shy!
- Stuff It (Optional): If you’re using lemon or fresh herbs, stuff them into the chicken’s cavity. It’ll infuse beautiful flavors into the meat as it cooks.
- Position for Perfection: Place your seasoned chicken into the basket or on the reversible rack of your Ninja Foodi XL Pro Air Oven. If using the rack, ensure it’s in the lower position for better air circulation.
- Air Fry Away! Close the door. Select the “Air Fry” function. Set the temperature to 360°F (180°C) and the time for 60-75 minutes. Remember, cooking times can vary based on chicken size and your specific appliance.
- The Flip: After about 30-40 minutes, carefully open the oven, and using tongs or oven mitts, flip the chicken over. This ensures even browning and crisping on both sides. Continue air frying.
- Check for Doneness: The chicken is done when an instant-read thermometer inserted into the thickest part of the thigh (without touching bone) reads 165°F (74°C). If it’s not there yet, pop it back in for another 5-10 minutes.
- Rest, You Deserve It: Once cooked, carefully remove the chicken from the Ninja Foodi and place it on a cutting board. Tent it loosely with foil and let it rest for at least 10-15 minutes. FYI: This step is super important! It allows the juices to redistribute, ensuring a tender, moist chicken.
- Carve and Serve: Carve your beautifully cooked chicken and prepare to receive all the accolades!
Common Mistakes to Avoid
Nobody’s perfect, but we can try! Here are a few blunders to steer clear of:
- Not Patting It Dry: This is a cardinal sin if you want crispy skin. Wet skin steams, it doesn’t crisp. Rookie mistake!
- Forgetting the Giblets: You don’t want a surprise package inside your perfectly roasted bird. Always check the cavity.
- Skipping the Butter Under the Skin: Look, you can do it, but you’ll miss out on that extra layer of juiciness and flavor. Why deny yourself?
- Not Checking Internal Temperature: Guessing if chicken is cooked through is a dangerous game. Invest in a meat thermometer, please. It’s your new best friend.
- No Resting Period: Cutting into a chicken right after it comes out of the oven is like poking a stressed person. All the juices will run out, leaving you with dry meat. Be patient!
- Overcrowding the Basket: If your chicken is too big for your Ninja Foodi and crammed in, the air won’t circulate properly. This leads to uneven cooking and less crispiness. Choose a chicken that fits snugly but has room.
Alternatives & Substitutions
Feel free to get creative! This recipe is a great starting point for your culinary genius.
- Spice Rubs: Don’t feel tied to my spice blend! A good quality store-bought chicken rub works wonders. Or try different combinations like lemon-herb, smoky BBQ, or a spicy Cajun blend.
- Herbs: No fresh rosemary or thyme? Dried works just fine. If you don’t have lemon, try stuffing half an onion or a few garlic cloves into the cavity for extra aromatics.
- Butter Substitute: While butter is king here, you can use ghee or even just a little more olive oil under the skin. Just be warned, the flavor won’t be quite as rich.
- Veggies: Want a one-pot meal vibe? Add some chopped potatoes, carrots, or onions to the bottom of the basket during the last 20-30 minutes of cooking. They’ll soak up those delicious chicken juices!
FAQ (Frequently Asked Questions)
Got questions? I’ve got answers (mostly humorous ones).
- What size chicken works best for the Ninja Foodi XL Pro Air Oven?
I find a 3-4 lb chicken is the sweet spot. Anything larger might be a tight squeeze and could cook less evenly. Measure your oven’s interior space if you’re unsure!
- Do I need to truss the chicken?
Nah, not really for this method. Trussing usually helps with even cooking in a traditional oven, but the air circulation in the Ninja Foodi does most of the heavy lifting here. Less fuss, remember?
- Can I add veggies directly with the chicken from the start?
You can, but they might get a little too done or dry out. I’d recommend adding them during the last 20-30 minutes, or cooking them separately if you want perfectly tender-crisp veggies.
- My skin isn’t getting crispy! What am I doing wrong?
Did you pat it dry? Seriously, this is usually the culprit. Also, ensure you’re not overcrowding the basket and the chicken has enough space for air to circulate all around it. Don’t forget that flip!
- Is it really faster than a conventional oven?
IMO, yes! For a whole chicken, you’re looking at about an hour to an hour and 15 minutes, which is significantly less than the 1.5-2 hours often needed in a traditional oven. Plus, no preheating for an eternity!
- Can I use this recipe for chicken pieces instead of a whole chicken?
Absolutely! The principles are the same, but the cooking time will be much shorter (think 20-30 minutes depending on the size of the pieces). Just keep an eye on that internal temperature!
- What if I don’t have all the spices?
No worries! The key ones are salt, pepper, garlic powder, and onion powder. The others add depth, but you can totally improvise with what you have. A simple salt and pepper rub will still give you a delicious bird.
Final Thoughts
See? You just cooked a whole chicken like a pro, and probably barely broke a sweat. Your Ninja Foodi XL Pro Air Oven is a total rockstar, and so are you! Now go forth and impress your family, your friends, or just yourself (because you deserve it). Slice it up, serve it with some roasted veggies or a simple salad, and bask in the glory of your culinary triumph. You’ve earned it!


