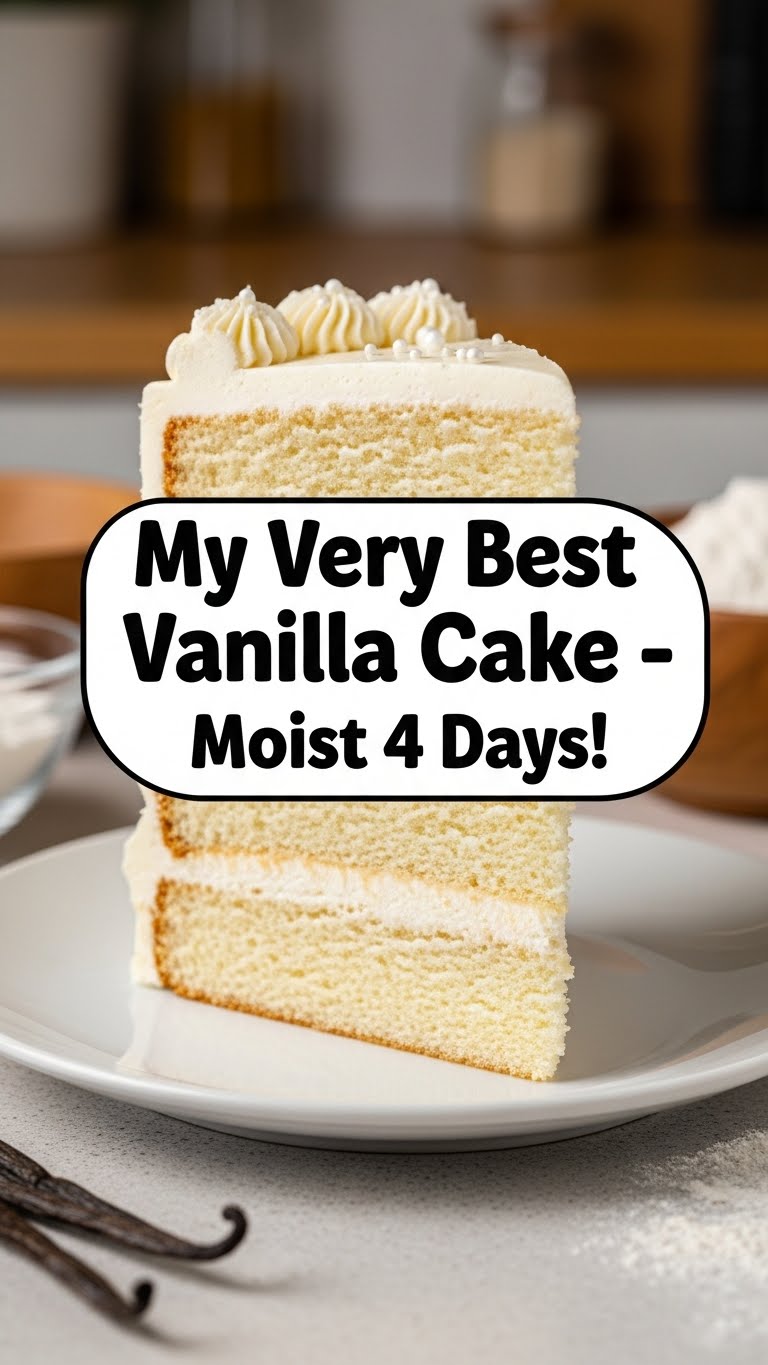
Okay, spill the beans. How many times have you baked a cake, only for it to turn into a delicious, yet crumbly, dry disaster by day two? Me too, friend. Me. Too. It’s a sad, sad culinary tale as old as time. But what if I told you I’ve cracked the code? What if I told you there’s a vanilla cake so ridiculously moist it practically laughs in the face of staleness for *four whole days*? (Spoiler alert: it exists, and you’re about to make it.)
Why This Recipe is Awesome
Let’s be real, vanilla cake is a classic for a reason. But often, it’s just… *fine*. This isn’t just fine. This is “OMG, you made this?!” fine. First off, it’s **idiot-proof**. Seriously, even my cat (who primarily judges my life choices) could probably follow these steps if she had opposable thumbs. Second, and this is the big one, it stays unbelievably moist. We’re talking melt-in-your-mouth, cloud-like texture for ages. No more feeling rushed to devour an entire cake in 24 hours (though, no judgment if you do). Plus, you likely have most of these ingredients already chilling in your pantry. Minimal fuss, maximum deliciousness. It’s truly the MVP of vanilla cakes, and your new go-to.
Ingredients You’ll Need
Gather your troops! Make sure everything is at room temperature. Trust me on this; cold ingredients are the enemy of fluffy cake.
- 2 ½ cups (300g) All-Purpose Flour: The unsung hero, sifted please, for a lighter touch.
- 1 ¾ cups (350g) Granulated Sugar: Sweetness personified, obviously.
- 1 tbsp Baking Powder: Our little lift-off agent.
- ½ tsp Salt: Just a pinch, because balance, darling.
- ¾ cup (170g) Unsalted Butter: Softened, please! Like, really soft, but not melted. We’re not savages.
- 4 Large Eggs: Also room temp. They get shy when cold and don’t mix as well.
- 1 cup (240ml) Whole Milk: Full fat or go home. Seriously, it’s worth it.
- ½ cup (120g) Full-Fat Sour Cream or Plain Greek Yogurt: **Secret weapon alert!** This is what makes it outrageously moist.
- 2 tsp Pure Vanilla Extract: The star of the show. Don’t skimp on the good stuff here; it makes a huge difference.
Step-by-Step Instructions
- Prep Your Stage: Preheat your oven to 350°F (175°C). Grease and flour two 8-inch round cake pans or line with parchment paper. **Don’t skip this critical step** unless you like your cake glued to the pan.
- Whisk the Dry Squad: In a medium bowl, whisk together the flour, sugar, baking powder, and salt. Give it a good whisk to evenly distribute everything.
- Cream the Dream: In a large bowl, using an electric mixer, beat the softened butter until creamy (about 1-2 minutes). Add the eggs, one at a time, beating well after each addition until fully incorporated. Scrape down the sides of the bowl as needed.
- Add the Dairy Duos: In a separate small bowl, whisk together the milk, sour cream (or yogurt), and vanilla extract. This ensures everything is combined before hitting the main bowl.
- Alternate & Conquer: With the mixer on low speed, gradually add the dry ingredients to the butter mixture in three additions, alternating with the wet ingredients in two additions. Begin and end with the dry ingredients. **Stop mixing as soon as everything is just combined.** A few small lumps are totally fine; overmixing is the enemy!
- Bake It ‘Til You Make It: Divide the batter evenly between your prepared cake pans. Bake for 28-32 minutes, or until a wooden skewer or toothpick inserted into the center comes out clean.
- Cool Your Jets: Let the cakes cool in their pans on a wire rack for about 10-15 minutes. Then, carefully invert them onto the wire rack to cool completely. **Patience, young grasshopper.** Don’t rush the cooling, or your cake might pull a Houdini and break.
Common Mistakes to Avoid
Listen, we all make mistakes. But these are the ones that will sabotage your moist cake dreams. Learn from my past kitchen misadventures!
- Using Cold Ingredients: This is a biggie. If your butter, eggs, and milk are cold, they won’t emulsify properly, leading to a denser, less airy cake. Let them chill out on the counter first.
- Overmixing the Batter: Once you add the dry ingredients, mix just until combined. Overmixing develops the gluten, resulting in a tough, chewy cake. We’re going for tender, not tire rubber.
- Not Preheating Your Oven: Your oven needs to be at the correct temperature *before* the cake goes in. Otherwise, the leavening agents won’t activate properly, and your cake won’t rise as well. Rookie mistake!
- Opening the Oven Door Too Soon: I know, the temptation to peek is real. But opening the door lets out heat and can cause your cake to sink. Wait until at least 20 minutes into baking before even thinking about it.
- Overbaking: This is the ultimate killer of moistness. Keep a close eye on your cakes and use the toothpick test. A minute or two extra can mean the difference between heavenly and just… fine.
Alternatives & Substitutions
Feeling adventurous? Or just missing an ingredient? Here are a few swaps that won’t totally derail your cake journey.
- Sour Cream/Yogurt: If you don’t have full-fat sour cream or Greek yogurt, you *could* try buttermilk for a slightly tangier flavor and similar moistness. But my heart truly belongs to the sour cream in this recipe, FYI.
- Milk: While whole milk is king here, 2% milk could work in a pinch. Skim milk? Let’s not go there.
- Vanilla Extract: If you want to elevate this even further, use good quality vanilla bean paste. Those little specks are pure luxury!
- Gluten-Free Flour: I haven’t tested this recipe with GF flour personally, but a good 1:1 gluten-free baking blend that contains xanthan gum *might* work. Proceed with caution and don’t blame me if it’s not quite the same.
FAQ (Frequently Asked Questions)
- Can I use margarine instead of butter? Well, technically yes, but why hurt your soul like that? Butter is flavor, friend. It’s the reason this cake tastes so rich. IMO, stick to the real deal.
- My cake sank in the middle, what happened? Oh, the dreaded sinkhole! Could be a few things: overmixing the batter, underbaking (not cooked through), or opening the oven door too soon while it’s still baking. Next time, give it space and make sure your oven is properly calibrated!
- How do I store this cake to keep it moist for days? An airtight container is your BFF! At room temperature, it’ll stay amazing for 2-3 days. Pop it in the fridge after that for another day or two. Just bring it back to room temp before serving for the best texture.
- Can I make cupcakes instead of a full cake? Absolutely! Just reduce the baking time significantly – usually around 18-22 minutes, but keep an eye on them. You’ll get about 24 cupcakes from this recipe.
- Can I add sprinkles to the batter? Is that even a question?! Of course! Fold them in gently right before dividing into pans. Sprinkle responsibly, or irresponsibly, your choice.
- Can I make this cake ahead of time for a party? You bet! This cake actually gets even better on day two as the flavors meld and the moistness settles in. Bake it, cool it, wrap it well, and frost it closer to serving time.
Final Thoughts
See? That wasn’t so scary, was it? You just conquered the world of perfectly moist, utterly delicious vanilla cake. Now go forth and impress someone—or just yourself—with your new culinary skills. You’ve earned it! Slice yourself a generous piece, maybe slather it with some homemade buttercream (or store-bought, no judgment here), and bask in the glory of your baking prowess. Don’t forget to tell me how it goes! Happy baking, buttercup!


