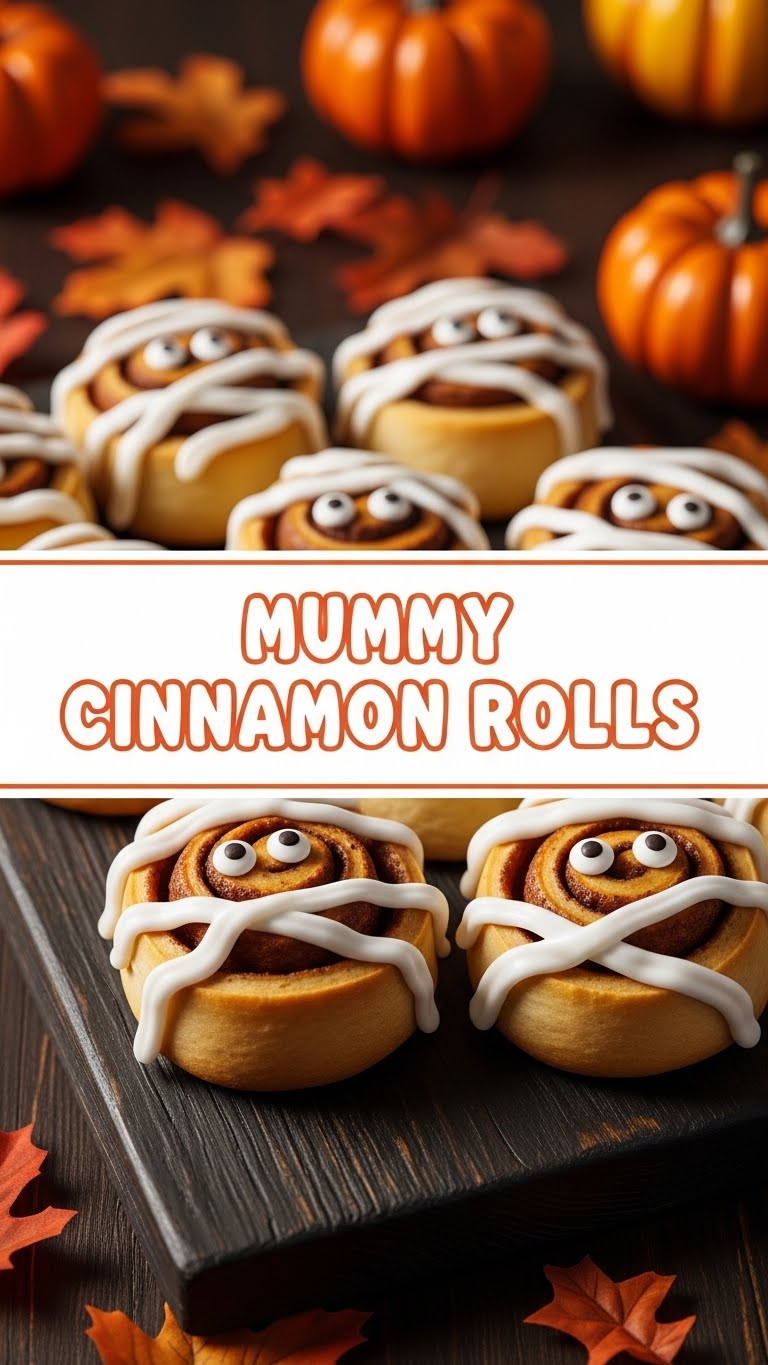
Okay, so you’ve binged all the spooky movies, carved a pumpkin that’s suspiciously lopsided, and now… you’re hungry. But not just any hungry. You’re *dessert* hungry, right? And maybe you want something that looks kinda cool without, like, going to art school? Good news, my friend. I’ve got just the thing: Mummy Cinnamon Rolls!
Why This Recipe is Awesome
Listen up, buttercup. This isn’t just *any* cinnamon roll recipe. This is the “look-how-crafty-I-am-without-actually-being-crafty” recipe. It’s basically semi-homemade magic that screams ‘I tried!’ (but you really didn’t *that* hard). It’s quick, it’s adorable, and it’s surprisingly easy to pull off. Plus, it’s perfect for Halloween parties, a spooky breakfast, or just impressing your cat with your culinary genius.
Ingredients You’ll Need
Gather ’round, my little kitchen goblin. Here’s your loot list:
- One can of refrigerated cinnamon roll dough (the kind with the frosting included, duh): Don’t be fancy, get the basic stuff. We’re going for speed and spookiness, not a bake-off.
- A few extra strips of cream cheese frosting (optional, but highly recommended for extra mummy wrap effect): Because who ever said “too much frosting”? Nobody, that’s who.
- Edible candy eyes (also optional, but c’mon, they’re cute!): This is where the magic happens and your mummies get their soul… or, you know, their gaze.
- A baking sheet: Obvs.
- Parchment paper: To avoid scrubbing for ages. You’re welcome.
Step-by-Step Instructions
Alright, let’s get un-wrapped, I mean, *wrapped* up in this!
- Preheat your oven: Check the can for the exact temperature, usually around 375°F (190°C). Line a baking sheet with parchment paper. This is your future self thanking your present self.
- Unroll the dough: Pop open that can and carefully unroll the cinnamon rolls. Don’t separate them into individual rolls yet! We need them in one long strip for maximum wrapping potential.
- Cut into strips: Carefully cut each unrolled cinnamon roll (from the long strip) into 3-4 narrower strips. Think about the width of a mummy’s bandage. A pizza cutter or a sharp knife works great here.
- Wrap your ‘mummies’: Take a whole cinnamon roll (the original, un-cut size) and place it on your baking sheet. Now, take your narrow strips and wrap them haphazardly around the roll, leaving a little gap near the top center for the ‘eyes’. Don’t worry about perfection; mummies are messy!
- Bake ’em up: Pop those spooky rolls into the preheated oven. Bake according to the package directions, usually 12-15 minutes, until they’re golden brown and smell absolutely divine.
- Frost and decorate: Once they’re out and slightly cooled (give them about 5 minutes), drizzle (or slather, no judgment) the included cream cheese frosting over them like bandages. Leave the eye gap clear. While the frosting is still sticky, gently place two candy eyes in the gap. Boom! Mummy!
Common Mistakes to Avoid
Don’t be that person. Learn from others’ (and my) mishaps:
- Forgetting to preheat the oven: Seriously? We talked about this. Cold ovens are sad ovens and lead to sad rolls. Don’t be that person.
- Over-baking your mummies: They should be golden brown, not charcoal briquettes. Keep an eye on them; nobody wants a crunchy mummy.
- Trying to wrap hot rolls: Patience, grasshopper. Let them cool slightly before frosting and decorating. Otherwise, your frosting will melt into a sad, translucent mess, and your eyes will slide right off. Not a good look for a mummy.
- Eating all the frosting before it’s time: I know, I know, it’s tempting. But resist! Your mummies need their bandages. Self-control, people!
Alternatives & Substitutions
Feeling rebellious? Here are some tweaks:
- No candy eyes? No problem! You can use mini chocolate chips, bits of black licorice, or even just tiny dots of black icing gel for eyes. Get creative! Or just skip ’em; they’ll still be delicious, just less, well, *mummy-like*.
- Want more spice? Sprinkle a little extra cinnamon or even some pumpkin pie spice into the dough before baking. It’s a nice little surprise.
- Different frosting: If you’re feeling ambitious (or just have other frosting on hand), a vanilla buttercream or even a chocolate ganache could work. But IMO, the classic cream cheese frosting just *hits different*.
FAQ (Frequently Asked Questions)
Got questions? I’ve got (mostly sarcastic) answers!
- “Can I make these ahead of time for a party?” Sort of! You can bake the rolls a few hours in advance, but I’d hold off on the frosting and eyes until closer to serving time. Freshly frosted mummies are happy mummies.
- “How do I store any leftover mummies?” Leftovers? What are those? Kidding! Keep them in an airtight container at room temp for a day or two, or in the fridge if your house is warm. Pop them in the microwave for a few seconds to warm them up and make them soft again.
- “My rolls aren’t browning, what’s wrong?” Is your oven actually hot? Did you open the oven door every two seconds? Sometimes ovens are just moody, or you might need an extra minute or two. Trust your nose and eyes more than the timer.
- “Can I use homemade cinnamon roll dough?” Absolutely, you culinary overachiever! Just make sure it’s rolled out thin enough to cut into strips for wrapping. But, like, don’t tell anyone you didn’t use the can; it ruins the ‘effortless magic’ vibe.
- “What if I don’t have parchment paper?” Aluminum foil works too, but grease it well so your mummies don’t stick to their metal coffins. Or just grease the pan directly, but be prepared for a bit more scrubbing. FYI, parchment paper is a game-changer.
- “Can my kids help with this recipe?” OMG, yes! This is super kid-friendly. They can help unroll, wrap the ‘bandages’, and definitely place the candy eyes. Just supervise them with the cutting part, unless you want really abstract mummies.
Final Thoughts
So there you have it, folks! Spooky, sweet, and ridiculously easy Mummy Cinnamon Rolls. You just whipped up something adorable and delicious, proving that you *do* have kitchen skills (even if they involve opening a can). Go ahead, pat yourself on the back. You’ve earned that cozy treat. Now, go share them, or don’t. I won’t tell.


