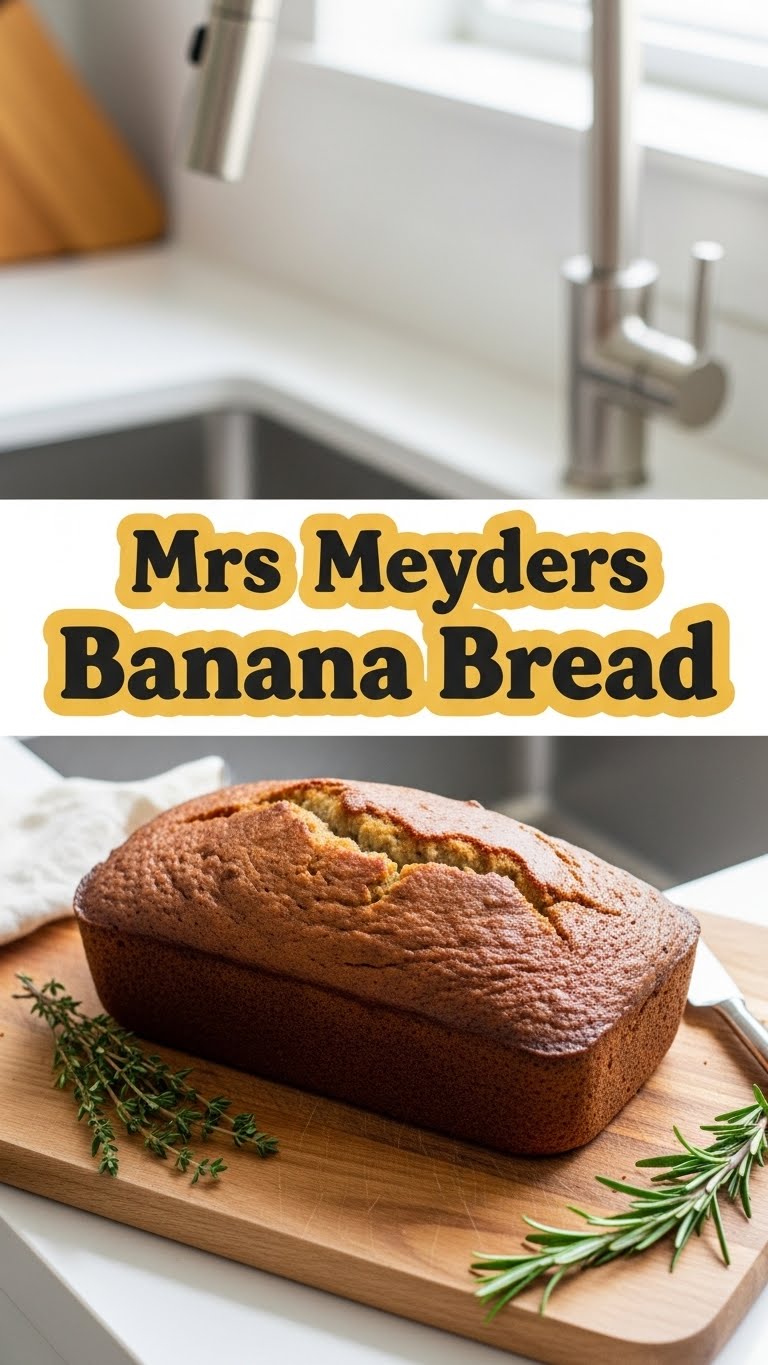
So you’re craving something tasty but too lazy to spend forever in the kitchen, huh? Same. Like, why spend hours baking when you could be, I don’t know, rewatching your favorite comfort show for the fifth time? Exactly. But fear not, my friend, because Mrs. Meyers (bless her banana-bread-baking heart) has blessed us with a recipe that’s so ridiculously easy and delicious, you’ll wonder why you ever bought a loaf from the store. Get ready to bake a batch of pure, unadulterated joy that smells like a hug and tastes like a dream.
Why This Recipe is Awesome
Okay, first things first: this isn’t just *any* banana bread. This is Mrs. Meyers’ Banana Bread. And when I say Mrs. Meyers, I’m talking about that sweet, fictional grandma who probably gives the best hugs and has all the best life hacks. This recipe is her magnum opus. Why is it so awesome, you ask? Well, for starters, it’s pretty much **idiot-proof**. Seriously, if I, a person who once set off a smoke detector with toast, can make this, you can too.
It’s also incredibly moist, perfectly sweet (but not *too* sweet, because balance, darling), and fills your entire home with that warm, cozy aroma that just screams “I have my life together, even if I really don’t.” Plus, it’s a fantastic way to use up those sad, spotty bananas lurking on your counter, silently judging you. No more food waste guilt! You’re basically a hero. You’re welcome.
Ingredients You’ll Need
Gather ’round, my budding baker! Here’s what you’ll need for your culinary masterpiece. Don’t worry, it’s mostly stuff you probably already have, or can grab without a treasure hunt.
- 3-4 medium overripe bananas: We’re talking seriously brown, spotty, “are these still good?” bananas. The uglier, the better. Trust me, they’re holding all the sweetness you need.
- 1/2 cup (113g) unsalted butter: Softened to room temp. Don’t be a hero and try to melt it in the microwave; you’ll regret it. Just leave it out for a bit.
- 1 cup (200g) granulated sugar: Yep, sugar makes everything better. Don’t skimp, unless you like your banana bread tasting like cardboard.
- 1 large egg: Room temperature, if possible, but honestly, if you’re pulling it straight from the fridge, it’s not the end of the world.
- 1 teaspoon vanilla extract: The good stuff. It makes a difference, people!
- 1 1/2 cups (180g) all-purpose flour: Your basic, run-of-the-mill flour. Nothing fancy needed here.
- 1 teaspoon baking soda: This is your leavening agent. It’s what makes the bread rise and not turn into a dense brick.
- 1/2 teaspoon salt: Balances out all that sweetness. Don’t skip it!
- Optional: A sprinkle of cinnamon, a handful of chocolate chips, or chopped walnuts. Live a little!
Step-by-Step Instructions
Alright, apron on, game face on (or not, it’s fine). Let’s get baking!
- Preheat & Prep: First, get that oven going to **350°F (175°C)**. While it’s heating up, grease and flour a 9×5-inch loaf pan. Or, if you’re like me and hate scraping, line it with parchment paper with an overhang. Genius, right?
- Mash ‘Em Up: In a medium bowl, mash those sad-looking bananas with a fork until they’re mostly smooth but still have a few little lumps. We’re not making baby food here, just breaking them down. Set aside.
- Cream the Good Stuff: In a large bowl, cream together the softened butter and granulated sugar until it’s light and fluffy. A hand mixer makes this easy, but a strong arm and a whisk work too. Get those biceps ready!
- Wet Ingredients Unite: Beat in the egg and vanilla extract until everything is well combined. Scrape down the sides of the bowl to make sure no butter or sugar is left behind. Every bit counts!
- Dry Mix Magic: In a separate smaller bowl, whisk together the flour, baking soda, and salt. Make sure it’s all mixed evenly – you don’t want pockets of just baking soda.
- Combine Forces: Add the dry ingredients to the wet ingredients, mixing **just until combined**. A few streaks of flour are totally fine. This is key to a tender loaf, so don’t go crazy with the mixer!
- Banana Time!: Gently fold in your mashed bananas. This is also where you’d toss in any optional add-ins like chocolate chips or nuts. Mix until *just* incorporated.
- Bake It Baby: Pour the batter into your prepared loaf pan and smooth out the top. Pop it into the preheated oven and bake for **50-65 minutes**.
- The Toothpick Test: You’ll know it’s done when a wooden skewer or toothpick inserted into the center comes out clean or with a few moist crumbs. If it’s still wet, give it a few more minutes.
- Cool Down: Let the bread cool in the pan for about 10 minutes before carefully transferring it to a wire rack to cool completely. Patience, young padawan! It’s worth it.
Common Mistakes to Avoid
Listen up, buttercup, because these little missteps can turn your masterpiece into a “meh-sterpiece.”
- Using underripe bananas: This is like trying to make lemonade with unripe lemons. Just don’t. Your bread will lack flavor and sweetness.
- **Overmixing the batter:** Seriously, I cannot stress this enough. Once you add the flour, mix **just until combined**. Overmixing develops the gluten too much, resulting in tough, chewy bread. We want tender and moist, not shoe leather.
- Not preheating the oven: Rookie mistake! A cold oven means your bread won’t rise properly and will bake unevenly. Give that oven time to get to temp.
- Opening the oven door too soon: Resist the urge to peek during the first 30-40 minutes. The sudden temperature drop can make your bread collapse.
- Overbaking: This is the fast lane to dry, crumbly banana bread. Start checking at the lower end of the baking time, and remember the toothpick test!
Alternatives & Substitutions
Feeling adventurous? Or maybe you just ran out of something? Here are some quick fixes and fun swaps:
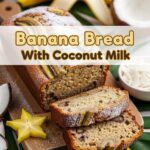
- No butter? No problem! You can totally use **1/2 cup of vegetable oil or melted coconut oil** instead of butter. The texture might be slightly different, but it’ll still be delicious.
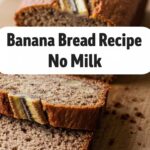
- Healthier-ish swap: Swap out half the all-purpose flour for **whole wheat flour** for a bit more fiber. Or, for a gluten-free version, use a 1:1 gluten-free baking blend. (Just make sure it has xanthan gum!)
- Sweetener switcheroo: You can reduce the granulated sugar slightly (say, to 3/4 cup) if you prefer less sweet, especially if your bananas are *super* ripe. You could also try **brown sugar** for a deeper, molasses-y flavor. Yum!
- Add-in Extravaganza: Get creative! Chocolate chips (dark, milk, white – pick your poison!), chopped walnuts or pecans, shredded coconut, a handful of dried cranberries… The world is your banana bread oyster!
- Spice it up: A pinch of **nutmeg or allspice** can add another layer of cozy flavor.
FAQ (Frequently Asked Questions)
- Can I use margarine instead of butter? Well, technically yes, but why hurt your soul like that? Butter just tastes better, IMO. Margarine might work, but your flavor won’t be as rich.
- My bananas aren’t super ripe. What can I do? If you’re desperate, you can bake them unpeeled on a baking sheet at 300°F (150°C) for 15-30 minutes until they turn black and soft. Or just wait, patience is a virtue!
- How long does this glorious loaf last? Covered tightly at room temperature, it’ll be good for 2-3 days. In the fridge, it can stretch to about a week. But honestly, it rarely lasts that long!
- Can I freeze banana bread? Absolutely! Wrap a cooled loaf (or slices) tightly in plastic wrap, then again in foil. It’ll keep for up to 3 months in the freezer. Just thaw on the counter when you’re ready for a banana bread emergency.
- What if my bread is too dry? You probably overbaked it, my friend. Next time, keep a closer eye on it and pull it out as soon as the toothpick comes out clean. Under-baking slightly is better than over-baking.
- Can I make muffins instead? You betcha! Fill greased muffin tins about two-thirds full and bake for 20-25 minutes, or until a toothpick comes out clean. Same deliciousness, just in cute little packages!
Final Thoughts
And there you have it, folks! Your very own, incredibly easy, ridiculously delicious Mrs. Meyers Banana Bread. Go ahead, bask in the glory of your baking prowess. Share it with friends, hoard it for yourself (no judgment here), or just slice it thick, slather it with butter, and enjoy a moment of pure bliss. Now go impress someone—or yourself—with your new culinary skills. You’ve earned it!
