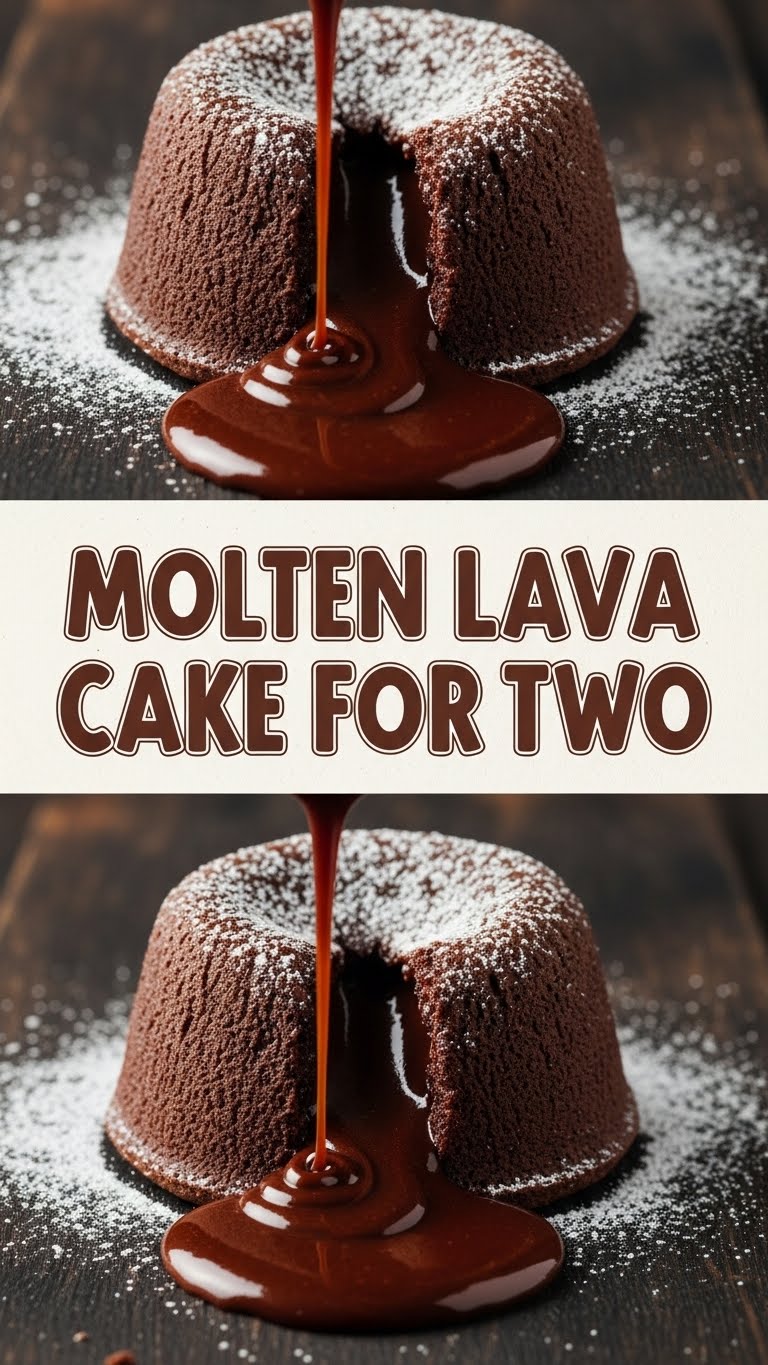
So you’re craving something ridiculously tasty but too lazy to spend forever in the kitchen, huh? Same. We’ve all been there: that sudden, intense need for something warm, gooey, and chocolatey that screams “I tried!” but actually took like, 20 minutes. Enter the molten lava cake for two. This isn’t just a dessert; it’s a date night hero, a solo indulgence, or just a Tuesday pick-me-up. And spoiler alert: it’s embarrassingly easy.
Why This Recipe is Awesome
Okay, let’s get real. This isn’t just “awesome,” it’s practically a magic trick. You throw a few things together, pop it in the oven, and BAM! You’ve got a sophisticated, restaurant-quality dessert that will make anyone think you’re some kind of culinary genius. **It’s practically idiot-proof**, even I didn’t mess it up on my first try (and my track record with baking is… let’s just say “adventurous”). It requires minimal ingredients, minimal effort, and delivers maximum wow-factor. Plus, it’s portioned for two, so you don’t have a giant cake staring at you from the fridge, judging your life choices at 3 AM. Unless you eat both, which, no judgment here.
Ingredients You’ll Need
Get ready for a super short shopping list! These are the stars of our show:
- Good Quality Dark Chocolate (60-70% cocoa): About 3.5 ounces (100g). Don’t cheap out here! This is the heart of your lava, so make it count. No waxy stuff, please.
- Unsalted Butter: 1/2 stick (4 tablespoons or 56g). Because everything’s better with butter, right?
- Large Egg: 1 whole egg.
- Large Egg Yolk: 1 extra yolk for that extra richness and gooey factor. It’s like a secret weapon.
- Granulated Sugar: 1/4 cup (50g). Just enough to sweeten the deal without making it cloying.
- All-Purpose Flour: 2 tablespoons (16g). A tiny bit to give it structure, but not too much, or you’ll lose the lava!
- Vanilla Extract: 1/2 teaspoon. A non-negotiable for warmth and depth.
- Pinch of Salt: Just a tiny bit to balance all that chocolatey goodness. Trust me on this one.
- Optional for dusting: Cocoa powder or powdered sugar. For that “I’m fancy” finish.
Step-by-Step Instructions
- Preheat & Prep: Preheat your oven to a cozy 425°F (220°C). Grab two 4-ounce ramekins (those cute little oven-safe bowls). **Butter them generously** and dust them with a little cocoa powder or flour. This is your insurance against stuck cakes, don’t skip it!
- Melt the Magic: In a microwave-safe bowl (or a double boiler if you’re feeling extra chef-y), combine your chopped chocolate and butter. Microwave in 30-second bursts, stirring in between, until it’s gloriously smooth and melted. Set it aside to cool slightly.
- Whip It Good: In another medium bowl, whisk together the whole egg, egg yolk, granulated sugar, vanilla extract, and that tiny pinch of salt. Whisk until it’s light in color and slightly fluffy, about 1-2 minutes.
- Combine Forces: Slowly pour the slightly cooled melted chocolate mixture into your egg mixture, whisking constantly until it’s all combined and looking fabulous.
- Fold in the Flour: Gently fold in the flour until *just* combined. Don’t overmix, or your cakes might get tough – we want tender and gooey!
- Fill ‘Em Up: Divide the batter evenly between your two prepared ramekins.
- Bake to Perfection: Pop those beauties into your preheated oven. Bake for **12-14 minutes**. The edges should be set, but the center should still look a bit jiggly. That jiggle is your molten core in the making!
- The Grand Reveal: Carefully remove the ramekins from the oven. Let them cool for just 1-2 minutes. Then, run a knife around the edge of each cake, invert onto a plate, and lift the ramekin. If it doesn’t come right out, give the bottom a gentle tap.
- Serve & Devour: Dust with cocoa powder or powdered sugar, add a scoop of vanilla ice cream or fresh berries, and dig in immediately! That warm, flowing chocolate center is what we live for.
Common Mistakes to Avoid
Listen, we’ve all been there, staring at a baking disaster. Here’s how to avoid common lava cake woes:
- **Thinking you don’t need to preheat the oven:** Rookie mistake! Your cakes won’t cook evenly, and you’ll end up with a dry edge and a still-raw center. Nope!
- **Overbaking:** This is the #1 killer of the lava cake dream. If you bake it too long, you’ll end up with a delicious chocolate cake… but no molten center. Keep an eye on that jiggle! **When in doubt, underbake slightly.**
- **Not greasing and dusting the ramekins:** Seriously, this is not the time to be lazy. Your cake will stick, and you’ll be left with a sad, broken mess instead of a perfectly unmolded beauty.
- **Using cheap chocolate:** Remember, the chocolate is the star here. If you use waxy, low-quality chocolate, your lava will taste… well, waxy and low-quality. Invest in decent stuff, your taste buds will thank you.
Alternatives & Substitutions
Feeling adventurous? Here are some ways to shake things up:
- Chocolate Choices: While dark chocolate is classic, you can totally use semi-sweet if that’s your jam. Just adjust the sugar slightly if you prefer it less sweet. Milk chocolate might be a bit too sweet and less “lava-like,” IMO.
- Flavor Boosters: Add a pinch of espresso powder to the chocolate for a deeper flavor, or a tiny dash of cayenne pepper for a subtle spicy kick. Orange zest grated into the batter is also divine!
- Gluten-Free: Swap the all-purpose flour for a good quality gluten-free all-purpose flour blend (one that contains xanthan gum usually works best).
- Dairy-Free: You can use a plant-based butter alternative and good quality dairy-free dark chocolate.
- Toppings Galore: Beyond ice cream, think fresh raspberries, a dollop of whipped cream, a drizzle of caramel sauce, or even a sprinkle of sea salt to really make the flavors pop.
FAQ (Frequently Asked Questions)
- Can I use margarine instead of butter? Well, technically yes, but why hurt your soul like that? Butter just tastes better and provides a richer texture. But if it’s all you have, go for it!
- How do I know when it’s perfectly done? The edges should be firm and set, but the very center will still look soft and jiggly when you gently shake the ramekin. This means the magic is still happening inside!
- Can I prepare the batter ahead of time? Absolutely! You can mix the batter, cover it, and refrigerate for up to 24 hours. Just give it a good stir before pouring into ramekins and add an extra minute or two to the baking time.
- What if I don’t have ramekins? You can use oven-safe mugs, small soufflé dishes, or even a standard muffin tin (fill 2 wells about 2/3 full). Just keep an eye on baking times, as they might vary.
- My cakes didn’t “lava.” What happened? Almost certainly overbaked. Next time, pull them out a minute or two sooner. It’s a fine line, but worth perfecting!
- Can I double the recipe? You bet! Just multiply all ingredients by two and use four ramekins. Easy peasy.
- What’s the best chocolate to use? A good quality dark chocolate with 60-70% cocoa solids. Brands like Ghirardelli, Lindt, or Callebaut are great.
Final Thoughts
And there you have it, folks! Your new go-to, impress-everyone, surprisingly simple molten lava cake for two. This recipe is proof that you don’t need to be a Michelin-star chef to whip up something truly decadent. It’s all about that gooey, chocolatey heart. Now go forth, preheat that oven, and get baking! You’ve officially leveled up your dessert game. Now go impress someone—or yourself—with your new culinary skills. You’ve earned it!


