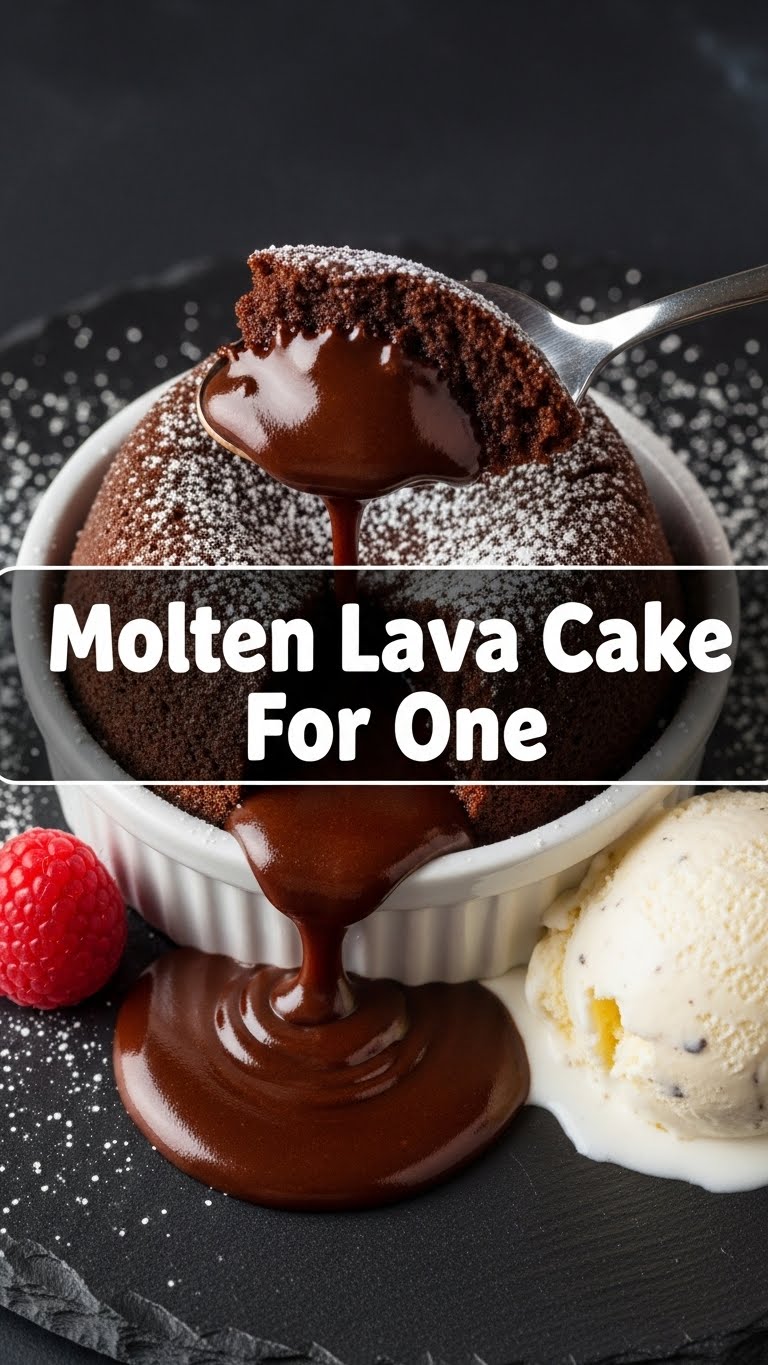
So, you’re craving something delicious, chocolatey, and kinda fancy-looking but too lazy to spend forever in the kitchen (or, let’s be real, bake a whole cake just for yourself)? Same. You’ve hit the jackpot, my friend, because today we’re tackling the legendary Molten Lava Cake, but wait for it… **FOR ONE!** No sharing required, no leftover guilt, just pure, unadulterated, gooey goodness perfectly portioned for your glorious self.
Why This Recipe is Awesome
Okay, let’s be honest. This isn’t just a recipe; it’s a life hack disguised as dessert. Why is it awesome? Because it makes you look like a culinary wizard without actually having to *be* one. Seriously, it’s so **idiot-proof**, even I didn’t mess it up (and I once tried to microwave water for tea without putting water in the mug – don’t ask). It’s lightning fast, uses minimal dishes (a win!), and delivers that dramatic, ooey-gooey chocolate center that makes everyone go “oooooh.” Plus, it’s a one-way ticket to instant gratification without the commitment of an entire cake. What’s not to love?
Ingredients You’ll Need
Gather your edible treasures, my friend! For this magical single-serving indulgence, you won’t need much. Think of it as minimalist baking.
- **2 oz (about 55g) Good Quality Dark Chocolate:** Go for something around 60-70%. This is the star, so don’t skimp unless you *want* a mediocre cake. Your taste buds will thank you.
- **2 tbsp Unsalted Butter:** Because everything’s better with butter, right?
- **1 Large Egg Yolk:** We’re going for richness, baby! Save the egg white for an omelet later or just, you know, discard it if you’re feeling wild.
- **2 tbsp Granulated Sugar:** Just enough sweetness to balance that dark chocolate.
- **1 tbsp All-Purpose Flour:** Gives it just enough structure so it doesn’t totally collapse into a puddle (unless that’s your goal, then go nuts).
- **Pinch of Salt:** Don’t skip this! It enhances all those chocolatey flavors. It’s like a secret weapon.
- **Optional:** A tiny dash of vanilla extract for extra pizzazz, or a sprinkle of cocoa powder/confectioners’ sugar for dusting.
Step-by-Step Instructions
Alright, apron on (or not, we’re informal here), let’s get this show on the road! You’ll be eating cake in no time.
- **Preheat Your Oven & Prep Your Ramekin:** Crank that oven up to **400°F (200°C)**. Grab a 4-6 oz ramekin (or even a small oven-safe mug if you’re living dangerously). **Grease it generously with butter** and then lightly dust with cocoa powder or flour. This is crucial for easy unmolding!
- **Melt the Dream Team:** In a small microwave-safe bowl (or a double boiler if you’re feeling fancy), combine your dark chocolate and butter. Microwave in 15-second intervals, stirring after each, until smooth and fully melted. Don’t burn it! Chocolate can be temperamental.
- **Whisk It Real Good:** In another small bowl, whisk the egg yolk and granulated sugar together until they’re light in color and a bit fluffy. This usually takes about 30 seconds to a minute.
- **Combine the Magic:** Pour your melted chocolate-butter mixture into the egg yolk-sugar mixture. Stir it gently until just combined. Then, fold in the flour and that pinch of salt. Mix until there are no dry streaks, but don’t overmix – we don’t want tough cake.
- **Bake Your Masterpiece:** Pour the batter into your prepared ramekin. Place it on a small baking sheet (just for easier handling, not strictly necessary) and pop it into your preheated oven.
- **The Moment of Truth:** Bake for **12-14 minutes**. The edges should look set, but the center should still be jiggly. This jiggly center is the key to molten success! If it looks completely firm, you’ve gone too far.
- **Unmold & Devour:** Carefully remove from the oven. Let it cool in the ramekin for about 1-2 minutes. Then, place a plate upside down over the ramekin, flip, and gently lift the ramekin off. If it doesn’t come out easily, run a knife around the edge. Top with a scoop of ice cream, some berries, or just eat it plain. You’ve earned it!
Common Mistakes to Avoid
Look, we all make mistakes. But let’s try to avoid *these* particular blunders to ensure your molten dreams come true.
- **Forgetting to Preheat the Oven:** Rookie mistake. Your oven needs to be super hot to get that perfect crust and molten center. Don’t put it in a cold oven and hope for the best.
- **Not Greasing/Flouring the Ramekin Properly:** You *will* regret this. Your beautiful cake will stick, and you’ll end up scraping delicious bits off the bottom. Sadness.
- **Overbaking:** This is the #1 killer of molten lava cakes. If you bake it too long, you’ll just have a small chocolate cake. Still tasty, but where’s the lava?! Keep an eye on that jiggle!
- **Using Cheap Chocolate:** Your cake will only be as good as your chocolate. Don’t disrespect your dessert (or yourself!) with waxy, bland chocolate.
Alternatives & Substitutions
Feeling adventurous or just missing an ingredient? No stress, we can totally pivot! (Within reason, this isn’t a science experiment, unless you want it to be.)
- **Chocolate Choice:** Not a fan of dark? You can use milk chocolate, but it might be sweeter and slightly less intense. If you use white chocolate, you’re on your own, buddy. That’s a different beast entirely.
- **Flour Power:** You can try gluten-free all-purpose flour blends if you’re avoiding gluten. I haven’t tested it myself, but generally, it should work fine for this small amount.
- **Flavor Boosts:** A tiny bit of espresso powder really amplifies chocolate flavor. Or, for a boozy kick, add a half teaspoon of Kahlua or Grand Marnier with the melted chocolate. Oh la la!
- **Dairy-Free?:** You *could* try dairy-free chocolate and a plant-based butter alternative, but I can’t guarantee the exact same texture. It’ll still be delicious, just… different.
FAQ (Frequently Asked Questions)
- **Can I use margarine instead of butter?** Well, technically yes, but why hurt your soul like that? Butter just tastes better and contributes to a richer texture. IMO, it’s worth the real deal.
- **How do I know when it’s perfectly done?** The edges should be set and slightly firm, but the center should still look wet and jiggle when you gently shake the ramekin. If it looks fully puffed up and solid, it’s probably overbaked.
- **What if I don’t have a ramekin?** A small oven-safe coffee mug or a custard cup can work in a pinch! Just make sure it’s actually oven-safe, unless you’re looking to add “explosive ceramics” to your evening.
- **Can I make the batter ahead of time?** You can, but it’s best baked fresh. If you must, cover the batter and refrigerate for up to a day. Bring to room temperature before baking, and you might need an extra minute or two in the oven.
- **What are the best toppings?** Oh, the possibilities! A scoop of vanilla bean ice cream (classic!), fresh raspberries or strawberries (cuts the richness!), a dusting of powdered sugar, or a drizzle of caramel sauce. Get creative!
- **Can I double this recipe for two?** Absolutely! Just double all ingredients and either bake in two separate ramekins or a larger one (though baking time might need adjusting for a larger single cake). Just FYI, sharing is caring… sometimes.
Final Thoughts
So there you have it! Your very own personal Molten Lava Cake, ready in a flash, perfect for those moments when only pure, unadulterated chocolatey bliss will do. It’s proof that you don’t need a fancy pastry degree or hours in the kitchen to make something truly spectacular. Now go impress someone—or more importantly, yourself—with your new culinary skills. You’ve earned this molten masterpiece!


