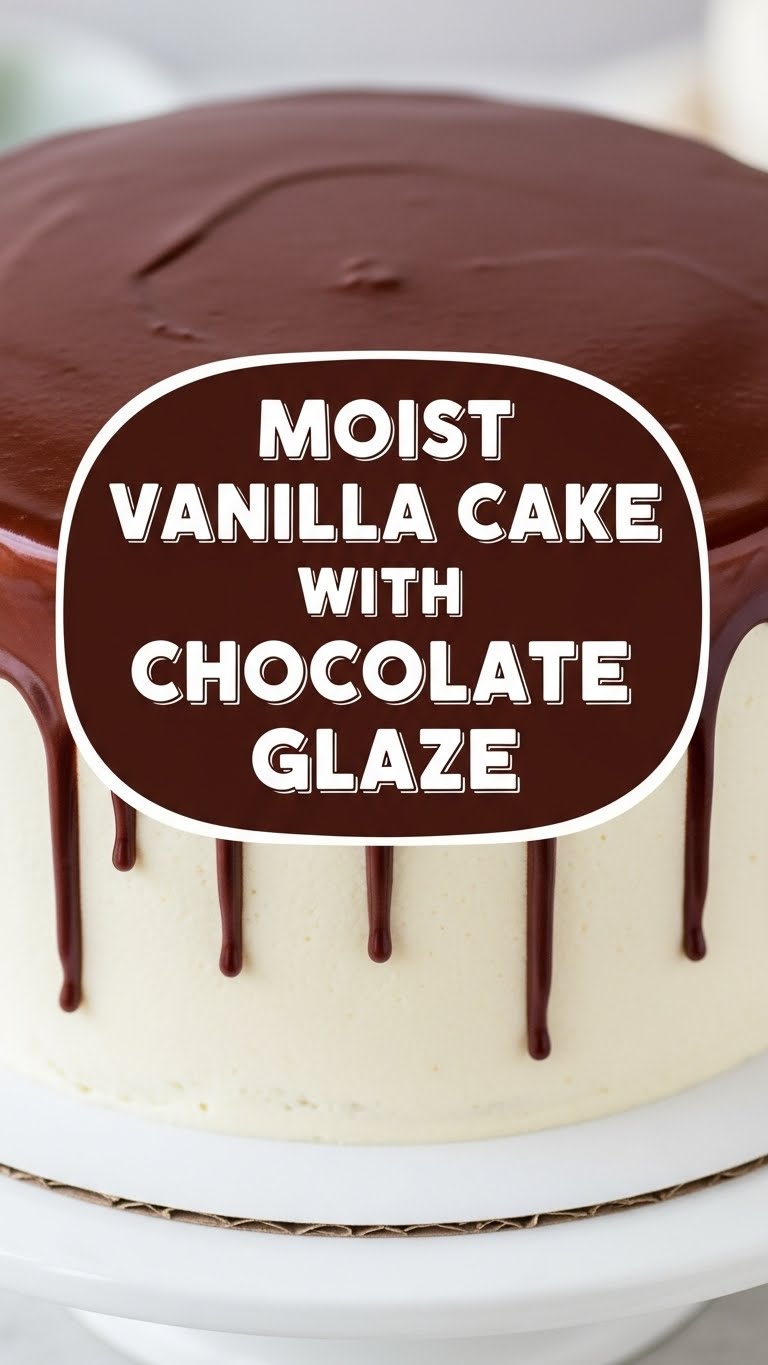
So, you’ve got that classic “I need cake right now” feeling, but also that “Ugh, too much effort” vibe? Been there, baked that! This moist vanilla cake with a ridiculously easy chocolate glaze is your new best friend. Seriously, it’s a hug in cake form, and you’re about to become its biggest fan. Let’s get baking without breaking a sweat, shall we?
Why This Recipe is Awesome
Why settle for dry, crumbly sadness when you can have a moist, dreamy cloud of vanilla goodness? This recipe isn’t just easy; it’s practically idiot-proof. Even if your culinary skills usually involve calling for takeout, you’ve got this. Plus, who doesn’t love a classic vanilla cake? It’s like the little black dress of desserts – always a good idea, and always a crowd-pleaser (or a ‘me-pleaser’ if you’re not sharing, no judgment here!). It’s the perfect balance of simple, comforting, and utterly delicious.
Ingredients You’ll Need
Time to gather your baking squad! Most of these you probably already have lurking in your pantry.
For the Cake:
- 1 ½ cups (180g) All-purpose flour: The backbone of your delicious dreams.
- 1 cup (200g) Granulated sugar: Because sweetness makes the world go ’round.
- 1 ½ teaspoons Baking powder: Our little helper for fluffy cake magic.
- ½ teaspoon Salt: Just a pinch to wake up those flavors.
- ½ cup (113g) Unsalted butter: Softened, please. Don’t be a monster and use it cold!
- 2 Large eggs: Room temperature is key, trust me on this.
- ¾ cup (180ml) Whole milk: Also room temp, for maximum emulsification action.
- 1 ½ teaspoons Vanilla extract: The star of the show. Don’t skimp on the good stuff!
For the Chocolate Glaze:
- 1 cup (120g) Powdered sugar: For that silky smooth finish.
- ¼ cup (25g) Unsweetened cocoa powder: The chocolatey goodness!
- 2-3 tablespoons Whole milk (or heavy cream): Just a splash to bring it all together.
- ½ teaspoon Vanilla extract: A tiny bit for depth.
- Pinch of salt: Enhances the chocolate flavor, don’t skip it!
Step-by-Step Instructions
- Get Ready, Get Set, Bake! Preheat your oven to 350°F (175°C). Lightly grease and flour an 8×8 inch square pan or a 9-inch round cake pan. Line the bottom with parchment paper for easy release – a non-negotiable step, trust me!
- Dry Mix Fun: In a medium bowl, whisk together the flour, sugar, baking powder, and salt. Give it a good whisk to make sure everything is evenly distributed.
- Wet Mix Magic: In a separate, larger bowl, cream together the softened butter and eggs until light and fluffy. This usually takes about 2-3 minutes with an electric mixer.
- Combine Forces: Gradually add the dry ingredients to the wet ingredients, alternating with the milk. Start and end with the flour mixture. Don’t overmix! Mix just until combined, a few lumps are totally fine. Finally, stir in that glorious vanilla extract.
- Bake Time Baby! Pour the batter into your prepared pan and smooth the top. Bake for 30-35 minutes, or until a wooden skewer inserted into the center comes out clean.
- Cool Down: Let the cake cool in the pan for about 10-15 minutes before inverting it onto a wire rack to cool completely. Patience is a virtue here!
- Glaze It Up! While the cake cools, whisk together all the glaze ingredients (powdered sugar, cocoa powder, milk, vanilla, salt) in a small bowl until smooth. If it’s too thick, add a tiny bit more milk; too thin, add more powdered sugar.
- Drizzle and Devour: Once the cake is completely cool (seriously, don’t glaze a warm cake unless you want a chocolate puddle), pour the glaze over it, letting it drip down the sides. Slice, serve, and accept all the compliments!
Common Mistakes to Avoid
We’ve all been there, baking disasters are part of the journey! Here are a few common pitfalls to steer clear of:
- Cold Ingredients: Using butter, eggs, or milk straight from the fridge is a one-way ticket to a dense, sad cake. Room temp is your BFF here – it helps everything emulsify properly for a smooth, tender crumb.
- Overmixing: Once the flour hits the wet ingredients, mix just until combined. Overmixing develops the gluten too much, leading to a tough, chewy cake. Nobody wants a rubbery cake!
- Opening the Oven Door Too Soon: Resist the urge to peek before the 25-minute mark. Your cake needs that consistent heat to rise properly. It’s not a microwave, people!
- Glazing a Warm Cake: I know, I know, the temptation is real. But seriously, wait until the cake is *completely* cool, or your beautiful glaze will melt into a messy puddle. Rookie mistake!
Alternatives & Substitutions
Life happens, and sometimes you don’t have exactly what the recipe calls for. No stress, we can totally improvise!
- Milk: Out of whole milk? You *can* use 2% or even 1% in a pinch, but whole milk gives the best richness. For a dairy-free option, unsweetened almond milk works quite well!
- Butter: Salted butter? Just reduce the added salt in the cake recipe by about half. Margarine? Well, technically yes, but IMO, butter just tastes better and provides a superior texture.
- Glaze variations: Feeling fancy? Add a tiny bit of espresso powder to the chocolate glaze for a mocha kick. Or, if you’re not a chocolate fan (gasp!), a simple powdered sugar and milk glaze with a bit of lemon zest is also delightful. For a creamier, richer chocolate, melt some semi-sweet chocolate chips with a tablespoon of butter and a splash of cream instead.
FAQ (Frequently Asked Questions)
- My cake looks a little dry. What did I do wrong? Probably overbaked it! Ovens vary, so keep an eye on it after the 25-minute mark. A skewer coming out with moist crumbs is perfect; completely dry means it’s a tad overdone.
- Can I make this into cupcakes? Absolutely! Divide the batter into cupcake liners and bake for 18-22 minutes. Keep an eye on them, though, as baking times differ.
- How long does this cake last? Covered tightly at room temperature, it’s usually good for 3-4 days. But let’s be real, it rarely lasts that long!
- What if I don’t have parchment paper? While I highly recommend it for easy release, you can heavily grease and flour the pan. Just make sure to get into all the nooks and crannies!
- Can I double the recipe for a bigger cake? You bet! Just use a 9×13 inch pan and adjust baking time accordingly (it’ll likely be longer, around 40-50 minutes).
- My glaze is too thin/thick! Help! No worries! Too thin? Whisk in a tablespoon more powdered sugar. Too thick? Add a *teaspoon* of milk at a time until it’s perfect. Easy peasy!
- Can I use a different pan size? You can! Just know that the baking time will change. A smaller, deeper pan will take longer, while a larger, shallower pan will bake faster. Always do the skewer test!
Final Thoughts
See? That wasn’t so scary, was it? You just whipped up a genuinely delicious, moist vanilla cake with a luscious chocolate glaze. Now go ahead, pat yourself on the back! Share it with friends, hoard it for yourself, or just marvel at your own baking prowess. You deserve that sweet treat, and honestly, you earned those bragging rights. Happy baking, my friend!


