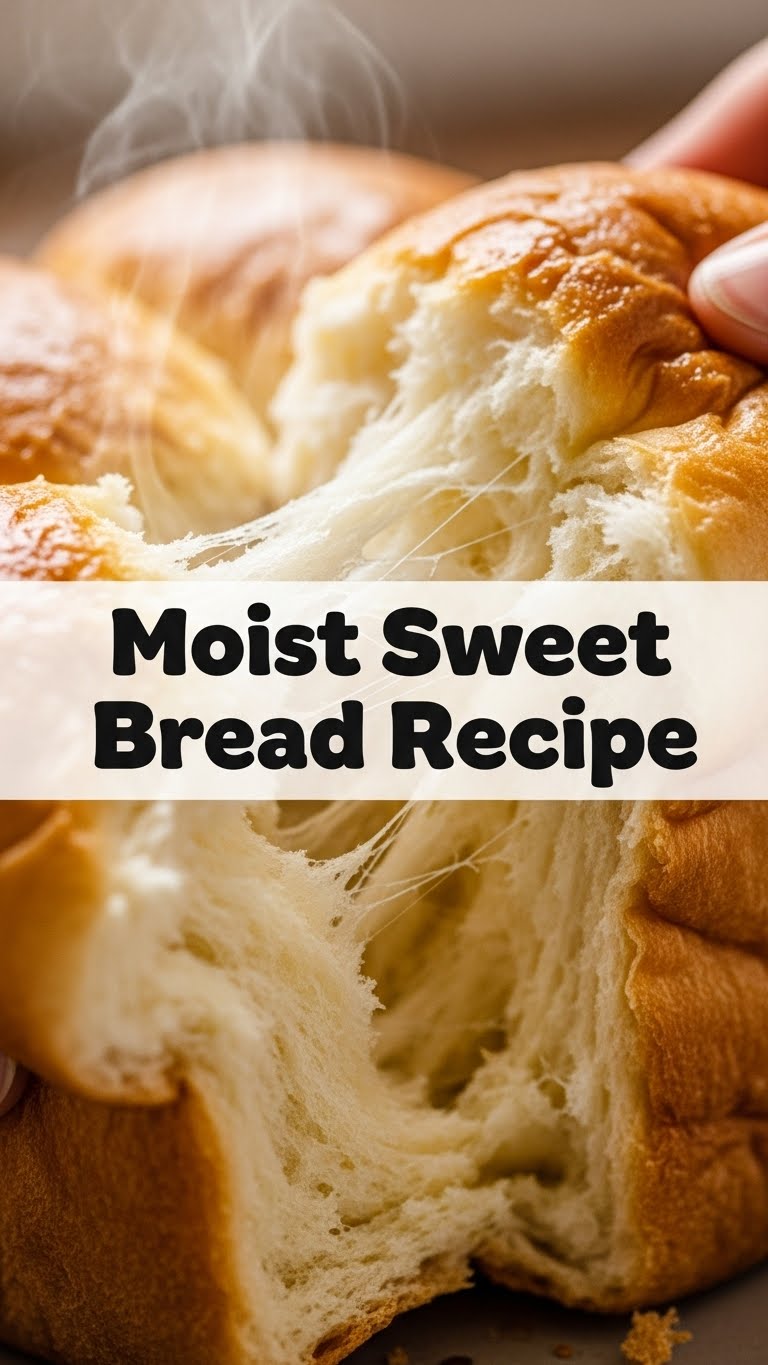
So, you’re looking for that perfect, hug-in-a-loaf experience, but you’re also not trying to spend your entire weekend playing master baker, right? Same, friend, *same*. We want deliciousness without the drama, softness without the struggle. And guess what? Your wish is my command. Get ready for a sweet bread that’s so moist, it practically melts in your mouth, and so easy, you’ll wonder why you ever bought it from a store.
Why This Recipe is Awesome
Okay, let’s be real. There are a gazillion sweet bread recipes out there. So why *this* one? Because it’s practically **idiot-proof**. No, seriously, I made it, and I’ve been known to burn water. This recipe is your culinary wingman, ensuring you come out looking like a kitchen genius with minimal effort. It’s forgiving, uses pretty standard ingredients you probably already have lurking in your pantry, and the end result? Pure, unadulterated comfort. It’s the kind of bread that makes your house smell like a bakery and your soul feel like it just got a warm blanket. Plus, it’s ridiculously moist – no dry, crumbly sadness here!
Ingredients You’ll Need
- 3 cups All-Purpose Flour: The backbone of our operation. Don’t stress too much about sifting, unless you’re feeling fancy.
- 1/2 cup Granulated Sugar: For that essential sweetness. Because, well, it’s *sweet* bread. Duh.
- 1 packet (2 1/4 tsp) Active Dry Yeast: Our little magic makers. Make sure it’s not expired unless you enjoy dense bricks.
- 1/2 tsp Salt: Don’t skip this! It balances the sweetness and makes everything taste better. It’s like the unsung hero of baking.
- 1 cup Whole Milk: Warmed slightly (think lukewarm, not hot tub). This wakes up our yeast buddies.
- 1/4 cup Unsalted Butter: Melted and slightly cooled. Real butter, people! Your tastebuds deserve it.
- 1 Large Egg: Lightly beaten. Gives our bread richness and a beautiful golden hue.
- 1 tsp Vanilla Extract: Because vanilla makes everything taste like a warm hug.
- Optional: 1/2 cup raisins, chocolate chips, or candied fruit (if you’re feeling extra).
Step-by-Step Instructions
- **Activate Your Yeast:** In a large bowl, combine the warm milk and a teaspoon of the sugar. Sprinkle the yeast over the top. Let it sit for about 5-10 minutes until it gets foamy. If it doesn’t foam, your yeast is probably dead. RIP. Start over!
- **Mix the Wet:** Once the yeast is bubbly, stir in the melted butter, beaten egg, and vanilla extract. Give it a good whisk to combine everything nicely.
- **Combine Dry & Wet:** In a separate bowl, whisk together the flour, remaining sugar, and salt. Gradually add the dry ingredients to the wet ingredients, mixing until a shaggy dough forms.
- **Knead It Out:** Turn the dough out onto a lightly floured surface. Knead for about 5-7 minutes until the dough is smooth and elastic. If you’re adding optional mix-ins, incorporate them during the last minute of kneading. **Don’t over-knead!**
- **First Rise (The Beauty Sleep):** Lightly grease a clean bowl. Place the dough in the bowl, turning once to coat. Cover with plastic wrap or a clean kitchen towel. Let it rise in a warm place for 1 to 1.5 hours, or until doubled in size.
- **Shape & Second Rise:** Gently punch down the dough to release the air (satisfying, right?). Shape it into a loaf and place it in a greased 9×5-inch loaf pan. Cover again and let it rise for another 30-45 minutes, or until nearly doubled.
- **Preheat & Bake:** While your bread is doing its final rise, preheat your oven to 375°F (190°C). Once risen, bake for 30-35 minutes, or until golden brown and it sounds hollow when tapped.
- **Cool Down:** Let your gorgeous loaf cool in the pan for 10-15 minutes before transferring it to a wire rack to cool completely. **Patience is a virtue here!**
Common Mistakes to Avoid
- **Using Hot Milk:** You’ll kill your yeast. Warm is good; scalding is a no-go. Think baby bathwater, not boiling lava.
- **Skipping the Knead (or Over-Kneading):** Under-kneading makes for dense bread. Over-kneading can make it tough. Aim for smooth and elastic, then stop.
- **Impatience with Rising:** Don’t rush the rise times! Yeast needs its time to do its magic. A cold kitchen will make it take longer, so find a cozy spot.
- **Opening the Oven Door Too Early:** Resist the urge to peek during the first 20 minutes. You’ll let out heat and could cause your bread to collapse.
- **Not Cooling Completely:** I know, I know, the smell is intoxicating. But slicing hot bread can make it gummy. Let it chill.
Alternatives & Substitutions
Feeling adventurous? Here are some tweaks:
- **Flour Power:** You *can* use part whole wheat flour (up to 1 cup) for a nuttier flavor, but **FYI**, it might make the bread a tad denser. Keep it mostly all-purpose for that classic soft texture.
- **Milk It:** No whole milk? You can use 2% or even unsweetened almond milk in a pinch. Just know that whole milk gives the best richness.
- **Butter vs. Oil:** You could swap the butter for an equal amount of neutral oil (like vegetable or canola) for a slightly different texture, but **IMO**, butter adds unbeatable flavor.
- **Sugar Swap:** Brown sugar can replace granulated sugar for a deeper, molasses-y note. Or reduce the sugar slightly if you prefer less sweet, but don’t go too crazy, as sugar helps with tenderness.
- **Mix-Ins Galore:** Get creative! Orange zest, lemon zest, cardamom, cinnamon, dried cranberries, chopped nuts, or even a swirl of cinnamon sugar before the second rise. The world is your oyster!
FAQ (Frequently Asked Questions)
Got questions? I’ve got answers!
- **”My bread didn’t rise. What gives?”** Did you check your yeast’s expiration date? Was your milk too hot or too cold? These are the usual suspects. Dead yeast means no rise, plain and simple.
- **”Can I make this dairy-free?”** Absolutely! Use an unsweetened plant-based milk (like almond or soy) and a plant-based butter alternative. Your bread will still be delicious!
- **”How do I know if it’s baked through?”** Besides the golden-brown top, tap the bottom of the loaf. If it sounds hollow, you’re good. You can also use a thermometer; it should read around 200-210°F (93-99°C) in the center.
- **”How long does it stay fresh?”** Stored in an airtight container at room temp, it’s fantastic for 2-3 days. After that, it starts to lose its mojo.
- **”Can I freeze it?”** Heck yes! Once completely cooled, slice it and freeze in an airtight bag or container. Thaw slices as needed for a quick treat. It’s like having fresh bread on demand!
- **”What’s the best way to eat it?”** Oh, my friend. Toasted with butter, plain with coffee, slathered with jam, or just torn off in chunks. There’s no wrong answer.
Final Thoughts
So there you have it! A truly moist, sweet bread recipe that won’t make you want to throw your apron at the wall. It’s simple, satisfying, and perfect for breakfast, brunch, or an anytime snack. Go forth and conquer your kitchen, you magnificent baker, you! Now go impress someone—or just yourself—with your new culinary skills. You’ve earned it!


