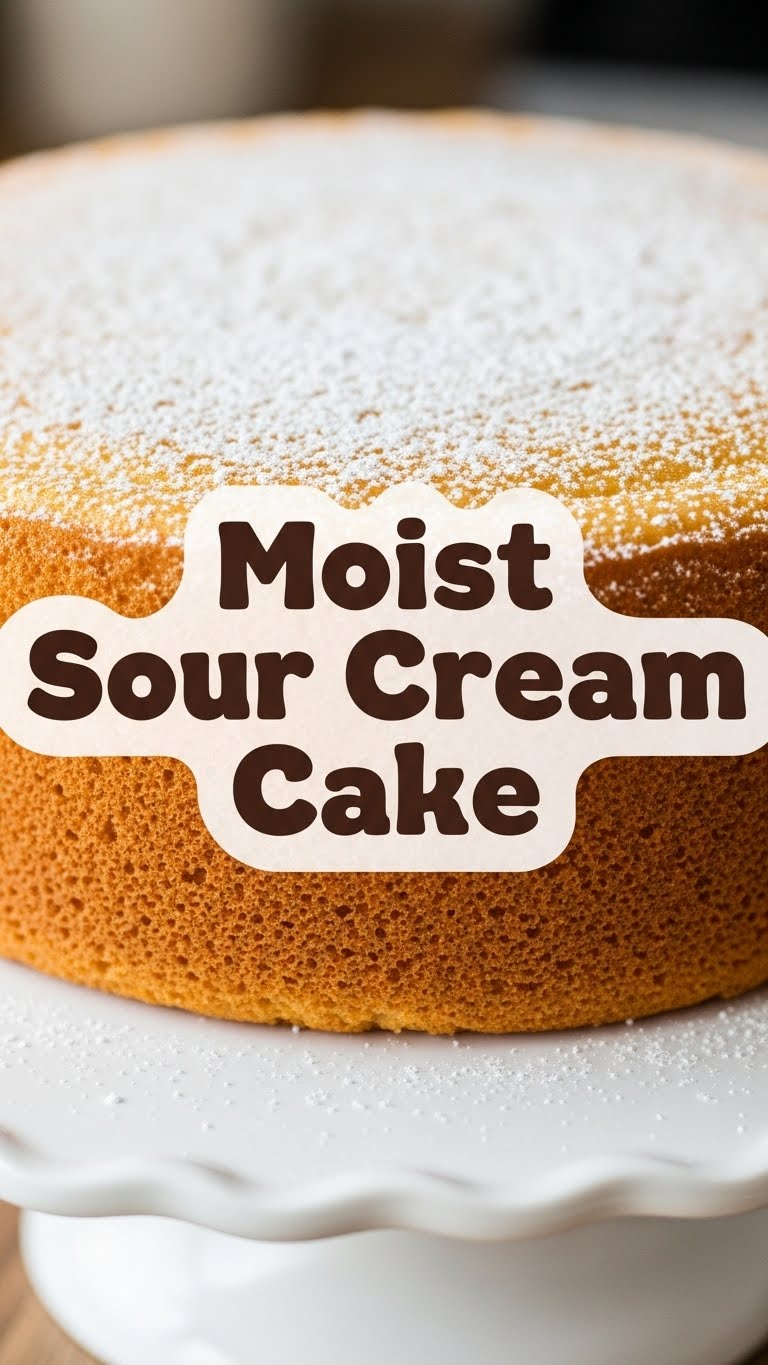
So, you’re feeling that dessert craving hit hard, but the thought of a complicated recipe makes you want to just order takeout? Been there, done that, got the t-shirt. But what if I told you there’s a cake that’s ridiculously easy AND tastes like a dream? A cake so moist it practically winks at you? Well, friend, get ready for your new favorite: the Moist Sour Cream Cake. Trust me, your taste buds are about to send you a thank-you note.
Why This Recipe is Awesome
This isn’t just any cake; it’s *the* cake. The one that makes you look like a pastry chef without all the tears, flour explosions, or the need for a culinary degree. It’s so incredibly moist, thanks to our star ingredient (sour cream, obvi!), that it practically melts in your mouth. Seriously, if I can bake it without setting off the smoke alarm, you totally can too. It’s truly idiot-proof, and it’s forgiving enough for those days when you’re slightly distracted by, say, reality TV or the cat’s antics.
Ingredients You’ll Need
Gather your troops! Make sure they’re all at room temperature where specified—it makes a difference, I promise.
- 2 ½ cups All-Purpose Flour: Because we’re not getting fancy with cake flour today.
- 1 ½ teaspoons Baking Powder: Our little helper for lift.
- ½ teaspoon Baking Soda: The sour cream’s best friend for extra rise.
- ½ teaspoon Salt: Just a pinch, to make everything else pop.
- 1 cup (2 sticks) Unsalted Butter: Softened, please! Don’t even *think* about using it straight from the fridge.
- 1 ½ cups Granulated Sugar: The good stuff. Don’t skimp!
- 3 Large Eggs: Room temp, pretty please. They mix better, trust me.
- 1 teaspoon Pure Vanilla Extract: Good quality, because it makes a noticeable difference.
- 1 ½ cups Full-Fat Sour Cream: The MVP of moistness! None of that light stuff if you want proper deliciousness.
Step-by-Step Instructions
Alright, let’s get down to business. Follow these steps, and you’ll have a masterpiece in no time!
- Preheat & Prep: Preheat that oven to 350°F (175°C) like you mean it. Grab an 8 or 9-inch round cake pan, grease it, and flour it up like it’s getting ready for a red carpet event. Or line it with parchment paper if you’re feeling extra fancy.
- Whisk Dry Ingredients: In a medium bowl, whisk together your flour, baking powder, baking soda, and salt. Give it a good whisk, making sure there are no lumpy surprises lurking. Set it aside.
- Cream Butter & Sugar: In a large bowl (or stand mixer if you’re feeling boujee), beat the softened butter and granulated sugar together on medium speed until it’s light, fluffy, and looks like a cloud. This usually takes about 3-5 minutes.
- Add Eggs & Vanilla: Beat in the eggs, one at a time, mixing well after each addition. Scrape down the sides of the bowl to ensure everything gets incorporated. Then, stir in that glorious vanilla extract.
- Alternate Wet & Dry: Now for the magic! With the mixer on low speed, gradually add the dry ingredients to the wet, alternating with the sour cream. Start and end with the dry ingredients. So, flour mix, then sour cream, then flour mix, etc.
- Mix Gently: Mix just until combined. Seriously, stop as soon as there are no more streaks of flour. A few small lumps are totally fine; overmixing is the enemy of a tender cake.
- Bake It Up: Pour the luscious batter into your prepared cake pan and smooth the top. Bake for 40-50 minutes, or until a wooden skewer or toothpick inserted into the center comes out clean.
- Cool Down: Let the cake cool in the pan on a wire rack for about 10-15 minutes before inverting it onto the rack to cool completely. Patience, grasshopper!
Common Mistakes to Avoid
Listen up, buttercup! A few simple blunders can turn your dream cake into… well, not-so-dreamy cake. Don’t be that person!
- Ignoring Room Temp Ingredients: Seriously, don’t use cold butter or eggs. They won’t emulsify properly, and your cake won’t be as light and fluffy. Just set them out an hour before you start. It’s worth it.
- Overmixing: This is a biggie! Once the dry ingredients hit the wet, mix only until just combined. Overmixing develops gluten, which is great for bread, but makes for a tough, chewy cake. We want tender, folks!
- Eyeballing Measurements: Baking is a science, my friend, not a free-for-all. Use proper measuring cups and spoons. Unless you’re a baking wizard, precision counts.
- Opening the Oven Door Too Early: Resist the urge! Opening the oven door lets out heat and can cause your cake to sink in the middle. Wait until the last 10-15 minutes of baking time before peeking.
Alternatives & Substitutions
Feeling adventurous or just short on ingredients? I got you!
- No Sour Cream? Gasp! But fear not. You can totally use full-fat plain Greek yogurt for a similar tang and moistness. The texture might be a tiny bit denser, but still delish. Or, if you’re really in a pinch, buttermilk can work too, though it’ll give you a slightly different crumb.
- Flavor Boosts: Add the zest of one lemon or orange to the batter for a bright citrus kick. Or, stir in 1 cup of chocolate chips for a chocolatey surprise. A teaspoon of almond extract instead of vanilla also does wonders!
- Gluten-Free Flour: While I haven’t personally tested it with this specific recipe, a good 1:1 gluten-free baking blend *might* work. Just make sure it contains xanthan gum.
FAQ (Frequently Asked Questions)
Got questions? I’ve probably already answered them in my head while baking!
- Can I use margarine instead of butter? Well, technically yes, but why hurt your soul like that? Butter provides superior flavor and texture. For the best cake, stick with butter.
- Why room temperature ingredients? Because science, my friend! Room temp eggs and butter emulsify better with the sugar, creating a smoother, more uniform batter and a lighter, airier cake.
- How do I know when it’s done? A trusty wooden skewer or toothpick inserted into the center should come out clean. If it’s gooey, give it a few more minutes. If it’s bone dry, you might’ve overbaked (oops!).
- Can I make this as cupcakes? Absolutely! Fill cupcake liners about two-thirds full and bake for a shorter time, usually 20-25 minutes. Keep a close eye on them!
- How long does it last? Stored in an airtight container at room temperature, it’s usually good for 3-4 days. In the fridge, it’ll last a bit longer, but honestly, it probably won’t make it that far. This cake tends to disappear fast.
- Can I add a frosting? Definitely! A simple glaze (powdered sugar + milk + vanilla) or a cream cheese frosting would be divine. But honestly, it’s perfect plain too!
Final Thoughts
Alright, my baking buddy, you’re officially ready to conquer the world of ridiculously moist sour cream cakes. Seriously, this cake is a hug in edible form – comforting, delicious, and surprisingly easy to make. Go whip one up, share it (or don’t, I won’t judge!), and bask in the glory of your delicious creation. You totally got this! Now go impress someone—or yourself—with your new culinary skills. You’ve earned it!


