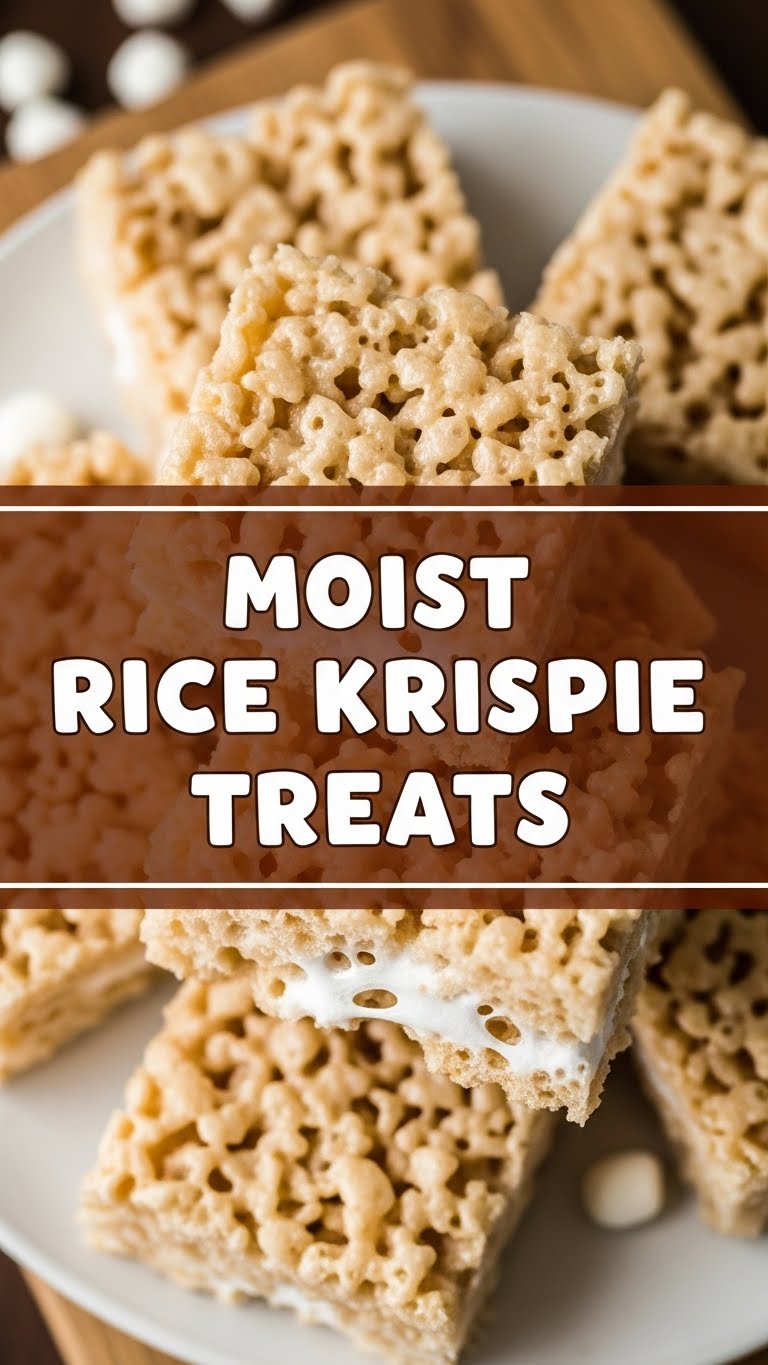
So you’re craving something ridiculously tasty but also, let’s be honest, kinda lazy to spend forever in the kitchen, huh? Same, friend, same. Enter the hero of last-minute potlucks and spontaneous sugar cravings: **Moist Rice Krispie Treats**. We’re not talking about those dry, brick-like disappointments you sometimes encounter. Oh no. We’re talking cloud-like, buttery, melt-in-your-mouth perfection. Let’s make some magic!
Why This Recipe is Awesome
Because it’s practically idiot-proof, even I didn’t manage to mess it up. And trust me, that’s saying something. This recipe is your fast-track ticket to dessert nirvana. We’re talking **under 15 minutes** from “I have a craving” to “OMG, I’m eating a gooey masterpiece.” No oven required, minimal cleanup, and the satisfaction level is off the charts. It’s the culinary equivalent of hitting the snooze button on a Monday – pure, unadulterated joy with zero effort. Plus, who doesn’t love a treat that transports them straight back to childhood, but better?
Ingredients You’ll Need
Get ready for a super short shopping list. You probably have most of this stuff lurking in your pantry already!
- **3 tablespoons unsalted butter:** Yes, real butter. None of that margarine nonsense if you want that truly rich, moist texture. This is crucial for flavor and, well, *moistness*.
- **1 (10-ounce) bag mini marshmallows:** Mini marshmallows melt faster and more evenly, making your life easier. If you only have large ones, totally fine, just be patient.
- **6 cups Rice Krispies cereal:** The OG. Don’t go trying to get fancy with weird knock-off puffed rice here. Stick to the classic!
- **1 teaspoon pure vanilla extract:** Optional, but seriously, don’t skip it. It adds a subtle depth that takes these from “good” to “OMG, what’s your secret?!”
- **Pinch of salt:** Sounds weird, right? But it cuts through the sweetness and balances everything out. Think of it as the secret weapon of pro bakers.
Step-by-Step Instructions
Alright, apron on (or not, we’re not judging), let’s get sticky!
- **Prep Your Pan:** Lightly grease a 9×13 inch baking pan with butter or cooking spray. And when I say lightly, I mean like you’re trying to impress someone with your greasing skills. You’ll thank me later when the treats pop out easily.
- **Melt the Butter:** In a large non-stick pot (the biggest one you have!), melt your 3 tablespoons of butter over **low heat**. Low and slow is the name of the game here. We want melted butter, not browned butter (unless you’re feeling fancy, more on that later!).
- **Introduce the Marshmallows:** Once the butter is melted, dump in your entire bag of marshmallows. Stir constantly until they are completely melted and smooth. **Keep that heat low!** High heat makes them seize up and turn into chewy rocks. We’re aiming for a dreamy, molten cloud.
- **Add the Magic (Vanilla & Salt):** Remove the pot from the heat. Stir in the vanilla extract and that little pinch of salt. Give it a good swirl to combine. That vanilla aroma is already making your kitchen smell divine, isn’t it?
- **Fold in the Cereal:** Now for the star of the show! Add the Rice Krispies cereal to the marshmallow mixture. **Gently** fold them in with a greased spatula or wooden spoon until they are evenly coated. Don’t overmix; you don’t want to crush the cereal and lose that signature crisp.
- **Press into Pan:** Transfer the mixture to your prepared 9×13 inch pan. Here’s a pro tip for ultimate moistness: lightly grease another piece of parchment paper or your spatula/fingers, and **gently press** the mixture evenly into the pan. Do NOT compact them too much! This is the key to light, airy, and moist treats.
- **Cool & Cut:** Let the treats cool completely at room temperature for about 30-60 minutes before cutting them into squares. If you’re impatient (like me), pop them in the fridge for 15 minutes, but room temp is usually best for texture.
Common Mistakes to Avoid
Even though this recipe is super easy, there are a few rookie errors that can turn your dreams of moist treats into a sticky, hard reality:
- **High Heat Marshmallow Meltdown:** Trying to melt marshmallows on high heat is a recipe for disaster. You’ll end up with a hard, super-chewy mess. Remember, **low and slow** for perfect gooiness.
- **Over-Mixing the Cereal:** Stirring until your arm aches? Stop! You’re crushing the cereal and compacting the mixture, which leads to dense, hard treats. **Fold gently.**
- **Pressing Too Hard into the Pan:** Think of it like a gentle hug, not a wrestling match. Over-compressing the treats squeezes out all the air, making them tough. **Gentle pressure only!**
- **Not Greasing Your Tools:** Trying to spread sticky marshmallow mixture with an ungreased spatula is like trying to nail jelly to a tree. It won’t end well. **Grease everything!** Spatula, spoon, even your fingertips.
Alternatives & Substitutions
Feeling adventurous? Here are some fun twists to try:
- **Brown Butter Bliss:** Instead of just melting the butter, let it gently brown over medium-low heat until it smells nutty and has little brown bits at the bottom. Strain out the brown bits if you prefer, or leave them for extra flavor. This adds an incredible depth!
- **Chocolate Swirl:** Melt some chocolate chips (milk, dark, or white) and drizzle it over the treats before they set, then swirl with a knife. Or, fold in some mini chocolate chips with the cereal!
- **Sprinkle Party:** Add some rainbow sprinkles when you fold in the cereal for an instant party vibe. Because sprinkles just make everything better, IMO.
- **Nut Butter Upgrade:** Swirl in a couple of tablespoons of your favorite nut butter (peanut, almond, etc.) with the melted marshmallows for a rich, nutty flavor.
- **Different Cereals:** While Rice Krispies are classic, feel free to experiment with other puffed cereals like Fruity Pebbles (for a colorful, sweet kick!) or even Golden Grahams for a S’mores vibe.
FAQ (Frequently Asked Questions)
Got questions? I’ve got (casual) answers!
- **”Why are my treats hard as a rock?”** You probably used too high heat when melting the marshmallows, or you pressed them too hard into the pan. Or both! Next time, remember **low heat and gentle hands.**
- **”How do I make them extra gooey?”** Easy-peasy! Use a little extra butter (maybe 4 tbsp) and slightly undercook your marshmallows (they should be just melted, not simmering). Also, don’t press them down hard.
- **”Can I use stale marshmallows?”** Technically, yes, they’ll melt. But for the best, most consistent gooey texture, **fresh marshmallows are key.** Stale ones can sometimes be difficult to melt smoothly.
- **”How long do these magical treats last?”** If stored in an airtight container at room temperature, they’ll stay deliciously fresh for about 2-3 days. FYI, they rarely last that long in my house!
- **”Can I double this recipe?”** Absolutely! Just grab a bigger pot and a bigger pan (like an extra-large roasting pan). The ratios remain the same.
- **”Do I really need to grease my hands/spatula when pressing them down?”** Oh, my sweet friend, yes. Unless you enjoy a sticky, frustrating wrestling match with marshmallow goo, grease them up!
- **”Can I add other candy?”** Heck yeah! M&Ms, chopped candy bars, pretzels for a sweet and salty kick… the world is your oyster. Just fold them in with the cereal.
Final Thoughts
And there you have it! You’ve just unlocked the secret to perfectly moist, utterly delicious Rice Krispie Treats. You’re basically a dessert wizard now, capable of whipping up happiness in minutes. Go forth and impress your friends, your family, or just your magnificent self. You’ve earned this, you culinary rockstar! Now, if you’ll excuse me, I think I hear a fresh batch calling my name…


