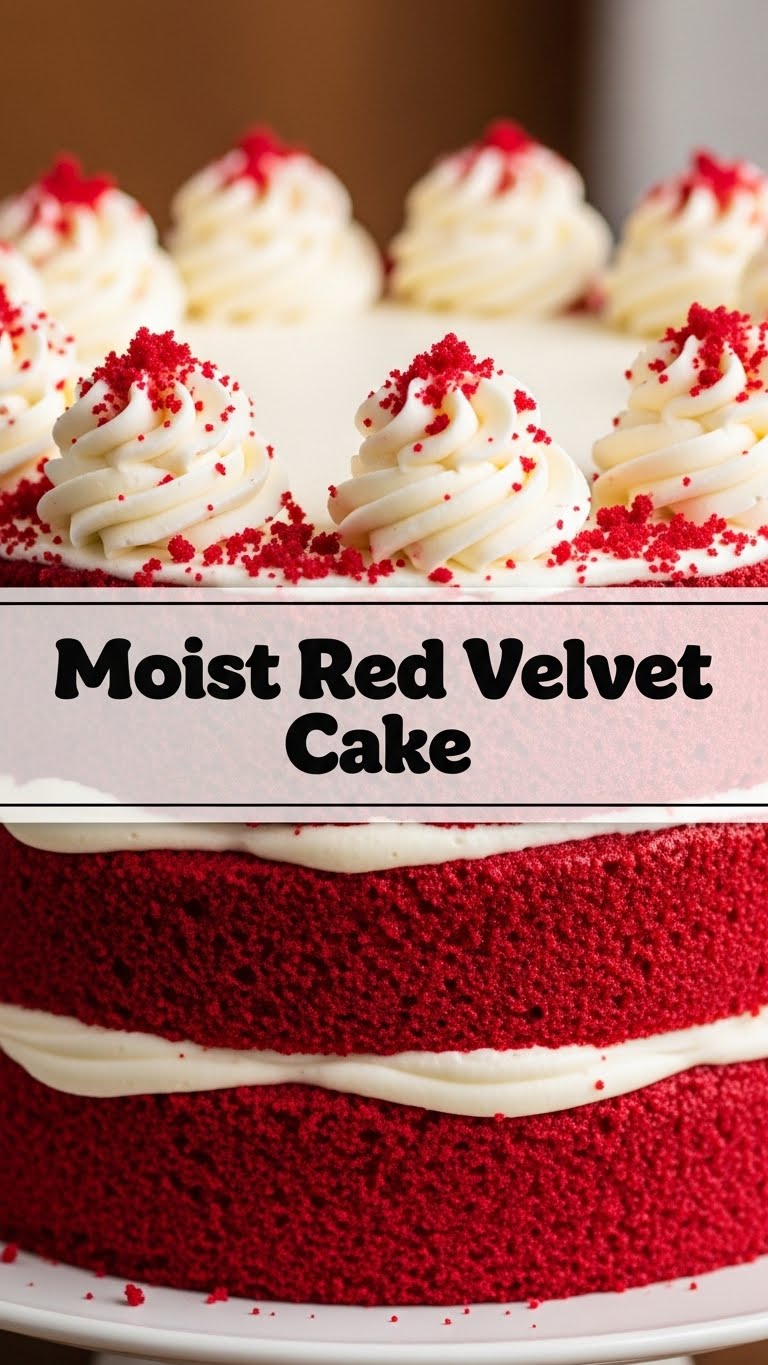
So, you’ve scrolled through enough food porn on Instagram to make your stomach rumble, and now you’re eyeing something fancy but secretly hoping it won’t require a culinary degree, huh? You, my friend, are exactly why we’re tackling the *moistest*, most ridiculously delicious Red Velvet Cake today. Forget those dry, crumbly imposters. We’re going for a showstopper that’ll have everyone asking for the recipe (and you can pretend it was super hard, I won’t tell). Let’s get baking!
Why This Recipe is Awesome
This isn’t just *a* Red Velvet recipe; it’s *the* Red Velvet recipe. Why? Because it’s practically **idiot-proof**. Seriously, even I, who once mistook baking soda for sugar (don’t ask), have mastered this one. It delivers that perfect trifecta: unbelievably moist cake, a subtle cocoa tang, and a vibrant color that screams “I tried!” without actually making you *try* too hard. Plus, the cream cheese frosting? Oh, that frosting is a whole ‘nother level of dreamy. It’s the kind of cake that makes you feel like a baking wizard, even if your greatest culinary skill is ordering takeout. **FYI: It’s also a fantastic way to impress your in-laws or that cute neighbor.**
Ingredients You’ll Need
Gather your troops, folks! Most of these are probably chilling in your pantry already, waiting for their moment to shine.
- For the Cake:
- 2 ½ cups all-purpose flour (the basic stuff, no fancy ancient grain nonsense needed)
- 1 ½ cups granulated sugar (the sweet stuff, obviously)
- 1 tablespoon unsweetened cocoa powder (just a hint, we’re not making chocolate cake here)
- 1 teaspoon baking soda (our lift-off specialist)
- ½ teaspoon salt (brings out all the other flavors, don’t skip it!)
- 1 cup buttermilk (the secret to moisture! If you don’t have it, see FAQs for a DIY)
- ½ cup vegetable oil (or any neutral oil, for that silky texture)
- 2 large eggs (straight from the fridge is fine, we’re not being picky today)
- 1 teaspoon vanilla extract (the scent of pure joy)
- 1 tablespoon white vinegar (reacts with baking soda for epic fluffiness)
- 1-2 ounces liquid red food coloring (the more vibrant, the better! Use the gel kind for super intense color if you’re feeling bold)
- For the Cream Cheese Frosting (because what’s Red Velvet without it?):
- 1 (8-ounce) block cream cheese, softened (leave it on the counter for a bit, **cold cream cheese is the enemy of smooth frosting**)
- ½ cup unsalted butter, softened (again, room temp is your best friend here)
- 4 cups powdered sugar (also known as confectioners’ sugar, the fluffy white stuff)
- 1 teaspoon vanilla extract (more joy!)
- A pinch of salt (just to cut the sweetness a little)
Step-by-Step Instructions
Alright, apron on (or don’t, I’m not judging), let’s get this party started!
- Preheat & Prep: First things first, preheat your oven to 350°F (175°C). Then, grease and flour two 8-inch round cake pans. If you’re fancy, line the bottoms with parchment paper too. It makes removal a breeze!
- Dry Mix: In a large bowl, whisk together your flour, sugar, cocoa powder, baking soda, and salt. Make sure there are no lumpy bits, unless you like surprise flour bombs in your cake (you don’t).
- Wet Mix Whammy: In a separate, medium bowl, combine the buttermilk, oil, eggs, vanilla extract, and white vinegar. Now for the star of the show: stir in the red food coloring until it’s vibrant and beautiful. Don’t be shy!
- Combine & Conquer: Gradually add the wet ingredients to the dry ingredients, mixing on low speed with an electric mixer (or by hand, if you want an arm workout). Mix until *just* combined. **Seriously, don’t overmix!** Lumps are okay, gluey cake is not.
- Into the Pans: Divide the batter evenly between your two prepared cake pans. Give each pan a gentle tap on the counter to release any trapped air bubbles.
- Bake Time: Pop those beauties into the preheated oven for about 25-30 minutes. You’ll know they’re done when a wooden skewer or toothpick inserted into the center comes out clean.
- Cool Down: Let the cakes cool in their pans for about 10-15 minutes before inverting them onto a wire rack to cool completely. Patience is a virtue here; trying to frost warm cake is a recipe for a melty, crumbly disaster.
- Frosting Frenzy: While the cakes are cooling, let’s make that glorious cream cheese frosting. In a large bowl, beat the softened cream cheese and butter together until smooth and creamy.
- Sweeten Up: Gradually add the powdered sugar, one cup at a time, beating until smooth after each addition. Finally, beat in the vanilla extract and that tiny pinch of salt. Don’t overbeat, or it might get too thin.
- Assemble Your Masterpiece: Once the cakes are *completely* cool, spread a generous layer of frosting on top of the first cake layer. Place the second layer on top, then frost the top and sides of the entire cake. Get creative, make swirls, or keep it perfectly smooth—it’s your art project!
Common Mistakes to Avoid
Look, we all make mistakes. But some mistakes are more avoidable than others. Learn from my past (many) errors!
- **Overmixing the Batter:** This is the #1 killer of moist cakes. Once you add the wet to the dry, mix until *just* combined. A few lumps? Perfectly fine. Mixing until it’s super smooth and shiny? You’re developing the gluten, making your cake tough and chewy. We want tender, not tire rubber!
- **Ignoring the Food Coloring:** Thinking you can just use a few drops? Nope. Red velvet is supposed to be RED. Use enough to get that deep, vibrant hue. Otherwise, you’ll end up with a sad, brownish cake.
- **Frosting Warm Cake:** I know, I know, the temptation is real. But if your cakes aren’t **completely** cool, that beautiful frosting will turn into a runny, crumbly mess. Patience, grasshopper!
- **Using Cold Cream Cheese/Butter for Frosting:** This is a rookie mistake. Cold ingredients lead to lumpy frosting, no matter how much you beat it. Set them out on the counter a good hour before you start.
- **Opening the Oven Door Too Early:** Resist the urge! Opening the oven door lets out heat and can cause your cakes to sink in the middle. Wait until at least 20 minutes have passed before peeking.
Alternatives & Substitutions
Life happens, and sometimes you just don’t have that one ingredient. Here are some quick fixes!
- No Buttermilk? No Problem! Don’t panic! Just add 1 tablespoon of white vinegar or lemon juice to a measuring cup, then fill the rest of the cup with regular milk until it reaches 1 cup total. Let it sit for 5-10 minutes until it looks slightly curdled. Voila! Instant buttermilk. **IMO, this works like a charm.**
- Red Food Coloring: Natural Options? You *can* try beet powder or purée for natural coloring, but be warned: the color won’t be as vibrant and might lean more towards a rustic brownish-red. If you’re going for classic Red Velvet *look*, stick with the liquid or gel food coloring.
- Oil: Vegetable oil is great, but canola oil or even a light olive oil (not extra virgin!) works too. The goal is a neutral flavor.
- Different Frosting? While classic cream cheese frosting is king, if you’re feeling adventurous (or just don’t like cream cheese), a simple vanilla buttercream or even a Swiss meringue buttercream would be delicious too. But seriously, give the cream cheese a try.
FAQ (Frequently Asked Questions)
Got questions? I’ve got answers (and probably some witty remarks).
- “Can I use margarine instead of butter for the frosting? Well, technically yes, but why hurt your soul like that?”
Okay, fine, you *can* use margarine, but butter will give you a much richer flavor and better texture. If you’re going for the ultimate Red Velvet experience, stick with butter. - “My cake didn’t turn out very red. What gives?”
You probably didn’t use enough food coloring! Don’t be shy. Also, some brands are more potent than others. Gel food coloring typically gives a more intense hue than liquid. - “How do I store Red Velvet Cake?”
Because of the cream cheese frosting, it’s best stored in an airtight container in the refrigerator for up to 3-4 days. Let it come to room temperature for about 30 minutes before serving for the best flavor and texture. - “Can I make Red Velvet cupcakes instead?”
Absolutely! Just line a muffin tin with cupcake liners, fill them about two-thirds full, and bake for about 18-22 minutes. Keep an eye on them, as baking times will vary. - “Why do Red Velvet cakes traditionally use vinegar?”
It’s not just for kicks! The vinegar reacts with the baking soda, creating tiny air bubbles that make the cake incredibly light and fluffy. Plus, it subtly enhances the cocoa flavor and contributes to that signature reddish hue. It’s science, baby!
Final Thoughts
And there you have it, your very own ridiculously moist and delicious Red Velvet Cake! You just whipped up a masterpiece, and honestly, you deserve a medal (or at least the first slice). Whether you’re sharing it with friends, impressing your family, or just planning a solo date night with a fork and a whole cake (no judgment here!), savor every bite. **Now go impress someone—or yourself—with your new culinary skills. You’ve earned it!** You’re basically a professional baker now, so don’t forget to send me a slice. 😉


