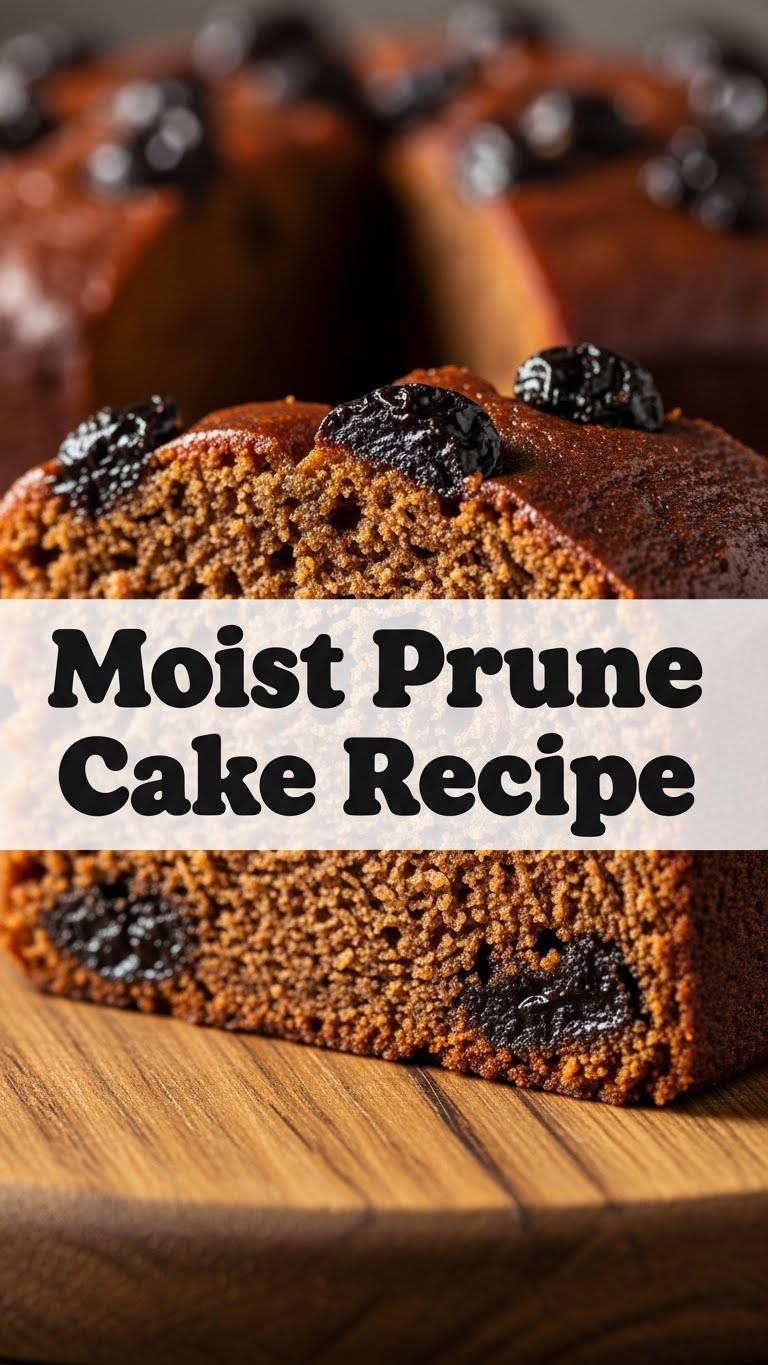
So, you’re looking for a cake that’s secretly a health food (kind of), ridiculously easy, and won’t leave you feeling like you just ran a marathon in the kitchen? My friend, you’ve come to the right place. We’re diving into the glorious world of **Moist Prune Cake**, and trust me, it’s a game-changer. Forget everything you thought you knew about prunes – this recipe is about to blow your mind and your taste buds!
Why This Recipe is Awesome
First off, let’s address the elephant in the room: ‘prune cake.’ I know, I know. It sounds like something your grandma *might* bake. But hold up! This isn’t your grandma’s dry, dusty prune cake. Oh no, this is the moist, rich, secretly sophisticated cousin who shows up to family gatherings looking fabulous. **It’s practically impossible to mess up**, even if your oven has a mind of its own. Plus, prunes are just dried plums, right? So it’s basically fruit. **It’s practically a health food!** (Don’t tell anyone I said that.) It’s got that cozy, comforting vibe, but with a grown-up twist that’ll have everyone asking for the recipe. Prepare for compliments!
Ingredients You’ll Need
Gather your troops, folks! Here’s what you’ll need for this culinary adventure:
- **1 cup (about 170g) Pitted Prunes:** The star of our show! Get pitted ones unless you enjoy a dental adventure.
- **1 cup Water:** Just plain old H2O, nothing fancy.
- **1/2 cup (113g) Unsalted Butter:** Softened, because we’re fancy like that. Or salted if that’s all you have, no judgment.
- **1 cup (200g) Granulated Sugar:** For sweetness, duh.
- **2 Large Eggs:** Essential for structure and general cakiness.
- **1 3/4 cups (210g) All-Purpose Flour:** The backbone of any good cake.
- **1 teaspoon Baking Soda:** Our little leavening hero.
- **1/2 teaspoon Salt:** Just a pinch to make everything else pop.
- **1 teaspoon Ground Cinnamon:** Optional, but highly recommended for that cozy hug-in-a-mug feeling.
- **1/2 teaspoon Ground Nutmeg:** Another optional but lovely spice friend.
Step-by-Step Instructions
Alright, apron on, game face on (or just your regular face, no pressure), let’s do this!
- **Prep Your Prunes:** Grab your prunes and water. Chop those prunes roughly – not too fine, we want some texture! Pop them in a small saucepan with the water, bring to a boil, then simmer for about 10 minutes until they’re nice and soft. Drain the water, but **save a little** if you want to mash them a bit (optional for super smooth texture). Set aside.
- **Preheat & Grease:** Preheat your oven to 350°F (175°C). Grease and flour a 9×13 inch baking pan. Don’t skip this, unless you enjoy archaeological digs for your cake.
- **Cream it Up:** While your prunes are doing their thing, get your softened butter and granulated sugar into a mixing bowl. Cream them together with an electric mixer until they’re light and fluffy. Don’t rush this part; it incorporates air and makes a difference!
- **Egg-cellent Addition:** Beat in the eggs, one at a time. Make sure each egg is fully incorporated before adding the next. Scrape down the sides of the bowl like a pro.
- **Dry Mix:** In a separate bowl, whisk together your flour, baking soda, salt, cinnamon, and nutmeg. Give it a good whisk to distribute everything evenly – no one wants a lump of baking soda in their slice.
- **Combine Forces:** Gradually add the dry ingredients to the wet mixture, mixing on low speed until *just* combined. **Don’t overmix!** Overmixing is the enemy of moist cake; it makes it tough.
- **Fold in the Star:** Now, gently fold in your softened (and maybe slightly mashed) prunes. Make sure they’re spread throughout the batter. Mmm, prune-y goodness.
- **Bake It Baby:** Pour the batter into your prepared baking pan. Pop it into your preheated oven for about 35-45 minutes, or until a toothpick inserted into the center comes out clean. **Pro Tip: Start checking around 30 minutes!** Ovens vary wildly.
- **Cool Down:** Let it cool in the pan for 10-15 minutes before flipping it out onto a wire rack to cool completely. Or just cut a slice while it’s warm because life is short, I won’t tell.
Common Mistakes to Avoid
Don’t be *that* person. Learn from my past (many) kitchen mishaps:
- **Thinking you don’t need to preheat the oven.** Rookie mistake, my friend. An unevenly heated oven equals sad, uneven cake. Patience is a virtue, especially for baked goods.
- **Overmixing the batter.** Remember our talk? This develops gluten, which is great for chewy bread, terrible for tender cake. Mix until *just* combined, then stop!
- **Not greasing and flouring your pan properly.** You want to eat the cake, not chisel it out of the pan, right? Don’t skimp on this step, or use parchment paper if you’re feeling fancy.
- **Giving up on prunes.** Seriously, give them a chance! They’re not just for grandma anymore. They add incredible moisture and a subtle, rich sweetness.
- **Poking your cake a gazillion times.** Every time you open the oven door, the temperature drops, and every time you poke it, you potentially release moisture. Check it once, maybe twice if you’re really unsure.
Alternatives & Substitutions
Feeling adventurous? Or just missing an ingredient? Here are some ideas:
- **No Prunes? No Problem!** You can totally swap prunes for dried apricots, dates, or even raisins. The texture might be slightly different, but the deliciousness will remain. Just make sure to simmer them too!
- **Dairy-Free?** Use a plant-based butter alternative that’s good for baking. The texture might vary slightly, but it should still be yummy.
- **Spice It Up:** Want more warmth? Add a dash of allspice, cloves, or even a tiny bit of ginger. For a bright kick, throw in some orange zest (about 1 tablespoon) with the wet ingredients.
- **Nutty Addition:** A handful of chopped walnuts or pecans (about 1/2 cup) would be amazing folded into the batter for extra crunch and flavor.
- **Glaze It!** A simple lemon glaze (powdered sugar + lemon juice) or a cream cheese frosting would be divine, but it’s totally optional. This cake shines on its own.
FAQ (Frequently Asked Questions)
Got questions? I’ve got answers (and maybe some sass).
- **Can I use fresh plums instead of dried prunes?** Not for this recipe, champ. The drying process concentrates their flavor and sugars, and the rehydration is key to the cake’s moistness. Fresh plums have too much water and a different texture, making them unsuitable for a direct swap here.
- **Do I really need to simmer the prunes?** Yep! It rehydrates them and makes them super soft and juicy, which contributes immensely to the cake’s legendary moistness. Don’t skip it unless you want chewy, sad bits in your cake.
- **My cake is dry! What went wrong?** Ouch! Likely culprits: overmixing the batter, overbaking it, or your oven runs hot. Get an oven thermometer, they’re cheap and a total game-changer for consistent baking!
- **Can I make this into cupcakes?** Absolutely! Adjust baking time down significantly – probably around 18-25 minutes, depending on your cupcake size. Keep a close eye on them with the toothpick test!
- **How long does this cake last?** Covered at room temp, it’s usually good for 3-4 days. In the fridge, maybe up to a week. It actually gets *better* on day two, **FYI**, as the flavors meld and deepen.
- **Can I add frosting?** You do you! A simple cream cheese frosting would be divine, or a vanilla glaze. But honestly, it’s so moist and flavorful on its own, it barely needs it. **IMO**, a dusting of powdered sugar is perfect and lets the cake’s true flavor shine.
- **Is this cake good for breakfast?** Is a bear Catholic? Does the Pope live in the woods? Okay, maybe those aren’t the right analogies, but YES! It’s perfectly acceptable for breakfast with a cup of coffee. You earned it.
Final Thoughts
And there you have it! Your very own **Moist Prune Cake**. Who knew prunes could be this cool, right? Now go impress someone—or yourself—with your new culinary skills. You’ve earned it! Seriously, take a slice, put your feet up, and pat yourself on the back. You deserve it after all that ‘hard’ work. Happy baking, my friend!


