So, you’re craving something sweet, fluffy, and basically a hug in cake form, but the thought of spending all day in the kitchen makes you want to curl up with a bag of chips instead? Same, friend, *same*. Good news: I’ve got your back with a vanilla cake recipe that’s so ridiculously easy and delicious, you’ll wonder if you accidentally became a pastry chef overnight. Spoiler alert: you didn’t, it’s just *that* good.
Why This Recipe is Awesome
Okay, let’s be real. There are a million vanilla cake recipes out there. So what makes this one special? Well, for starters, it’s practically idiot-proof. Seriously, even if your baking history is mostly limited to burning toast, you can nail this. It consistently churns out a cake that’s so moist it practically melts in your mouth, yet light as a cloud. Plus, it only uses one bowl for the wet ingredients, which means less washing up. And let’s be honest, less washing up is always a win, IMO. This isn’t just a cake; it’s a life hack disguised as dessert.
Ingredients You’ll Need
Gather ’round your pantry, baking buddy! Here’s your simple shopping list:
- 1 ½ cups (180g) All-Purpose Flour: The basic building block of cake dreams. Don’t overthink it.
- 1 ½ teaspoons Baking Powder: For that beautiful lift and fluffiness. Our little magic dust!
- ½ teaspoon Salt: Balances the sweetness and makes everything taste *more*. Don’t skip it!
- ½ cup (113g) Unsalted Butter: Room temperature, please! Softened butter is key for creaming into gloriousness.
- 1 cup (200g) Granulated Sugar: Sweetness, obviously. And a bit of moisture.
- 2 Large Eggs: Also room temperature! Eggs that aren’t cold mix better and emulsify like pros.
- 2 teaspoons Pure Vanilla Extract: Go for the good stuff here. This is a *vanilla* cake, after all. Fake vanilla is a sad, sad thing.
- ¾ cup (180ml) Whole Milk: Room temperature again! Helps everything blend seamlessly. Full fat for max deliciousness, you’re baking, not dieting!
Step-by-Step Instructions
Get ready to make some magic happen, you culinary genius, you!
- Preheat & Prep: Preheat your oven to 350°F (175°C). Seriously, preheat it! Grease and flour an 8-inch round cake pan (or line with parchment paper). This step is non-negotiable unless you enjoy cakes that stick to the pan like glue.
- Whisk Dry Ingredients: In a medium bowl, whisk together the flour, baking powder, and salt. Set aside. This ensures everything is evenly distributed so you don’t end up with a lopsided cake.
- Cream Butter & Sugar: In a large bowl (your one-bowl wonder!), cream the softened butter and granulated sugar together with an electric mixer until it’s light and fluffy. This usually takes 2-3 minutes. You want it pale in color and airy.
- Add Eggs & Vanilla: Beat in the eggs, one at a time, mixing well after each addition. Then stir in the glorious vanilla extract. Scrape down the sides of the bowl to make sure everything is incorporated.
- Alternate Wet & Dry: With the mixer on low speed, gradually add the dry ingredients to the wet mixture in three additions, alternating with the milk in two additions. Begin and end with the dry ingredients. Do not overmix! Stop as soon as everything is just combined. Overmixing is the enemy of light cake.
- Bake It Up: Pour the batter into your prepared cake pan and smooth the top. Bake for 30-35 minutes, or until a wooden skewer inserted into the center comes out clean.
- Cool Down: Let the cake cool in the pan for about 10-15 minutes before inverting it onto a wire rack to cool completely. Impatience is a virtue, but not here. A warm cake will crumble if you try to frost it!
Common Mistakes to Avoid
We’ve all been there. Here’s how to sidestep common cake catastrophes with a smirk:
- Ignoring Room Temperature Ingredients: Seriously, this isn’t a suggestion, it’s a golden rule. Cold ingredients don’t emulsify properly, leading to a lumpy, dense batter. Plan ahead, friend!
- Overmixing the Batter: Once you add the flour, treat that mixer like it’s hot lava. Mix *just* until combined. Overmixing develops the gluten, making your cake tough and chewy instead of light and tender. Nobody wants a rubber cake.
- Not Preheating the Oven: Rookie mistake! Your cake needs to hit a hot oven to get that initial lift from the baking powder. A cold oven equals a sad, flat cake.
- Opening the Oven Door Too Soon: Resist the urge to peek during the first 20 minutes! This can cause your cake to collapse in the center, creating a tragic little crater.
Alternatives & Substitutions
Feeling adventurous or just out of something? Here are some friendly swaps:
- Milk: Don’t have whole milk? You can use 2% or even a non-dairy milk like almond or oat milk, but FYI, whole milk gives the best texture and richness. Plant-based milks might make it a tad less moist, but still totally doable!
- Butter: Margarine *can* be used, but honestly, butter is superior in flavor and texture. If you’re out of unsalted, use salted and just reduce the added salt in the recipe by ¼ teaspoon.
- Flour: For a gluten-free version, use a 1:1 gluten-free baking flour blend with xanthan gum. The results are surprisingly good!
- Flavor Boost: Want to level up? Add a pinch of nutmeg or cardamom for a subtle, sophisticated twist. Or a teaspoon of almond extract for an extra layer of yum!
FAQ (Frequently Asked Questions)
Got questions? I’ve got answers. And a little sass, naturally.
- Can I use margarine instead of butter? Well, technically yes, but why hurt your soul like that? Butter just tastes better, period. It brings a richness margarine can only dream of.
- My cake sank in the middle! What happened? Oh no! Did you open the oven door too soon? Was your baking powder old? Or did you overmix? (See “Common Mistakes” above, I warned you!)
- Can I make this into cupcakes? Absolutely! Divide the batter into 12-18 lined cupcake tins and bake for 18-22 minutes, or until a skewer comes out clean. Perfect for individual portions!
- How long does this cake last? Covered tightly at room temperature, it’s usually fantastic for 2-3 days. In the fridge, up to 5 days. Though, honestly, it rarely lasts that long in my house.
- What kind of frosting should I use? A classic buttercream (vanilla or chocolate!) is always a winner. A simple cream cheese frosting would also be divine. Or, if you’re feeling fancy, a berry compote and whipped cream for a lighter touch.
- Why do my ingredients need to be room temperature? Because science, my friend! Cold ingredients don’t blend smoothly with creamed butter and sugar, leading to a lumpy, curdled batter and a denser cake. Give them time to warm up!
Final Thoughts
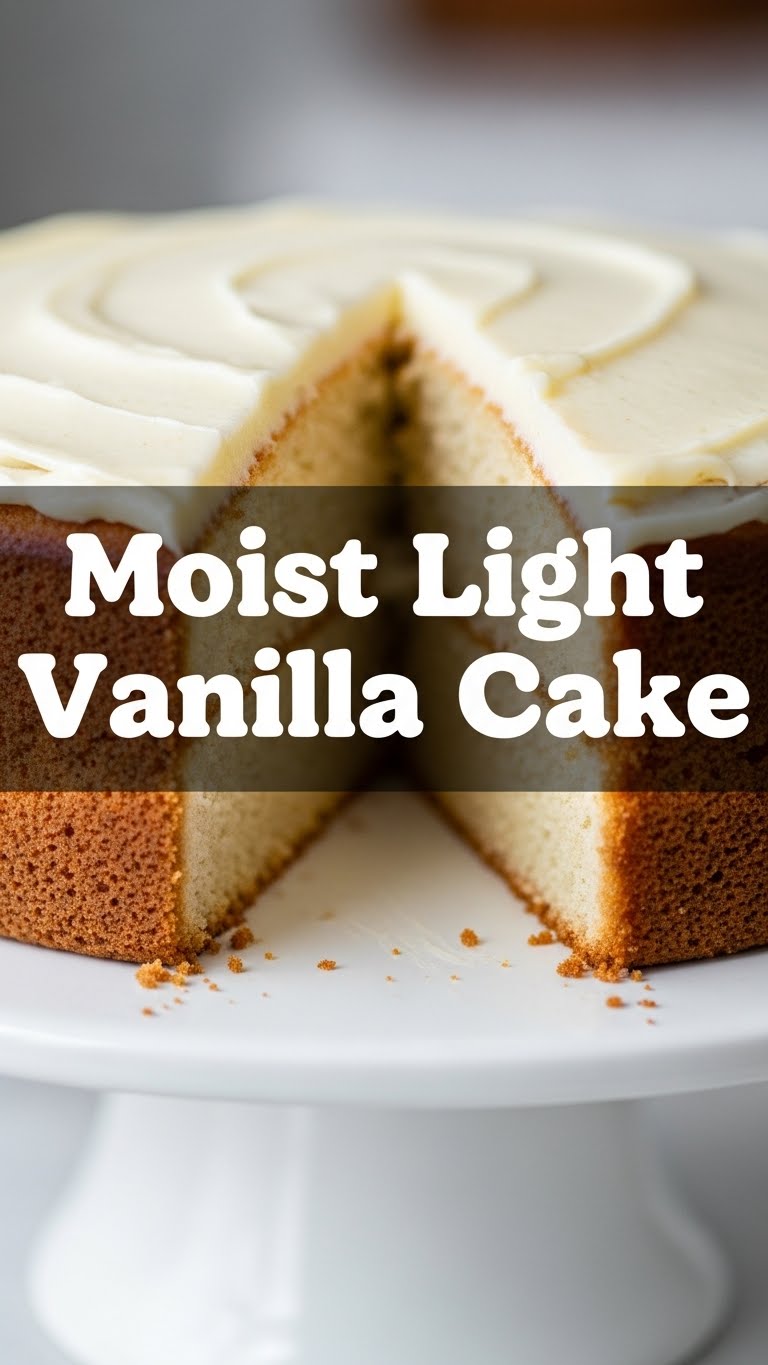
See? You just whipped up a moist, light vanilla cake that’s probably already making your kitchen smell like a dream. Who knew you had such baking superpowers? Now go impress someone—or yourself, because let’s be real, you deserve it—with your new culinary skills. Maybe pair it with a nice cup of coffee or a celebratory glass of milk. You’ve earned it, superstar. Enjoy every single, delicious crumb!


