So, you’ve got that craving, right? That zingy, sweet, melt-in-your-mouth kind of craving that whispers ‘Key Lime’ but screams ‘too much effort!’? Yeah, I hear you. We all want that gourmet-level deliciousness without, you know, dedicating our entire weekend to it. Well, buckle up, buttercup, because I’m about to drop a recipe on you that’s so easy, so moist, and so incredibly limey, you’ll wonder where it’s been all your life. Say hello to your new best friend: The Moist Key Lime Cake!
Why This Recipe is Awesome
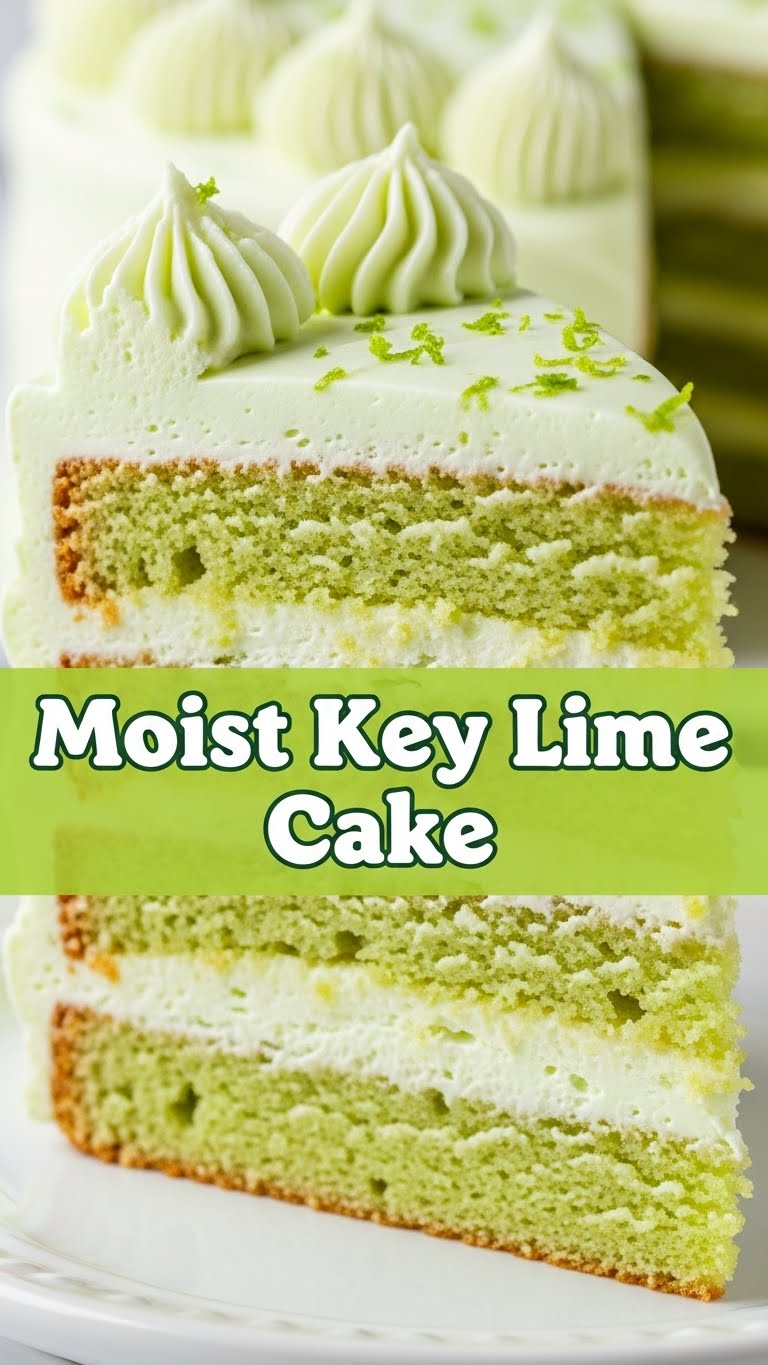
Look, I get it. Baking can feel like a science experiment gone wrong. Flour flying, sugar sticking to places it shouldn’t, and the ever-present fear of a dry, crumbly disaster. But this cake? It’s basically a magic trick. Seriously. It’s so **foolproof**, even I didn’t mess it up on my first try (and my track record with anything more complex than toast is… questionable). It’s got that perfect balance of tart and sweet, a texture that melts in your mouth, and a zesty punch that just screams sunshine. Plus, it looks fancy enough to impress your friends, but it’s simple enough to whip up on a Tuesday night. Win-win, if you ask me!
Ingredients You’ll Need
Alright, gather your troops! Most of these are probably chilling in your pantry already. No obscure potions, promise!
- For the Cake:
- 1 ½ cups (about 180g) All-Purpose Flour: The unsung hero, holding everything together.
- 1 teaspoon Baking Powder: Our little lift-off agent.
- ½ teaspoon Baking Soda: Its partner in crime, ensuring ultimate fluffiness.
- ¼ teaspoon Salt: Don’t skip it! It actually makes everything taste better.
- ½ cup (1 stick or 113g) Unsalted Butter, softened: Let it chill out on the counter for a bit.
- 1 ½ cups (300g) Granulated Sugar: Because life needs sweetness, duh.
- 2 Large Eggs: Room temperature is key here, folks.
- 1 teaspoon Vanilla Extract: A hug for your tastebuds.
- ¾ cup (180ml) Buttermilk: The secret weapon for moisture!
- ¼ cup (60ml) Key Lime Juice, freshly squeezed: The MVP! Don’t even THINK about bottled for this one, unless you want to hurt my feelings.
- 1 tablespoon Key Lime Zest: All that zesty goodness!
- For the Glaze:
- 1 cup (120g) Powdered Sugar (Confectioners’ Sugar): The fancy sugar.
- 2-3 tablespoons Key Lime Juice, freshly squeezed: To make it extra zingy.
- ½ teaspoon Key Lime Zest (optional, but highly recommended): More zest, more happy!
Step-by-Step Instructions
Deep breaths! We got this. Short, sweet, and to the point.
- First things first: Preheat your oven to 350°F (175°C). Then, get a 9×13 inch baking pan ready. You can grease and flour it, or line it with parchment paper for easy lift-out. I personally prefer parchment because it saves my sanity.
- In a medium bowl, whisk together your flour, baking powder, baking soda, and salt. Set that aside for a moment. This is your “dry mix” gang.
- Now, in a larger bowl (or your stand mixer if you’re feeling fancy), cream together the softened butter and granulated sugar until it’s light and fluffy. This usually takes about 2-3 minutes. **Don’t rush this step**, it builds the structure of your cake!
- Add the eggs one at a time, beating well after each addition. Stir in the vanilla extract. Scrape down the sides of the bowl to make sure everything is incorporated.
- In a separate small bowl or measuring cup, gently whisk together your buttermilk, Key Lime juice, and Key Lime zest. This is your “wet mix” crew.
- Here’s where it comes together: Gradually add the dry ingredients to the wet ingredients, alternating with the buttermilk mixture. Start and end with the dry ingredients. **Mix until just combined** – a few lumps are totally fine. Overmixing is the enemy of moist cake!
- Pour your glorious batter into the prepared pan and spread it evenly. Give it a gentle tap on the counter to release any air bubbles.
- Bake for 25-30 minutes, or until a toothpick inserted into the center comes out clean. Ovens vary, so start checking early!
- While the cake is cooling (still in the pan!), let’s make that glaze. Whisk the powdered sugar, Key Lime juice, and zest (if using) together in a small bowl until smooth. If it’s too thick, add a tiny bit more juice; too thin, add more powdered sugar. You want a pourable consistency.
- Once the cake has cooled for about 15-20 minutes in the pan, poke holes all over the top with a skewer or a fork. **Don’t be shy!** This helps the glaze soak in.
- Pour the glaze evenly over the warm cake. Let it sit and soak in completely before slicing and serving. Patience is a virtue, especially when it comes to delicious cake!
Common Mistakes to Avoid
We’ve all been there, staring at a baking disaster. Here’s how to avoid rookie errors and achieve cake greatness:
- Ignoring the Room Temperature Rule: For butter and eggs, this isn’t just a suggestion! Room temp ingredients emulsify better, leading to a smoother, more uniform batter and, ultimately, a lighter cake. Cold stuff makes for lumpy batter.
- Eyeballing Measurements: Seriously, get proper measuring cups and spoons. Your cake isn’t a “guess-timation” project. Baking is a science, and precision matters!
- Overmixing: Once you add the flour, mix until *just* combined. Overmixing develops gluten, which makes your cake tough and chewy instead of tender and moist. We’re making cake, not bread!
- Skipping the Zest: The zest holds so much flavor and essential oils. Don’t be lazy and leave it out. You’ll miss out on a significant flavor punch.
- Not Preheating the Oven: Plunking your cake into a cold oven is a recipe for dense, unevenly baked sadness. **Always preheat fully!**
Alternatives & Substitutions
Life happens, ingredients run out, or maybe you just want to experiment. Here are a few swaps that generally work:
- No Buttermilk? No Problem! You can make your own by adding 1 tablespoon of white vinegar or lemon juice to a measuring cup, then filling the rest of the way to ¾ cup with regular milk. Let it sit for 5-10 minutes until it slightly curdles. Voila! Instant buttermilk.
- Regular Limes vs. Key Limes: Okay, purists might gasp, but in a pinch, regular Persian limes work. The flavor will be a bit sharper, less floral, but still delicious. Just promise me you’ll use fresh juice and zest!
- Glaze Options: If you’re feeling extra indulgent, you could swap the simple glaze for a cream cheese frosting with a touch of lime juice. OMG, yes please!
- Flour Power: You *could* try a gluten-free all-purpose blend, but results might vary. I haven’t personally tested it for this specific recipe, so proceed with caution and maybe a prayer.
FAQ (Frequently Asked Questions)
- Can I use bottled Key Lime juice? Listen, I won’t judge… much. Technically, yes, you can. But for that true, vibrant, authentic Key Lime flavor, freshly squeezed is genuinely superior. Why hurt your soul like that when fresh limes are so readily available?
- How do I know when the cake is done? The classic toothpick test! Insert a toothpick into the center; if it comes out clean or with just a few moist crumbs (no wet batter!), your cake is ready to party.
- My cake turned out dry, what happened? Most likely culprits: overmixing the batter, too much flour (measure properly!), or baking it for too long. Keep an eye on that oven and don’t bake past the toothpick test!
- Can I make this as cupcakes? Absolutely! Just adjust the baking time down to about 18-22 minutes. Keep an eye on them!
- How long does this cake last? If you manage not to devour it all in one sitting, it’ll stay fresh at room temperature for 2-3 days, or in the fridge for up to 5 days, tightly covered. The flavors actually deepen a bit over time, FYI.
- Can I freeze this cake? Yes! Wrap the cooled, unglazed cake tightly in plastic wrap, then foil. It’ll keep in the freezer for up to 2-3 months. Thaw at room temp, then glaze.
Final Thoughts
So there you have it, your ticket to Key Lime bliss! This cake is seriously a showstopper, even if you’re just showing it off to your own happy tastebuds on the couch. It’s got that perfect zing, that incredible moist crumb, and that whole “I made this!” vibe that makes baking so rewarding. Now go forth and conquer those cravings. Impress someone—or, more importantly, yourself—with your new culinary skills. You’ve earned it!


