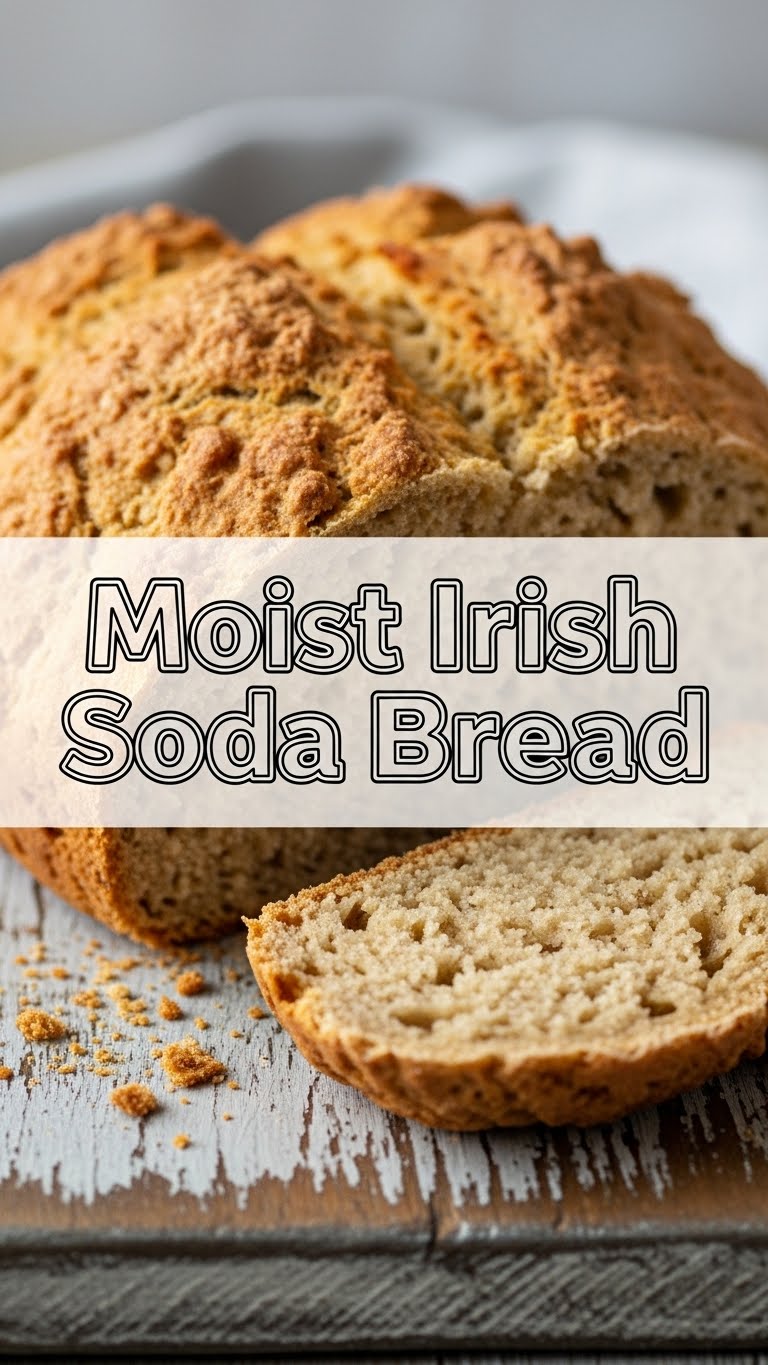
So, you’ve hit that sweet spot where you’re craving something warm, comforting, and utterly delicious, but the mere thought of a multi-hour baking project makes you want to crawl back under the covers? Oh, I hear you, friend. Louder than a hungry stomach at 2 AM. Good news! We’re about to dive into the glorious world of Moist Irish Soda Bread, which is basically the culinary equivalent of a warm hug that requires minimal effort. Seriously, even if your previous baking attempts resulted in… well, ‘results,’ you got this. Let’s get cracking!
Why This Recipe is Awesome
Okay, let’s talk about why this isn’t just *a* recipe, it’s *the* recipe for your busy, hungry, and slightly lazy self (no judgment, we’re all friends here). First off, there’s **no yeast**, which means no waiting for dough to rise. Hallelujah! You mix it, you shape it, you bake it. That’s it. This bread is the ultimate “I need carbs and I need them NOW” solution. It’s rustic, it’s wholesome, and it pairs perfectly with just about anything – soup, stew, a slather of butter and jam, or, let’s be honest, just tearing off a chunk and eating it plain while standing over the counter. Plus, it’s practically impossible to mess up, **making it truly idiot-proof**. I speak from experience.
Ingredients You’ll Need
Gather ’round, buttercup, because these are your magical tools for deliciousness. Nothing fancy, just good, honest ingredients.
- 4 cups All-Purpose Flour: The backbone of our bread. Don’t even think about using self-rising; we’re in control here.
- 1 teaspoon Baking Soda: Our main leavening agent. This is what makes it “soda” bread. Science!
- 1 teaspoon Salt: Because bland bread is a sad bread. Don’t skip it.
- 1 tablespoon Granulated Sugar (optional, but recommended for a slightly softer crumb): Just a touch of sweetness to balance things out.
- 4 tablespoons Cold Butter: Cut into small cubes. This is where the moisture magic really starts. **Cold butter is key!**
- 1 ½ cups Buttermilk: The unsung hero! This is absolutely essential for that tangy flavor and moist texture. If you don’t have buttermilk, don’t panic! See the Alternatives section.
- A little extra flour for dusting: For when things get sticky.
Step-by-Step Instructions
- Preheat Your Oven: Get that oven nice and toasty to **425°F (220°C)**. While it’s heating, lightly flour a baking sheet. Preparation is half the battle, my friend.
- Whisk the Dry Stuff: In a large mixing bowl, combine your flour, baking soda, salt, and sugar (if using). Give it a good whisk to make sure everything is evenly distributed. We want uniform flavor, right?
- Cut in the Butter: Add the cold, cubed butter to your dry ingredients. Now, get your hands in there (or use a pastry blender if you’re fancy). Rub the butter into the flour mixture until it resembles coarse crumbs. We’re talking pea-sized bits, give or take.
- Pour in the Buttermilk: Make a well in the center of your flour-butter mix and pour in the buttermilk. Use a wooden spoon or your hands to gently mix until everything just comes together. **Do not overmix!** A shaggy, slightly sticky dough is exactly what we want.
- Shape the Dough: Turn the dough out onto your lightly floured surface. Knead it very gently, just a few times, until it forms a somewhat round loaf. It should be about 1 ½ to 2 inches thick.
- Score and Bake: Transfer your dough loaf to the prepared baking sheet. Using a sharp knife, cut a deep ‘X’ into the top of the loaf, going about halfway through the dough. This isn’t just for looks; it helps the bread cook evenly.
- Bake It Up: Pop that beauty into your preheated oven. Bake for **35-45 minutes**, or until the crust is golden brown and sounds hollow when tapped on the bottom.
- Cool Down: Once baked, transfer the bread to a wire rack to cool slightly. It’s best enjoyed warm, but not scorching hot. Patience, young grasshopper.
Common Mistakes to Avoid
Look, we all make mistakes. It’s how we learn. But why not learn from *my* mistakes, right? Saves you the heartache!
- Overmixing the Dough: This is a cardinal sin for soda bread. The more you mix, the tougher your bread gets. We’re aiming for moist and tender, not a hockey puck. Mix just until combined, seriously.
- Using Warm Butter: Remember when I said **cold butter is key**? Warm butter melts too quickly, leading to a flat, dense loaf. Keep it chilly!
- Not Preheating the Oven Enough: A properly hot oven helps the baking soda activate quickly, giving you that lovely rise. Don’t rush it; those extra few minutes are worth it.
- Skipping the Buttermilk: Or trying to use regular milk. Buttermilk’s acidity reacts with the baking soda to create those air pockets. Regular milk just won’t cut it for the same result. **FYI, it’s crucial.**
Alternatives & Substitutions
Feeling a little adventurous? Or just missing an ingredient? I got you.
- Buttermilk Substitute: No buttermilk? No problem! For 1 ½ cups, simply measure out 1 ½ cups of regular milk (whole or 2%) and stir in 1 ½ tablespoons of white vinegar or lemon juice. Let it sit for 5-10 minutes until it looks slightly curdled. Voila! Instant buttermilk.
- Add-ins: Want to jazz it up? You can totally add about ½ cup of raisins, currants, or even dried cranberries to the dry ingredients before adding the buttermilk. A sprinkle of caraway seeds also gives it a lovely traditional touch.
- Gluten-Free Flour: While I haven’t personally tested it extensively for soda bread, a 1:1 gluten-free baking blend *might* work, but results can vary wildly. If you try it, let me know!
FAQ (Frequently Asked Questions)
Got questions? I probably have answers (or at least funny guesses).
- Can I use margarine instead of butter? Well, technically yes, but why hurt your soul like that? Butter just tastes better, IMO. Go for the real deal if you can.
- My bread is dense, what went wrong? You likely overmixed it, dear baker! Or maybe your baking soda is past its prime. Next time, mix less, embrace the shaggy dough!
- How long does Irish Soda Bread last? It’s best eaten the day it’s made, honestly. It tends to dry out quickly. If you have leftovers, toast them up!
- Can I make this ahead of time? Not really the dough, no. But the baked bread can be refreshed with a quick warm-up in the oven or toaster.
- Is it supposed to be a little crumbly? Yes, it’s a rustic bread! It doesn’t have the elastic gluten structure of yeast breads, so a little crumb is perfectly normal and part of its charm.
Final Thoughts
There you have it! A warm, moist, utterly delicious loaf of Irish Soda Bread, fresh from your very own kitchen. See? I told you you could do it! Now, go impress someone—or yourself—with your new culinary skills. Slap some butter on that bad boy, pour yourself a cuppa, and enjoy the fruits of your (minimal) labor. You’ve earned it!


