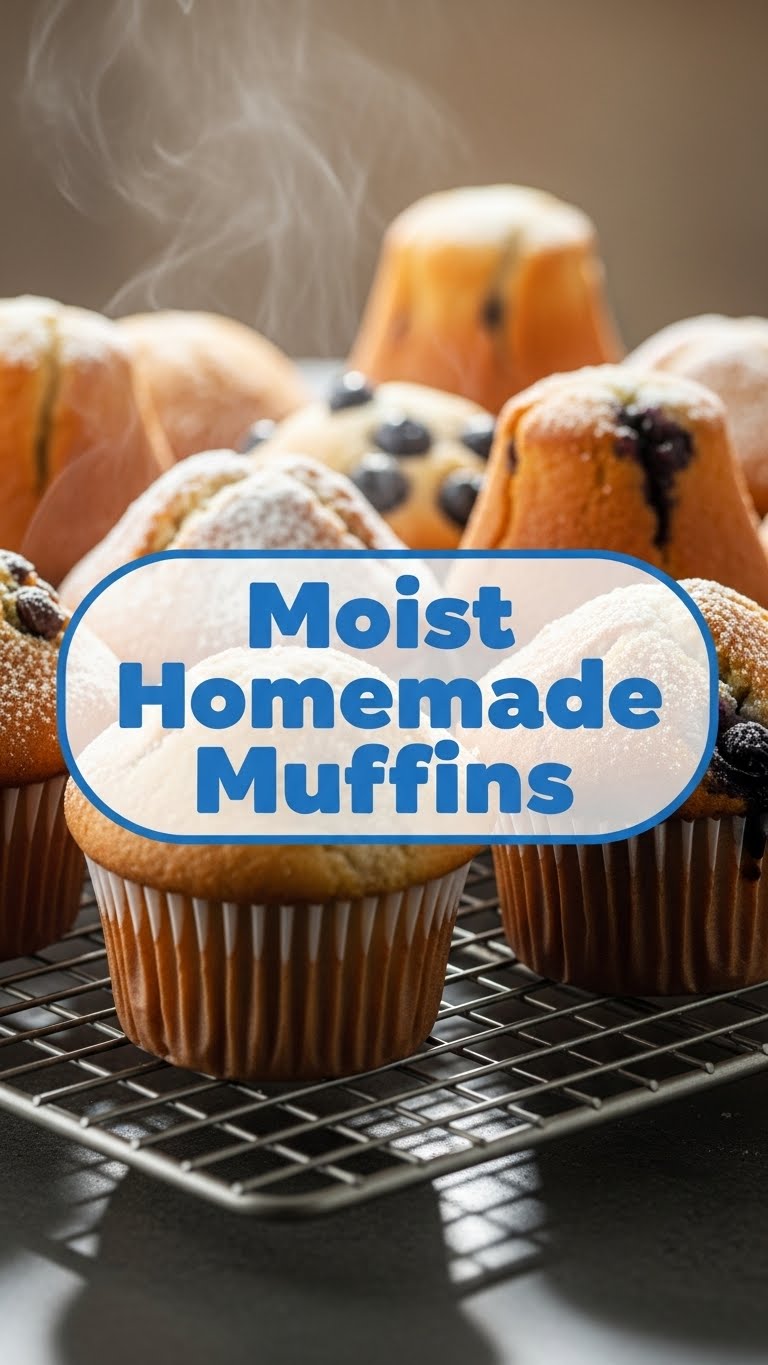
So you’re craving something tasty but too lazy to spend forever in the kitchen, huh? Same. High five! You know that moment when you just NEED something comforting, warm, and utterly delicious, but the thought of a complicated recipe makes you wanna curl up and cry? Yeah, me too. That’s why we’re making friends with muffins today – specifically, the kind that are so moist they practically melt in your mouth and are ridiculously easy to whip up. No fancy chef skills required, just a desire for deliciousness and maybe a good playlist. Let’s get baking, friend!
Why This Recipe is Awesome
Okay, real talk. This isn’t just *another* muffin recipe. This is THE muffin recipe you’ll keep coming back to because it’s practically foolproof. Seriously, even I, the queen of distraction baking, manage to nail these every single time. It’s fast, it uses ingredients you probably already have lying around, and the results? Pure bliss. We’re talking fluffy, moist, bakery-worthy muffins that scream “I put effort into this!” (but you totally didn’t). Plus, they’re super versatile. Want chocolate? Berries? Nuts? Go wild! This recipe is your blank canvas for deliciousness.
Ingredients You’ll Need
Gather ’round, my fellow kitchen wizard! Here’s what you’ll need to conjure up these magical muffins. Don’t worry, no dragon’s breath or unicorn tears required.
- 1 ½ cups All-Purpose Flour: The backbone of our muffin empire.
- ½ cup Granulated Sugar: For that perfect touch of sweetness. Don’t skimp, it’s a muffin, not a health food!
- 2 teaspoons Baking Powder: Our little lift-off agent, ensuring fluffy perfection.
- ½ teaspoon Salt: Just a pinch to make all those flavors pop. Trust me on this one.
- 1 large Egg: Room temperature, if possible, but don’t sweat it if you forget. We’re chill here.
- 1 cup Milk: Any kind works – whole, 2%, almond, oat… your choice, boo.
- ¼ cup Vegetable Oil (or melted unsalted butter): For that glorious moisture. Oil gives a super soft crumb, but butter adds a richer flavor. Pick your poison!
- 1 teaspoon Vanilla Extract: Because vanilla makes everything better, period.
- Optional Mix-ins (1 cup): Chocolate chips, blueberries (fresh or frozen), chopped nuts, a dash of cinnamon – this is where you customize your muffin destiny!
Step-by-Step Instructions
Alright, apron up! Let’s make some muffin magic happen. Keep it casual, keep it fun!
- Get That Oven Hot & Ready: First things first, preheat your oven to **400°F (200°C)**. Line a 12-cup muffin tin with paper liners or grease it really well. No one likes a sticky muffin situation.
- Dry Stuff First: In a large bowl, whisk together the flour, sugar, baking powder, and salt. Give it a good whisk to break up any lumps and ensure everything is evenly distributed. This is important, folks!
- Wet Stuff Next: In a separate, medium-sized bowl, lightly beat the egg. Then, pour in the milk, vegetable oil (or melted butter), and vanilla extract. Whisk it all together until it’s combined.
- Marry Them (Gently!): Pour the wet ingredients into the dry ingredients. Now, this is crucial: **mix gently with a spoon or spatula until JUST combined.** A few lumps are totally fine, even desirable! Overmixing is the enemy of moist muffins, turning them tough and chewy. Don’t do it!
- Fold in Your Favs: If you’re adding mix-ins like chocolate chips or berries, gently fold them into the batter now. Don’t go crazy, just enough to distribute them.
- Fill ‘Em Up: Divide the glorious batter evenly among the 12 muffin cups. Fill them about two-thirds full. For those picture-perfect domed tops, you can fill them a little fuller, say three-quarters, but be warned, some might get a little rebellious and spill over!
- Bake Away!: Pop that muffin tin into your preheated oven. Bake for **18-22 minutes**, or until a wooden skewer or toothpick inserted into the center of a muffin comes out clean.
- Cool Down: Let them cool in the muffin tin for about 5 minutes (if you can wait that long!) before transferring them to a wire rack to cool completely. Or, you know, eat one immediately. I won’t tell.
Common Mistakes to Avoid
Listen, we all make mistakes. But with muffins, a few errors can derail your entire delicious journey. Learn from my past blunders, folks!
- Overmixing the Batter: This is the cardinal sin of muffin making! Overmixing develops the gluten in the flour, leading to tough, rubbery muffins. We want light and fluffy! **Mix until *just* combined**, a few lumps are your friends.
- Not Preheating the Oven: Rookie mistake! A cold oven won’t give your muffins that initial blast of heat they need to rise beautifully and set properly. Always preheat!
- Opening the Oven Door Too Early: Resist the urge to peek! Especially in the first 10-12 minutes, opening the door can cause your muffins to collapse. Patience, young padawan.
- Overfilling the Muffin Cups: Unless you’re specifically going for those giant bakery-style tops (which sometimes means a little mess), don’t overfill. Stick to two-thirds full to avoid overflow.
Alternatives & Substitutions
Feeling a little rebellious? Want to switch things up? This recipe is super forgiving!
- Milk Swap: No dairy? No problem! Almond milk, oat milk, soy milk – all work beautifully. Just make sure it’s unsweetened if you don’t want extra sweetness.
- Oil vs. Butter: As mentioned, vegetable oil gives a super moist, soft crumb. Melted butter adds a richer, more classic flavor. Experiment and see which you prefer! Can’t decide? Do half and half!
- Flour Power: You can swap out a quarter or even half of the all-purpose flour for whole wheat flour for a slightly nuttier, healthier twist. Just know your muffins might be a smidge denser.
- Sweetness Level: Want less sugar? You can reduce the granulated sugar by about ¼ cup, but your muffins might be a bit less moist and brown less. Wanna amp it up? Add a tablespoon of brown sugar for extra molassesy goodness.
- Mix-in Mania: The world is your oyster! Try lemon zest and poppy seeds, diced apples and cinnamon, chopped nuts, different kinds of chocolate chips (white chocolate, peanut butter chips!), or even a swirl of jam on top of the batter before baking.
FAQ (Frequently Asked Questions)
Got questions? I’ve got answers (mostly, and with a dash of sass)!
- Can I use margarine instead of butter? Well, technically yes, but why hurt your soul like that? Butter just tastes better and contributes to a better texture. Margarine is like butter’s distant, less-charming cousin.
- My muffins turned out dry! What went wrong? Ah, the tragedy! Most likely culprits: overmixing the batter, baking too long, or not enough fat/liquid. Next time, mix less, watch your baking time, and double-check your measurements.
- Can I use frozen berries without thawing them? YES! In fact, it’s often better. Toss them in a tablespoon of flour before adding to the batter to prevent them from sinking to the bottom and bleeding too much color.
- How do I store homemade muffins? Keep ’em airtight at room temp for 2-3 days. For longer storage, freeze them! Wrap individually in plastic wrap, then pop into a freezer bag. Thaw on the counter or microwave briefly.
- How do I get those perfect domed tops? A hotter initial bake (like our 400°F) helps. Also, fill your muffin cups a bit fuller (about ¾ full) and avoid opening the oven door too early.
- Can I make this batter ahead of time? You *can*, but it’s not ideal. The leavening agents (baking powder) start working once wet ingredients hit dry. Letting it sit too long can result in less fluffy muffins. It’s best baked fresh.
- This recipe only makes 12 muffins, what if I need more? Duh, just double the recipe! 😜
Final Thoughts
And there you have it, my friend! Your very own batch of moist, delicious homemade muffins, hot and ready for your enjoyment. Whether you share them (highly recommended, but also optional), hoard them all to yourself, or just bask in the glory of your own baking prowess, you totally deserve it. You just whipped up something amazing from scratch with minimal fuss. Now go impress someone—or yourself—with your new culinary skills. You’ve earned it!


