So, picture this: it’s a Tuesday, or maybe a Saturday, or honestly, any day that ends in ‘y’ – and suddenly, BAM! That chocolate craving hits you like a runaway train. You know the one. That deep, dark, fudgy desire that only a perfectly moist brownie can satisfy. But who has time for fussy, complicated recipes? Not us, friend. We’re here for the good stuff, the easy stuff, the “I-can-do-this-in-my-pajamas” stuff.
Why This Recipe is Awesome
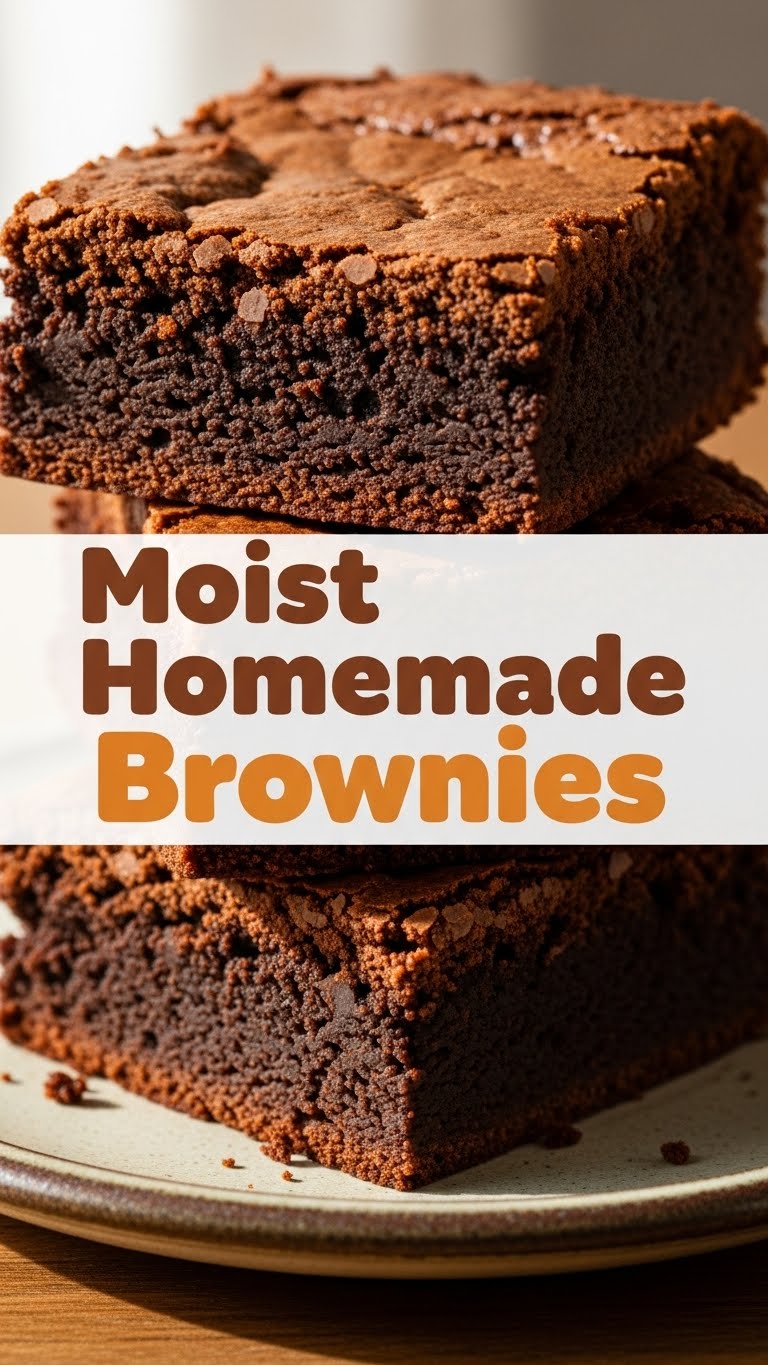
Let’s be real, life is too short for dry, crumbly brownies that taste like cardboard’s less exciting cousin. This recipe? Oh, it’s a game-changer. It delivers those perfectly moist, chewy-edged, fudgy-centered brownies you dream about, all with shockingly little effort. Seriously, it’s so straightforward, even your pet goldfish could probably guide you through it (if it had opposable thumbs and an interest in baking, obviously). It’s basically idiot-proof, and if I can nail it, you definitely can. Plus, it’s fast enough that you won’t lose half your day to baking, which means more time for… well, eating brownies, mostly.
Ingredients You’ll Need
Gather ’round, my fellow kitchen adventurers! Here’s the small, mighty squad you’ll need for brownie domination:
- 1 cup (2 sticks) unsalted butter: The MVP of moisture. Don’t skimp here unless you want sad, dry brownies. We’re aiming for joy!
- 2 cups granulated sugar: Sweetness and structure. Yes, it’s a lot, but this is a brownie, not a health salad.
- 4 large eggs: The binder, the rich-maker, the *chef’s kiss* ingredient.
- 1 teaspoon vanilla extract: Because everything is better with vanilla. It’s the little black dress of baking ingredients.
- 1 cup all-purpose flour: Just enough to hold it all together without making it cakey. We want fudgy, not fluffy!
- ¾ cup unsweetened cocoa powder: The dark magic. Use good quality stuff if you can; it really makes a difference.
- ½ teaspoon baking powder: Just a tiny lift, nothing dramatic.
- ¼ teaspoon salt: Balances the sweetness and makes the chocolate sing. Don’t skip it, it’s a flavor enhancer!
- Optional: 1 cup chocolate chips or chunks: Because more chocolate is always a good idea, right?
Step-by-Step Instructions
Alright, apron on (or not, no judgment), let’s get this party started!
- Preheat & Prep: First things first, get your oven cranked up to 350°F (175°C). Line a 9×13 inch baking pan with parchment paper, leaving an overhang on the sides. This makes lifting the cooled brownies out a breeze – trust me on this, it’s a lifesaver for clean cuts.
- Melt the Butter: In a medium microwave-safe bowl or a saucepan over low heat, melt your butter. You want it fully melted but not boiling.
- Whisk in Sugar: Pour the melted butter into a large mixing bowl. Add the granulated sugar and whisk it together until well combined and smooth.
- Add Eggs & Vanilla: Crack in your four eggs, one at a time, whisking well after each addition until fully incorporated. Stir in the vanilla extract. Keep whisking for about a minute; this aerates the mix and gives you that lovely crackly top.
- Combine Dry Ingredients: In a separate bowl, whisk together the flour, cocoa powder, baking powder, and salt. Make sure there are no lumpy bits of cocoa powder hiding in there.
- Mix Wet & Dry: Gradually add the dry ingredients to the wet ingredients. Mix just until *barely* combined. Do not overmix! Overmixing develops gluten and can lead to tough brownies. A few streaks of flour are totally fine; they’ll disappear in the oven. If using, fold in your chocolate chips now.
- Bake It Up: Pour the batter into your prepared baking pan and spread it evenly. Pop it into the preheated oven and bake for 25-30 minutes. The edges should look set, and a toothpick inserted into the center should come out with moist crumbs, not wet batter.
- Cool Down (The Hard Part): This is crucial! Let the brownies cool completely in the pan on a wire rack before attempting to cut them. I know, I know, it’s torture. But cooling allows them to set up properly and prevents a crumbly mess. Patience is a virtue here!
Common Mistakes to Avoid
Nobody’s perfect, especially in the kitchen, but a few pro-tips can save you from brownie heartbreak:
- Not Lining Your Pan: Seriously, just do it. Trying to pry sticky brownies from a pan is a nightmare. Learn from my past mistakes (and probably yours).
- Overmixing the Batter: As mentioned, this is the express train to tough-town. Mix just until combined, then step away from the whisk!
- Overbaking: The ultimate brownie sin! Overbaked brownies are dry brownies. Start checking around 25 minutes. Remember, they continue to cook a little bit after they come out of the oven. A toothpick with moist crumbs is your goal, not squeaky clean.
- Cutting Too Soon: I get it, the smell is intoxicating. But cutting warm brownies is like trying to build a sandcastle in a hurricane – messy and frustrating. Let them cool!
Alternatives & Substitutions
Feeling a little adventurous? Or maybe you’re out of one tiny ingredient? No sweat!
- Butter Swap: While butter gives the best flavor and texture, if you’re in a pinch, you *could* use vegetable oil or melted coconut oil (just be aware of the flavor change with coconut). But, IMO, stick with butter for peak deliciousness.
- Chocolate Type: Feel free to experiment with the chocolate chips! Milk chocolate, dark chocolate, white chocolate, or even a mix. Go wild! You could also add chopped nuts (walnuts or pecans are classic) for some crunch.
- Flour Power: For a slightly chewier brownie, you can swap out 1-2 tablespoons of the all-purpose flour for bread flour. Don’t tell anyone I told you this secret!
FAQ (Frequently Asked Questions)
Got questions? I’ve got (mostly) snarky answers!
- My brownies are more cakey than fudgy, what gives? Ah, sounds like you might have overmixed, added too much flour, or overbaked them. Remember, mix minimally, measure accurately, and don’t bake until they’re brick-hard!
- Can I make these gluten-free? You bet! Swap the all-purpose flour for a good quality 1:1 gluten-free baking blend. Results might vary slightly, but they should still be delish.
- How long do these beauties last? If they even make it past day one, I’d say 3-4 days at room temperature in an airtight container. Good luck with that, though!
- Can I freeze brownies? Absolutely! Wrap individual cooled brownies tightly in plastic wrap, then place in a freezer-safe bag for up to 2-3 months. Thaw at room temp when the craving strikes.
- Why do you insist on parchment paper? Is it really that important? YES! (Did I shout that? Maybe.) It prevents sticking, makes cleanup a breeze, and allows you to lift the whole slab out for perfect, clean cuts. It’s a non-negotiable for lazy bakers like us.
Final Thoughts
So there you have it, my friend! Your new go-to recipe for brownies that will make you the hero of any gathering (or just your couch). These aren’t just brownies; they’re a warm, chocolatey hug in edible form. Now go impress someone – or, more likely, just yourself – with your new culinary superpowers. You’ve earned it! And don’t forget to sneak a bite of the corner piece before anyone else sees. You deserve it.


