So, you’re looking for a ham recipe that doesn’t taste like cardboard and won’t require a culinary degree to pull off? My friend, you’ve come to the right place. Forget those dry, sad holiday hams of yore. We’re about to make a ham so juicy, so tender, so gloriously moist, it’ll make your taste buds do a happy dance. And the best part? It’s ridiculously easy. Seriously, if I can do it without setting off the smoke alarm (most of the time), you definitely can.
Why This Recipe is Awesome
Because let’s be real, life’s too short for dry ham. This isn’t just a recipe; it’s a cheat code to culinary glory with minimal effort. Here’s why you’ll love it:
- It’s practically idiot-proof. Even if your last cooking adventure involved ordering takeout, you’ve got this.
- It makes your house smell like a delicious, festive wonderland, even if you just threw it together for Tuesday night dinner.
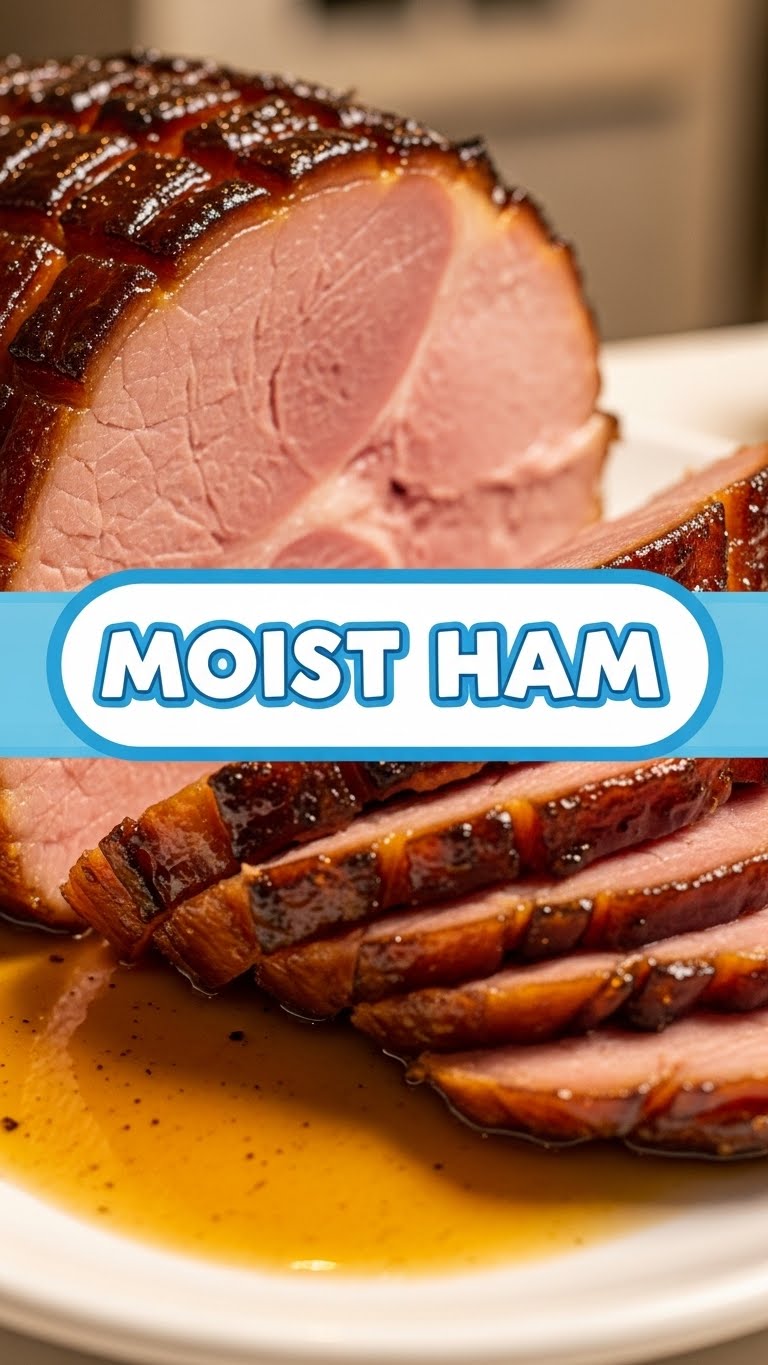
- The ham stays incredibly moist and flavorful, thanks to a few simple tricks and a ridiculously tasty glaze. No more parched pork!
- It’s versatile! Perfect for holidays, Sunday dinner, or just when you’re feeling fancy but lazy.
- Leftovers (if you have any) are glorious. Ham sandwiches, anyone?
Ingredients You’ll Need
Gather your gladiators, er, ingredients! Nothing too wild here, just the good stuff.
- 1 Pre-cooked Ham (5-8 lbs): Bone-in or boneless, your call. Just make sure it’s pre-cooked unless you’re feeling adventurous (and have a lot more time).
- 1 cup Brown Sugar: The sticky, sweet backbone of our glaze. Don’t skimp.
- 1/2 cup Dijon Mustard: For that tangy kick. Yellow mustard is a no-go here, unless you’re trying to make it taste like a hot dog stand.
- 1/4 cup Pineapple Juice (or Orange Juice): Adds a lovely sweetness and helps with moisture. Plus, it’s tropical!
- 1 tsp Ground Cloves (or whole cloves): Tiny but mighty flavor bombs. If using whole, you’ll need about 10-15.
- Optional: Pineapple Rings & Maraschino Cherries: For that classic, retro ham aesthetic. Plus, more yummy fruit!
- Aluminum Foil & Roasting Pan: Because nobody likes scrubbing a pan for an hour.
Step-by-Step Instructions
Alright, apron on, let’s get this party started! These steps are so simple, you could probably do them in your sleep.
- Preheat & Prep: Set your oven to 325°F (160°C). Pull your ham out of the fridge and let it hang out on the counter for about 30-60 minutes while the oven heats up. This helps it cook more evenly. If your ham has a thick skin, score it in a diamond pattern about 1/4 inch deep. This isn’t just for looks; it helps the glaze seep in!
- Whip Up the Glaze: In a medium bowl, whisk together the brown sugar, Dijon mustard, pineapple juice, and ground cloves until it’s all smooth and dreamy. If you’re using whole cloves, you’ll just stud them into the ham later.
- Glaze the Ham: Place your ham, cut-side down if boneless, into a roasting pan. Pour about half of your glorious glaze all over it, making sure it gets into all those nooks and crannies. If you’re using whole cloves, stud them evenly into the ham now. If you’re doing the pineapple and cherry thing, secure them to the ham with toothpicks.
- Foil & Bake: Tightly cover the roasting pan with aluminum foil. This is key for keeping that moisture locked in! Pop it in the preheated oven. You’ll bake it for about 15-20 minutes per pound, or until the internal temperature reaches 135-140°F (57-60°C).
- Final Glaze & Caramelize: About 30-45 minutes before the ham is done, remove the foil. Spoon or brush the remaining glaze all over the ham. Crank up the oven to 400°F (200°C) for the last 15-20 minutes, or until the glaze is beautifully caramelized and sticky. Keep an eye on it so it doesn’t burn!
- Rest, You Deserve It: Once it’s done, take the ham out of the oven, cover it loosely with foil, and let it rest for at least 15-20 minutes before slicing. This resting period is crucial, IMO, as it allows the juices to redistribute, ensuring that every slice is super moist.
Common Mistakes to Avoid
Nobody’s perfect, but we can avoid these ham-hazards, right?
- Not Preheating the Oven: Rookie mistake! Your oven needs to be at temperature for even cooking. Don’t rush it.
- Overcooking the Ham: This is the number one killer of moist ham. Remember, it’s pre-cooked, so you’re really just heating it through and getting that glaze nice and sticky. Use a meat thermometer!
- Forgetting to Rest It: You’ve waited this long, don’t chop into it immediately! Patience is a virtue, especially when it comes to juicy meat.
- Skipping the Foil: That foil creates a steamy environment that keeps your ham from drying out in the oven. It’s your ham’s personal sauna.
- Using the Wrong Mustard: Yellow mustard is for hot dogs and picnic aesthetics, not for a gourmet ham glaze. Trust me on this.
Alternatives & Substitutions
Feeling a little rebellious? Here are some ways to shake things up without messing with perfection too much.
- Mustard Makeover: Don’t have Dijon? A grainy mustard or even a good quality honey mustard could work in a pinch. Just avoid anything too overpowering.
- Sweetener Swap: Out of brown sugar? Maple syrup or honey can be fantastic substitutes for part or all of the brown sugar in the glaze. They add their own unique flavor, FYI.
- Juice Jam: No pineapple juice? Orange juice, apple juice, or even a little ginger ale can bring that fruity sweetness to the glaze.
- Spice it Up: A pinch of cayenne pepper in the glaze can add a subtle warmth if you’re into that sweet and spicy vibe. Or some ground ginger for another layer of flavor.
- Boozy Boost: A splash of bourbon or rum in the glaze can add an incredible depth of flavor. Just simmer it gently for a minute to cook off some of the alcohol.
FAQ (Frequently Asked Questions)
Got questions? I’ve got answers (and maybe a few bad jokes).
- Can I use a bone-in ham instead of boneless? Absolutely! Bone-in often has more flavor. Just be aware that carving around the bone takes a little more finesse. The cooking time per pound remains roughly the same.
- Do I really need to score the ham? It’s not strictly necessary for cooking, but it really helps the glaze penetrate and gives you those pretty diamond patterns. Plus, it makes it feel more “chef-y,” doesn’t it?
- My ham looks like it’s drying out! What do I do? If you notice it getting too dark too quickly during the final glazing stage, simply tent it loosely with foil again to protect it while it finishes heating through.
- Can I make the glaze ahead of time? You betcha! Whip it up a day or two in advance and store it in an airtight container in the fridge. Just give it a good whisk before using.
- How long do leftovers last? Cooked ham stored properly in an airtight container in the fridge is good for 3-5 days. Perfect for multiple meals!
- What if I don’t have a roasting rack? No problem! You can use a bed of chopped veggies (carrots, celery, onions) at the bottom of the pan. They’ll lift the ham and absorb some delicious juices, making them tasty side dishes too!
- Can I use an artificial sweetener in the glaze? Well, technically yes, but why hurt your soul like that? Brown sugar caramelizes beautifully, which is a big part of the magic here. Artificial sweeteners won’t give you that same sticky, caramelized crust.
Final Thoughts
And there you have it, folks! A perfectly moist, ridiculously flavorful ham that will make everyone think you spent hours slaving away. Your secret is safe with me. Now go impress someone—or yourself—with your new culinary skills. You’ve earned it! Seriously, pour yourself a drink, slice that ham, and bask in the glory of your delicious achievement. You’re basically a ham whisperer now. You’re welcome.


