So you’re craving something warm, golden, and ridiculously moist that practically melts in your mouth, but the thought of a complicated recipe makes you want to just order takeout? Same, friend, same. Lucky for us, I’ve got a secret weapon: the ultimate Moist Golden Cake that’s so easy, you’ll wonder if you accidentally skipped a step. (Spoiler: you didn’t!) Let’s bake a little happiness, shall we?
Why This Recipe is Awesome (AKA Why You Need This in Your Life)
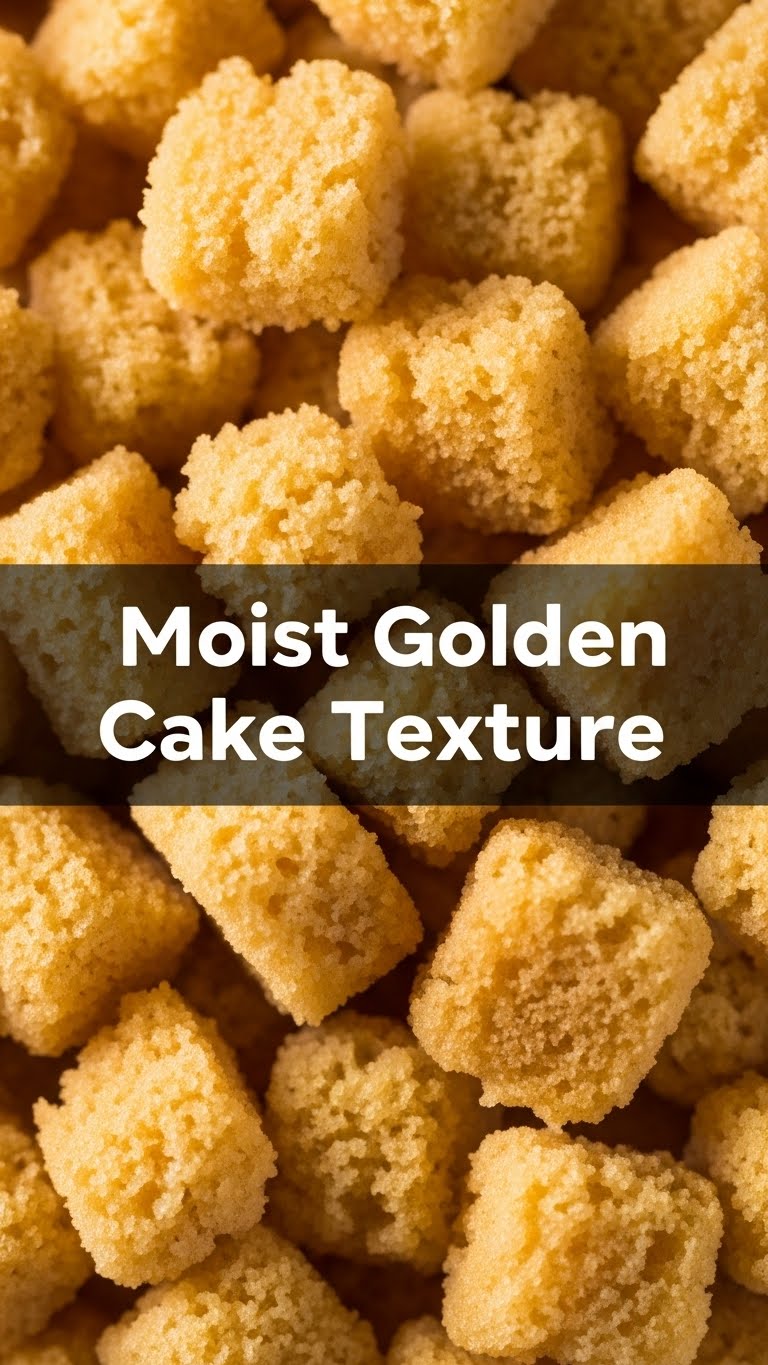
Okay, let’s be real. There are approximately zillion cake recipes out there. So why this one? Because it’s like that one friend who’s always there for you, never judges your questionable life choices, and always brings the good snacks. It’s **super forgiving**, meaning even if you get a little distracted by your cat’s antics (guilty!), it’ll still turn out amazing. Plus, the texture? Oh. My. Goodness. It’s like biting into a cloud made of sunshine and pure joy. No dry, crumbly sadness here, folks. Just pure, unadulterated moist, golden deliciousness. And honestly, it’s pretty much **idiot-proof**. Even I, the queen of kitchen chaos, haven’t messed this one up yet. Trust me on this. You’re welcome.
Ingredients You’ll Need (The Good Stuff)
Gather ’round, my sweet-toothed comrades! Here’s your treasure map to cake nirvana. Nothing too fancy, I promise.
- All-Purpose Flour: The backbone of our cakey dreams. Don’t worry, we’re not getting into fancy pastry flour territory here.
- Granulated Sugar: Sweetness! Because life’s too short for unsweetened cake.
- Baking Powder: Our lift-off agent! This is what makes our cake fluffy and light, not a sad, dense brick.
- Salt: A pinch is all it takes to make everything else sing. Seriously, don’t skip it.
- Unsalted Butter, softened: The magic ingredient for richness and that moist texture. Leave it on the counter for a bit; we want it soft, not melted.
- Large Eggs: Bring on the structure and extra moisture. Room temp is ideal, FYI!
- Whole Milk: Adds more moisture and richness. The richer, the better, IMO.
- Vanilla Extract: The MVP of flavor. Use the good stuff if you’ve got it!
Step-by-Step Instructions (Let’s Get This Cake Baked!)
- Prep Your Pan: Preheat your oven to **350°F (175°C)**. Grease and flour a 9-inch round cake pan. You can also line the bottom with parchment paper for extra insurance against sticking.
- Whisk the Dry Stuff: In a medium bowl, whisk together your flour, sugar, baking powder, and salt. Give it a good whisk to make sure everything is evenly distributed.
- Cream the Butter: In a large bowl (or stand mixer if you’re feeling fancy), cream together the softened butter until it’s light and fluffy. This usually takes about 2-3 minutes.
- Add Eggs, One by One: Beat in the eggs, one at a time, mixing well after each addition. Make sure each egg is fully incorporated before adding the next. Scrape down the sides of the bowl as needed.
- Alternate Wet & Dry: Now for the magic! Gradually add the dry ingredients to the butter mixture, alternating with the milk, starting and ending with the dry ingredients. Mix until just combined – **don’t overmix!**
- Stir in Vanilla: Fold in that glorious vanilla extract. Give it a gentle mix until it’s perfectly blended.
- Bake It Up: Pour your beautiful batter into the prepared cake pan. Smooth the top with a spatula. Bake for **30-35 minutes**, or until a wooden skewer inserted into the center comes out clean.
- Cool Down: Let your cake cool in the pan for about 10-15 minutes before inverting it onto a wire rack to cool completely. Don’t rush this part; patience is a virtue, especially with cake!
Common Mistakes to Avoid (So You Don’t Cry Over Crumbs)
Nobody’s perfect, especially when cake is involved. But here are a few rookie errors to steer clear of:
- Ignoring Room Temperature Ingredients: Seriously, soft butter and room temp eggs make a *huge* difference in texture. Cold ingredients just don’t emulsify properly, leading to a less cohesive (and less moist!) cake. **Don’t skip this step!**
- Overmixing the Batter: Once you add the flour, mix until just combined. Overmixing develops the gluten too much, leading to a tough, dry cake. Nobody wants a cake that doubles as a frisbee.
- Opening the Oven Door Too Early: Resist the urge! The sudden change in temperature can make your cake sink in the middle. Give it at least 25 minutes before peeking.
- Not Greasing Your Pan Properly: Thinking you don’t need to grease and flour (or parchment!) your pan is a recipe for a cake stuck forever. A tragedy, really.
Alternatives & Substitutions (Because We’re Flexible Like That)
Life happens, sometimes you’re out of something, or you just wanna experiment. Here are some ideas:
- Milk: No whole milk? You can absolutely use 2% or even buttermilk for a slightly tangier, even more moist crumb. Almond milk also works, but might slightly alter the richness.
- Butter: Unsalted butter is king, but if you only have salted, just **omit the extra salt** in the recipe. Margarine? Well, technically yes, but why hurt your soul like that? Stick to butter for the best flavor and texture.
- Flour: All-purpose is great, but a 1:1 gluten-free flour blend can work, though the texture might be slightly different. Don’t sub with self-rising flour unless you want a baking powder explosion.
- Flavor Boosts: Feeling zesty? Add a teaspoon of lemon or orange zest to the batter for a bright kick. A dash of almond extract alongside the vanilla can also be delightful!
FAQ (Because You’ve Got Questions, I’ve Got Answers… Mostly)
- My cake sank in the middle! What happened? Ah, the dreaded crater! Usually, this means you either opened the oven door too early, your baking powder isn’t fresh, or you overmixed the batter. Sometimes, it’s just the baking gods being fickle.
- Can I make this into cupcakes? Absolutely! Just fill cupcake liners about two-thirds full and bake for a shorter time, usually around 18-22 minutes. Keep an eye on them!
- How do I store this deliciousness? In an airtight container at room temperature for up to 3 days, or in the fridge for up to a week. If it lasts that long, you’re a stronger person than I am.
- Can I freeze leftover cake? You betcha! Wrap individual slices (or the whole thing!) tightly in plastic wrap, then foil, and freeze for up to 2-3 months. Thaw at room temperature.
- Why is it called “Golden” cake? Because it’s literally golden-colored! Also, because it’s a golden standard for moist, delicious cakes. See what I did there?
- Do I need a stand mixer? Nope! A hand mixer works perfectly, and if you’re feeling ambitious (or just need a workout), a whisk and some elbow grease will do the trick too.
Final Thoughts (Go Forth and Bake!)
There you have it, folks! Your new go-to recipe for a Moist Golden Cake that will make everyone think you spent hours slaving away, when really, you just followed some super simple steps. Now go impress someone—or yourself—with your new culinary skills. You’ve earned it! Grab a slice, maybe a cup of coffee, and revel in your baking glory. You deserve every single moist, golden crumb. Happy baking!


