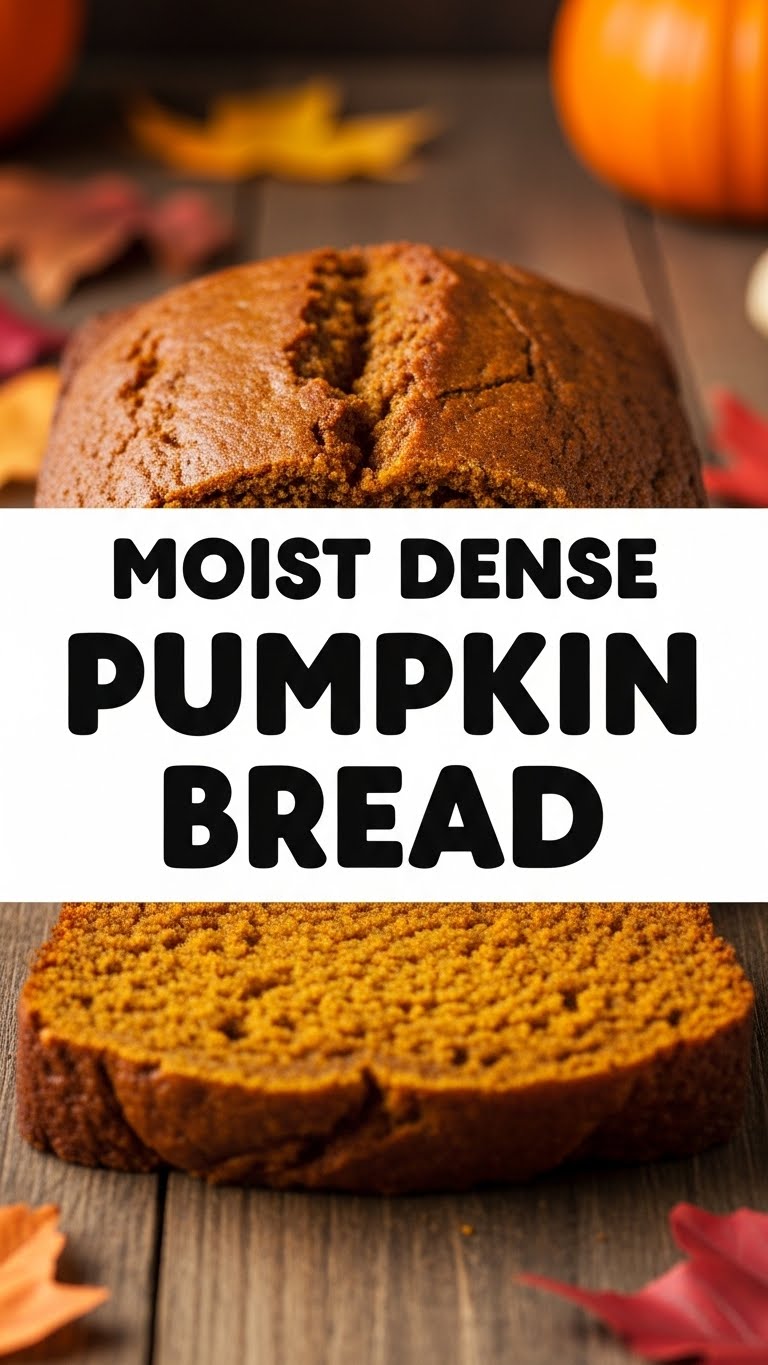
So you’re craving something tasty but too lazy to spend forever in the kitchen, huh? Same. And honestly, who has time for complicated recipes when your Netflix queue is calling? Not me, friend. But also, who wants *dry* pumpkin bread? NO ONE. Enter your new best friend: **Moist Dense Pumpkin Bread**.
Why This Recipe is Awesome
Okay, first off, it’s ridiculously easy. Like, ‘I could bake this in my sleep’ easy. Seriously, if you can stir, you can make this. It’s also incredibly forgiving, so even if you’re a baking novice (or just perpetually distracted by cute dog videos), you’ll nail it. Plus, it fills your entire house with that amazing, cozy, ‘I have my life together’ smell, even if you absolutely don’t. And did I mention *moist*? Because it is. Oh boy, is it ever.
Ingredients You’ll Need
- 1 (15-ounce) can Pumpkin Puree: NOT pie filling! Just pure, unadulterated pumpkin. Your bread depends on it.
- 1 cup Vegetable Oil: Our secret weapon for ultimate moisture. Butter’s great, but oil makes this bread next-level.
- 2 large Eggs: The binders of our baking universe. Room temp if you’re feeling fancy, but not strictly necessary.
- 1 ½ cups Granulated Sugar: For sweetness, duh.
- ½ cup packed Light Brown Sugar: A dynamic duo for sweetness and that gorgeous moist texture. Brown sugar is MVP here, IMO.
- 2 cups All-Purpose Flour: The backbone of deliciousness. Don’t overthink it.
- 2 teaspoons Pumpkin Pie Spice: Because duh.
- 1 teaspoon Baking Soda: For lift! Don’t skip it, unless you like dense, flat bricks.
- ½ teaspoon Baking Powder: Double the lift, double the fun!
- ½ teaspoon Salt: Just a pinch to make everything else pop.
- 1 teaspoon Vanilla Extract: A splash of pure magic.
Step-by-Step Instructions
- **Preheat & Prep:** Get your oven to 350°F (175°C). Grease and flour a 9×5 inch loaf pan. Seriously, **grease it well** unless you want to chisel your bread out.
- **Wet Ingredients First:** In a large bowl, whisk together the pumpkin puree, vegetable oil, granulated sugar, brown sugar, and eggs until smooth and glorious. Stir in the vanilla extract.
- **Dry Mix:** In a separate medium bowl, combine your flour, pumpkin pie spice, baking soda, baking powder, and salt. Give it a good whisk to break up any lumps.
- **Combine Forces:** Gradually add the dry ingredients to the wet ingredients. Mix **just until combined**. A few lumps are totally fine; overmixing is the enemy of moist bread, FYI.
- **Into the Pan:** Pour the batter into your prepared loaf pan. Give it a gentle tap on the counter to settle any air bubbles.
- **Bake It Up:** Pop it in the preheated oven for 55-65 minutes. How do you know it’s done? A toothpick inserted into the center should come out clean (or with a few moist crumbs, but no wet batter).
- **Cool Down:** Let it cool in the pan for 10-15 minutes before attempting to unmold it. Then transfer it to a wire rack to cool completely. Patience, young padawan!
Common Mistakes to Avoid
- **Overmixing the Batter:** This is probably the biggest sin. You want just-combined, not a workout for your whisk. Overmixing develops gluten, leading to tough, dry bread. **Don’t do it!**
- **Using Pumpkin Pie Filling:** Nope, nope, nope. That stuff is already sweetened and spiced. We want pure pumpkin puree for control. Read your labels!
- **Not Greasing Your Pan Properly:** Remember when I said grease it well? I meant it. No one wants their delicious creation stuck to the bottom.
- **Cutting It Too Soon:** I know, the smell is intoxicating. But warm bread is fragile. Give it time to set up, or it might crumble. Trust me on this one.
Alternatives & Substitutions
- **Add-Ins:** Chocolate chips? Walnuts? Pecans? Go wild! Fold about 1 cup into the batter with the dry ingredients. My personal fave: dark chocolate chips. Drool.
- **Spice Level:** If you’re a pumpkin spice fanatic, feel free to add a little extra cinnamon or ginger. Taste as you go! (Or rather, sniff as you go pre-baking, haha).
- **Gluten-Free?** You can totally use a 1:1 gluten-free baking flour blend in this recipe. Just make sure it includes xanthan gum.
- **Less Sugar?** You *can* reduce the sugar slightly, but remember it contributes to moisture. Don’t go overboard, or you’ll end up with a less palatable loaf.
FAQ (Frequently Asked Questions)
- “Can I use regular butter instead of oil?” Well, technically yes, but why mess with perfection? Oil is the secret to *ultimate* moisture here. If you use melted butter, the texture will be different, a bit more cake-like.
- “My pumpkin bread is dry! What went wrong?” You probably overmixed the batter, or overbaked it. See? I warned you about those common mistakes!
- “How long does this bread last?” Stored properly in an airtight container at room temperature, about 3-4 days. In the fridge, it’ll go for about a week. But honestly, it rarely lasts that long in my house.
- “Can I freeze it?” Absolutely! Wrap cooled slices (or the whole loaf) tightly in plastic wrap, then foil. It’ll keep for up to 3 months. Thaw at room temp.
- “Why is it so dense?” That’s the beauty of it! It’s not supposed to be light and airy like a cake. The density is what makes it so incredibly satisfying and, you guessed it, *moist*.
- “What’s the best way to serve it?” Sliced thick, maybe a smear of cream cheese frosting (because why not?), or just plain with a cup of coffee. Heaven.
Final Thoughts
And there you have it, folks! Your very own **Moist Dense Pumpkin Bread**. You just whipped up a masterpiece, practically with one hand tied behind your back. Now go impress someone—or yourself—with your new culinary skills. You’ve earned it! Seriously, put on some comfy pants, grab a slice (or two), and enjoy the fruits of your effortless labor. You’re a rockstar!

