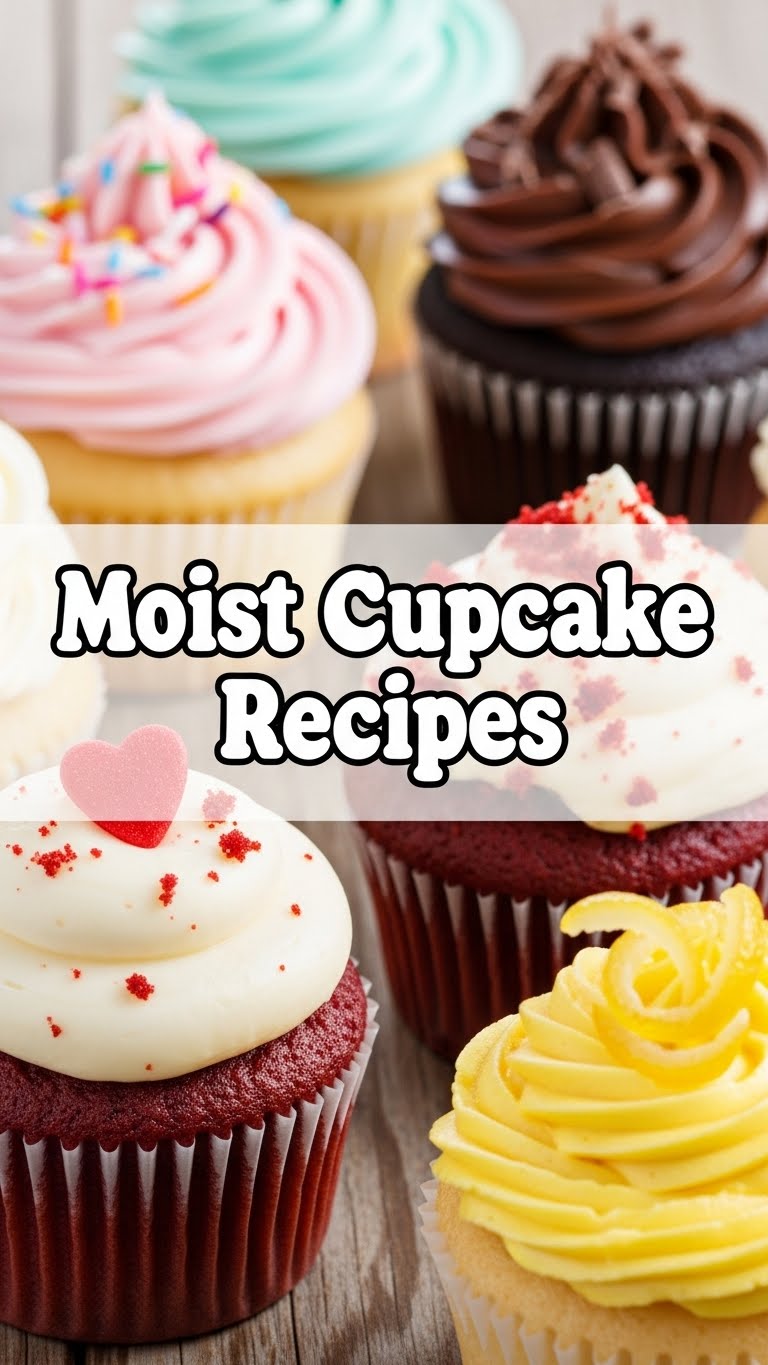
So you’re scrolling, mindlessly dreaming of something sweet, but the thought of a complicated recipe makes you wanna just order takeout? Been there, done that. But what if I told you we could whip up some impossibly moist cupcakes without, like, *actual* effort? Get ready, friend, because your dessert game is about to go from “meh” to “OMG, where did you buy these?!”
Why This Recipe is Awesome
Look, I get it. Baking can feel like a chemistry experiment gone wrong. But this recipe? It’s practically foolproof. **Seriously, even I can do it without setting off the smoke detector.** We’re talking melt-in-your-mouth, super soft, never-dry cupcakes that will make you look like a pastry chef without all the fancy-pants training. It’s quick, uses stuff you probably already have, and the moistness factor is off the charts. Like, “did a cloud just hug my tongue?” moist. You’re welcome.
Ingredients You’ll Need
Gather your troops! Here’s what you need for cupcake victory:
- **All-Purpose Flour:** Just your regular, run-of-the-mill flour. Nothing fancy, unless you *want* to be fancy, then go wild.
- **Granulated Sugar:** Sweetness! Because life’s too short for unsweetened treats.
- **Baking Powder:** Our little lift-me-up agent. Don’t skip it, unless you want flat little pucks.
- **Salt:** Just a pinch to balance things out. It’s like the secret whisper of flavor.
- **Unsalted Butter:** **Room temperature, please!** This is crucial for that dreamy texture. None of that straight-from-the-fridge rock-hard stuff.
- **Large Eggs:** Also room temperature. We’re getting specific here because it makes a difference, trust me.
- **Milk:** Whole milk works best for ultimate moistness, but 2% is cool too. Skip the skim, unless you’re into sadness.
- **Vanilla Extract:** The OG flavor enhancer. Use the good stuff if you got it; it makes a difference.
Step-by-Step Instructions
- **Prep Your Arena:** First things first, preheat your oven to 350°F (175°C). Line a 12-cup muffin tin with paper liners. Don’t be that person who forgets the liners.
- **Whisk the Dry Stuff:** In a medium bowl, whisk together your flour, sugar, baking powder, and salt. Give it a good whisk to make sure everything is buddies.
- **Cream the Wet Stuff (Part 1):** In a separate, larger bowl, beat your softened butter until it’s light and fluffy. A hand mixer makes this easy, but if you’re feeling feisty, go at it with a whisk.
- **Add the Eggs & Vanilla:** Crack in your room-temp eggs, one at a time, beating well after each addition. Then stir in that glorious vanilla extract. Make sure everything is well combined and looking creamy.
- **Combine Dry and Wet:** Now for the magic! Gradually add the dry ingredients to the wet ingredients, alternating with the milk. **Start and end with dry ingredients.** Mix on low speed until *just* combined. Don’t overmix; we want fluffy, not chewy!
- **Fill ‘Em Up:** Divide the batter evenly among your cupcake liners, filling each about two-thirds full. They’ll rise, promise.
- **Bake Away!** Pop that tin into your preheated oven and bake for 18-22 minutes, or until a toothpick inserted into the center comes out clean.
- **Cool Down:** Let them cool in the muffin tin for a few minutes before transferring them to a wire rack to cool completely. Patience, grasshopper. Frosting a warm cupcake is a rookie mistake!
Common Mistakes to Avoid
Nobody’s perfect, but we can avoid these blunders to keep your cupcakes perfect:
- **Cold Ingredients:** Thinking you can just pull butter and eggs straight from the fridge and expect magic? Nope. **Room temperature is KEY** for that smooth, emulsified batter and tender crumb.
- **Overmixing:** This isn’t a race or a workout. Overmixing develops the gluten in the flour, leading to tough, chewy cupcakes. Mix until *just* combined. When you don’t see streaks of flour, stop.
- **Eyeballing It:** Baking is a science, not an art (mostly). Use measuring cups and spoons. Weighing is even better if you’re fancy!
- **Opening the Oven Door Too Soon:** Resist the urge to peek during the first 15 minutes of baking. It can cause your cupcakes to collapse. Your oven light is there for a reason!
- **Overfilling Liners:** Filling them to the brim means overflowing batter and mushroom-top cupcakes. Two-thirds full, remember?
Alternatives & Substitutions
Feeling adventurous or missing an ingredient? No stress, we got options!
- **Milk Swap:** Out of whole milk? Almond milk, soy milk, or even buttermilk (for a slight tang and extra moisture) can work. Just avoid super watery alternatives if you can help it.
- **Butter Alternative:** While butter is king for flavor and texture, good quality vegetable shortening or even a neutral oil (like canola or vegetable) can work in a pinch. The flavor profile will change, though. **FYI, it won’t be quite the same rich taste.**
- **Flavor Boosts:** Want chocolate cupcakes? Reduce flour by 1/4 cup and add 1/4 cup unsweetened cocoa powder. Lemon zest or a touch of almond extract can also totally change the game!
- **Gluten-Free Flour:** You can totally use a 1:1 gluten-free baking blend. Just make sure it has xanthan gum in it, or add a little yourself.
FAQ (Frequently Asked Questions)
Got questions? I’ve got answers, mostly:
- **”Can I use margarine instead of butter?”** Well, technically yes, but why hurt your soul (and your cupcakes’ texture) like that? Margarine has more water, so it often results in a less tender crumb. Stick to real butter for the best results, IMO.
- **”How do I know if my butter and eggs are at room temperature?”** For butter, you should be able to press your finger into it and leave a slight indent without it being melted. Eggs should just feel not cold to the touch – usually about 30 minutes out of the fridge is good.
- **”My cupcakes sunk in the middle! What happened?”** Oh no! This often means overmixing the batter, too much leavening agent (baking powder), or opening the oven door too early, causing a sudden temperature drop.
- **”How long do these moist cupcakes last?”** Stored in an airtight container at room temperature, they’re typically best for 2-3 days. In the fridge, they can go for up to 5 days, but room temp usually keeps them softer.
- **”Can I make these into a cake?”** Absolutely! This recipe is essentially for a small 6-inch cake or a few mini loaf cakes. Adjust baking time accordingly – usually longer at the same temperature.
- **”What kind of frosting should I use?”** A classic buttercream is always a winner! Cream cheese frosting adds another layer of moisture and tang. Or, if you’re lazy like me, just dust with powdered sugar. Delicious either way!
Final Thoughts
Alright, superstar, you’ve got the blueprint for delicious, ridiculously moist cupcakes. Now go forth and conquer! Bake ’em, eat ’em, share ’em (if you’re feeling generous). You just leveled up your baking skills without breaking a sweat. So pat yourself on the back, grab a cupcake, and revel in your culinary genius. You’ve earned it!
