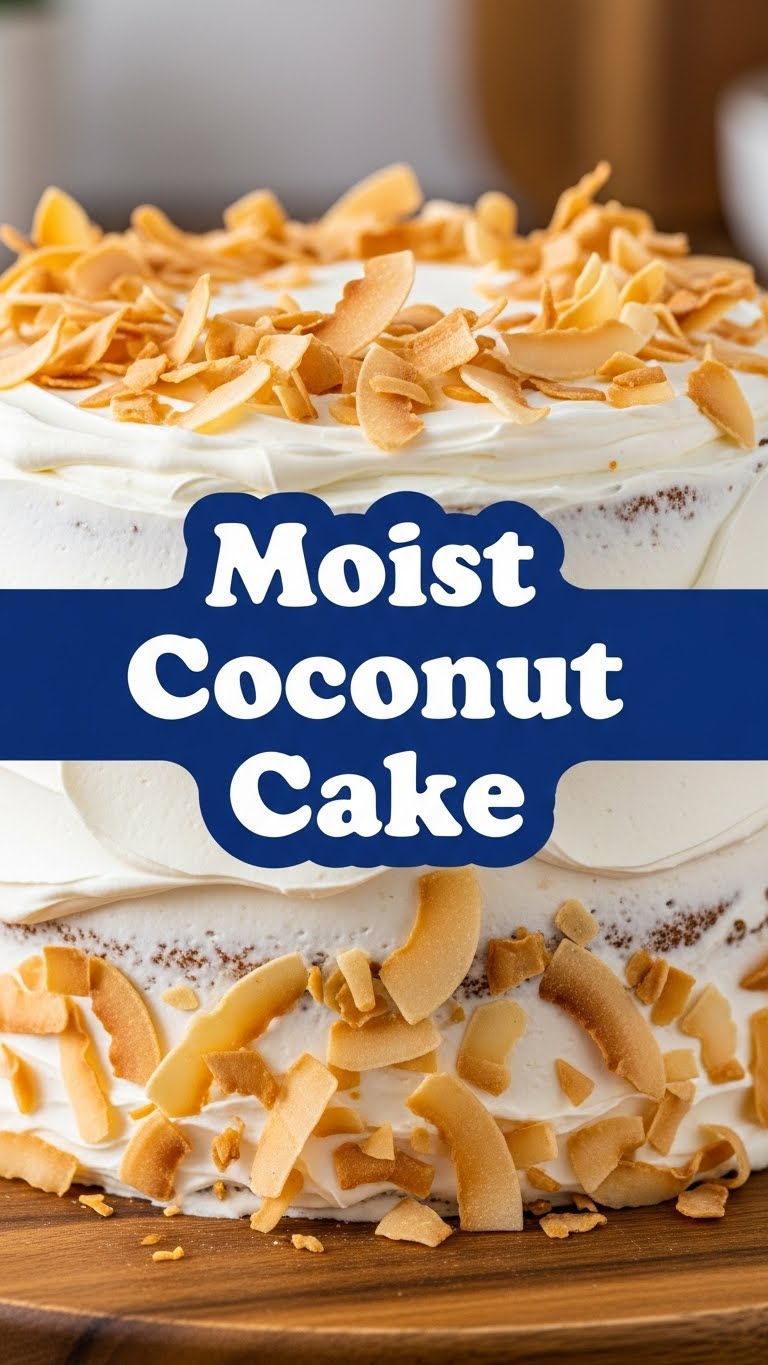
Ever have one of those days where you just *need* cake, but the thought of a complicated recipe makes you want to curl up with a bag of chips instead? Yeah, me too. But what if I told you there’s a magical, moist coconut cake that basically bakes itself (almost), leaving you with bragging rights and a happy tummy? Buckle up, buttercup, because we’re making some cloud-like deliciousness.
Why This Recipe is Awesome
Okay, so this isn’t just *any* cake. This is THE cake. Why? Because it’s ridiculously easy. Seriously, if you can stir, you can make this. It’s **foolproof**, meaning even your slightly clumsy friend (no names mentioned, but you know who you are!) can nail it. Plus, it’s ridiculously moist – none of that dry, crumbly sadness here. We’re talking melt-in-your-mouth goodness. And the coconut? Oh, the coconut! It’s like a tiny tropical vacation for your taste buds, no plane ticket required.
Ingredients You’ll Need
- All-purpose flour: The backbone of our cake. No fancy stuff needed.
- Granulated sugar: Because life’s sweet, and so should your cake be.
- Baking powder: Our little lift-off agent. Don’t skip it unless you like flat cakes.
- Salt: Just a pinch to make everything taste *more* like itself.
- Large eggs: Bring ’em to room temp, they play nicer that way.
- Whole milk: For ultimate moistness. Skim milk? Nah, we’re not dieting here.
- Vegetable oil: Keepin’ it supple. Or canola oil works too.
- Vanilla extract: A hug in a bottle. Essential!
- Shredded sweetened coconut: The star of our show! More is more, IMO.
- Powdered sugar: For that dreamy glaze.
- Coconut milk (canned): For the glaze and extra coconut oomph. Don’t grab the carton from the dairy aisle – get the full-fat stuff in a can.
Step-by-Step Instructions
Prep Time! Preheat your oven to 350°F (175°C). Grease and flour a 9×13 inch baking pan. This step is non-negotiable unless you enjoy prying cake out with a chisel.
Dry Mix Fun: In a large bowl, whisk together your flour, sugar, baking powder, and salt. Give it a good whisk, get all those lumps out.
Wet Mix Magic: In a separate medium bowl, beat the eggs, then whisk in the milk, oil, and vanilla extract. Combine them well.
Combine Forces: Pour the wet ingredients into the dry ingredients. Mix with a spatula or spoon until *just* combined. **Do not overmix!** Overmixing leads to tough cake, and nobody wants a tough cake. Gently fold in most of the shredded coconut (save a bit for garnish!).
Bake It Up: Pour the batter into your prepared pan. Smooth the top with a spatula. Bake for 30-35 minutes, or until a wooden skewer inserted into the center comes out clean.
Cool Down: Let the cake cool in the pan for about 10-15 minutes before transferring it to a wire rack to cool completely. Patience is a virtue, my friend.
Glaze Time: While the cake is cooling, whisk together the powdered sugar and coconut milk until smooth. If it’s too thick, add a tiny bit more coconut milk. If too thin, add more powdered sugar. You’re basically a mad scientist now.
Dress It Up: Once the cake is fully cooled, pour the glaze evenly over the top. Sprinkle with the reserved shredded coconut. Slice and devour!
Common Mistakes to Avoid
Not preheating your oven: Seriously, don’t rush the oven. It needs to be hot to get that perfect rise. FYI, this is a rookie mistake.
Overmixing the batter: This is a biggie! Mix just until the ingredients are incorporated. Lumps are okay; tough cake is not. We’re aiming for tender, remember?
Opening the oven door constantly: Resist the urge to peek! Every time you open it, the temperature drops, and your cake might sink. Just walk away, friend.
Glazing a warm cake: Unless you want your glaze to become an invisible puddle, **make sure the cake is completely cool** before glazing. Learn from my mistakes!
Alternatives & Substitutions
Coconut extract: Want even *more* coconut flavor? Add a teaspoon of coconut extract to the wet ingredients. Go wild!
Butter vs. Oil: You *could* use melted butter instead of vegetable oil for a richer flavor, but honestly, the oil is what helps keep it so incredibly moist. Don’t mess with perfection unless you’re feeling adventurous.
Toasted coconut: For a lovely crunch and deeper flavor, toast some of your shredded coconut in a dry pan over medium-low heat until golden brown. Sprinkle it on top! So fancy!
Dairy-free? Use a plant-based milk and oil, and you’re good to go. Just make sure your coconut milk for the glaze is also dairy-free.
FAQ (Frequently Asked Questions)
Can I use fresh coconut? Ooh, fancy pants! Yes, you totally can, but it might change the moisture content slightly. Use it in the same quantity as shredded.
My cake isn’t rising! What happened? Did you check your baking powder’s expiration date? Old baking powder is the silent killer of fluffy cakes. Also, refer back to the “not overmixing” rule!
Can I make this into cupcakes? Absolutely! Reduce the baking time to about 18-22 minutes. Keep an eye on them, nobody likes a burnt cupcake.
How long does this cake last? If you manage to have any left (a true feat!), it’ll stay fresh for 3-4 days at room temperature, covered. In the fridge, maybe a day or two longer.
Can I use low-fat milk? Technically, yes, but for ultimate moistness and flavor, **whole milk is your best bet**. We’re not counting calories in cake world, are we?
Do I have to use sweetened coconut? You can use unsweetened if you prefer less sweetness, but the sweetened variety really boosts that tropical flavor. Give it a try!
Final Thoughts
See? I told you this was easy peasy! Now you’ve got a ridiculously delicious, perfectly moist coconut cake that will make you look like a total baking rockstar. So go ahead, treat yourself, share with friends (if you’re feeling generous), and bask in the glory of your culinary prowess. You totally nailed it! Now, where’s my fork?

