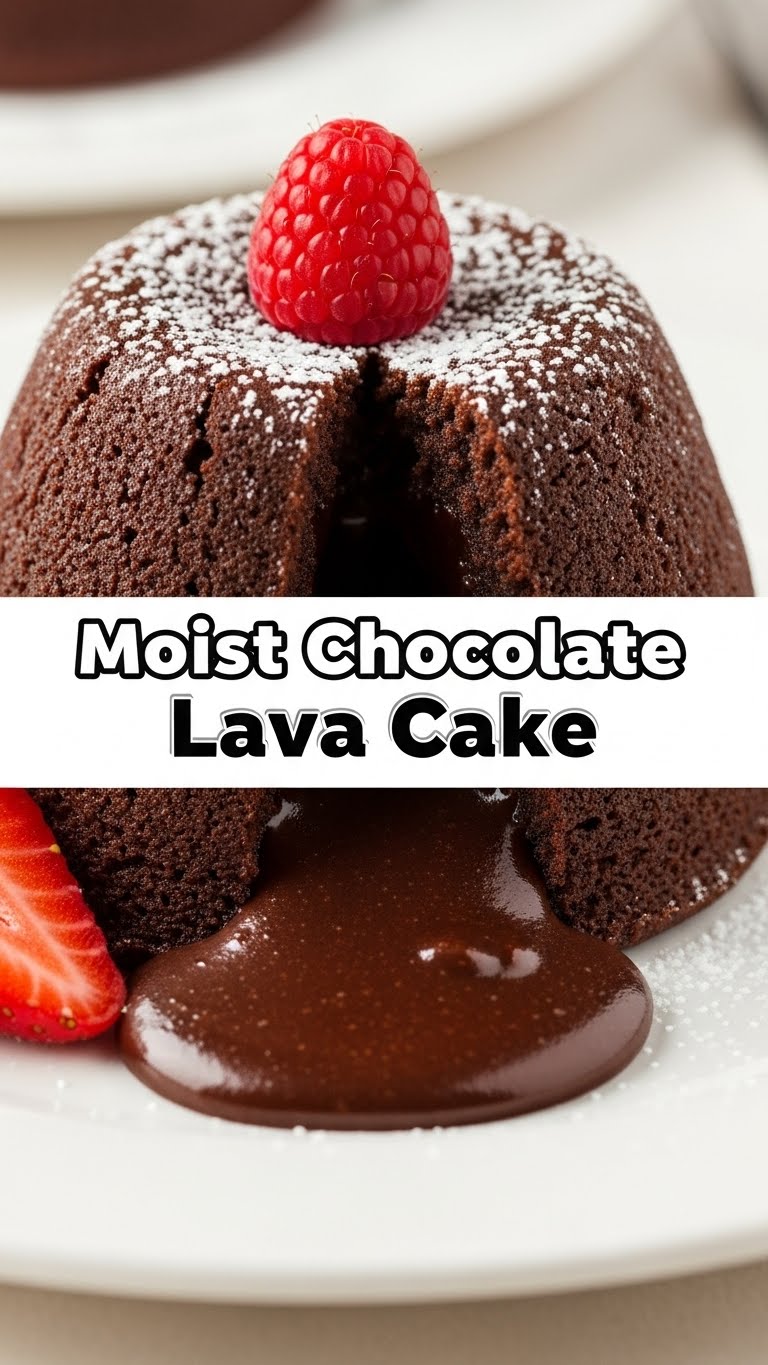
So, you’re dreaming of something ridiculously decadent, chocolatey, and a little bit magical, but also, like, can we make it in under 30 minutes? Yeah, thought so. You know that feeling when you just *need* chocolate, but also really don’t want to spend all day in the kitchen? Welcome to your new favorite recipe, my friend. This isn’t just any chocolate cake; this is the legendary, ooey-gooey, molten core, **Chocolate Lava Cake**. Get ready to impress yourself (and maybe a few lucky others).
Why This Recipe is Awesome
Let’s be real, who has time for complicated bakes? Not me, and probably not you. This recipe is your secret weapon for instant gratification and looking like a culinary wizard with minimal effort. Seriously, it’s faster than deciding what to watch on Netflix.
- It’s practically foolproof. Trust me, if I can make it without setting off the smoke alarm, you’re golden.
- It tastes unbelievably gourmet, but requires a shockingly small list of ingredients and steps.
- That molten center? Pure magic. It’s the kind of dessert that makes people gasp. No joke.
- It’s the perfect size for individual portions, meaning no fighting over who gets the last slice. Unless you make just one. Then, well, good luck.
Ingredients You’ll Need
Gather your troops! These are the heroes of our chocolatey saga.
- 4 oz (about 115g) good quality dark chocolate: This is the star of the show, so don’t skimp! Aim for 60-70% cocoa. Your taste buds will thank you.
- 1/2 cup (1 stick or 113g) unsalted butter: Because butter makes everything better, period. Unsalted means we control the salt levels like a boss.
- 2 large eggs + 2 large egg yolks: The eggs give it structure, the extra yolks give it that luscious richness and gooeyness. Genius, right?
- 1/4 cup (50g) granulated sugar: Just enough to sweeten the deal without giving you a sugar coma (unless you want one, no judgment here).
- 2 tablespoons all-purpose flour: Just a tiny bit, to hold the magic together.
- 1 teaspoon vanilla extract: Adds that “oomph” and depth. Don’t skip it!
- Pinch of salt: Enhances all that chocolatey goodness. It’s like a secret flavor weapon.
- Optional for serving: Powdered sugar, fresh berries, vanilla ice cream. Go wild!
Step-by-Step Instructions
Alright, apron on, game face ready. Let’s make some lava!
- Preheat & Prep: First things first, crank that oven up to 425°F (220°C). Then, butter and lightly flour four 6-ounce ramekins. This step is crucial, friends. **Don’t you dare skip it unless you want your cake to be one with the dish!**
- Melt the Good Stuff: Grab a microwave-safe bowl (or a double boiler if you’re feeling fancy). Break up the chocolate and add the butter. Microwave in 30-second intervals, stirring after each, until smooth and completely melted. Don’t overheat it! Let it cool slightly while you move on.
- Whip it Good: In a separate, medium-sized bowl, whisk together the whole eggs, egg yolks, granulated sugar, vanilla extract, and that tiny pinch of salt. Whisk vigorously until the mixture is pale yellow and slightly thickened – think ribbons forming when you lift the whisk.
- Combine the Magic: Gently pour the slightly cooled melted chocolate mixture into the egg mixture. Fold it in carefully with a spatula until just combined. We’re not trying to make scrambled eggs here, so no overmixing!
- Add the Flour Power: Sift in the flour over the chocolate mixture. Again, gently fold until just combined and no streaks of flour remain. Overmixing here is the enemy of fluffy, gooey lava cakes. You want it just barely mixed.
- Fill ‘Em Up: Divide the batter evenly among your prepared ramekins. You can fill them pretty high, but leave a little room at the top for the lava to, you know, lava.
- Bake Time!: Carefully place the ramekins on a baking sheet (makes them easier to transfer) and pop them into your preheated oven. Bake for 12-14 minutes. This is where the magic happens and where you need to pay attention!
- The Big Reveal: You’re looking for cakes with **set edges but a delightfully jiggly center** when you gently shake a ramekin. If it’s rock solid, you’ve gone too far. If it looks like raw batter, give it another minute.
- Rest & Invert: Let the cakes rest for just 1-2 minutes after taking them out of the oven. This helps them firm up slightly. Then, carefully run a knife around the edges, place a serving plate on top of a ramekin, and invert! Lift the ramekin off, and behold the glory!
Common Mistakes to Avoid
Listen up, buttercup! A few missteps can turn your molten masterpiece into a solid chocolate hockey puck. Let’s avoid those, shall we?
- Not Preheating the Oven: Thinking you don’t need to preheat the oven—rookie mistake. Your oven needs a warm-up, just like you before a marathon. Without it, your cakes won’t cook evenly, and you’ll end up with wonky results.
- Overbaking: This is the #1 killer of lava dreams. Baking it until it’s a solid chocolate puck defeats the whole purpose! **Pull it out when the edges are set but the center still jiggles.** Better slightly underdone than overdone for this particular dessert.
- Using Low-Quality Chocolate: Skimping on the chocolate is a cardinal sin for this recipe. This is a *chocolate* cake, people! Give it the respect it deserves.
- Overmixing the Batter: Especially after adding the flour. You’ll develop the gluten too much, leading to dense, tough cakes instead of light, airy ones. Mix *just* until combined.
- Forgetting to Grease/Flour Ramekins: Seriously, don’t do this. Unless you’re planning on eating it straight from the dish (which, let’s be honest, is a valid option sometimes), you want that cake to slide out gracefully.
Alternatives & Substitutions
Feeling adventurous? Or just missing an ingredient? Here are some tweaks.
- Chocolate Choices: Want it sweeter? Try a mix of dark and semi-sweet chocolate. Not feeling dark? Milk chocolate works, but your lava won’t be as intensely chocolatey (and will be sweeter). White chocolate? That’s a different dessert altogether, but hey, you do you!
- Butter Swaps: Margarine? Well, technically yes, but why hurt your soul like that? IMO, butter is king here. If you absolutely *must* go dairy-free, a good quality vegan butter substitute can work in a pinch.
- Flour Power: For our gluten-free friends, a 1:1 gluten-free all-purpose flour blend usually works well. Just keep an eye on the texture.
- Flavor Boosters: A tiny pinch of espresso powder added to the melted chocolate will deepen the chocolate flavor without making it taste like coffee. A dash of cayenne pepper can give it a subtle, spicy kick. Orange zest adds a bright, citrusy note. Get creative!
FAQ (Frequently Asked Questions)
Got questions? I’ve got answers. (Mostly.)
- Can I make these ahead of time? You bet! You can prep the batter and chill it in the fridge for up to 24 hours. Just give it a quick stir before pouring into ramekins and baking. You might need an extra minute or two in the oven since the batter will be cold.
- How do I know when they’re done? Look for those set edges and a slight jiggle in the very center when you gently shake the ramekin. If it’s still super liquidy on top, give it another minute. If it’s firm all over, you’ve overbaked. But hey, it’ll still taste like chocolate cake!
- Can I use regular coffee mugs instead of ramekins? Sure, as long as they’re oven-safe! Just make sure they’re not too big, or your cooking time will definitely vary. And check the bottom for any “not oven-safe” warnings, unless you’re into pyrotechnics.
- My cake didn’t have lava! What went wrong? Bummer! Most likely, it was overbaked. Or maybe your ramekins were too wide/shallow for the suggested cooking time, causing it to cook faster. **Practice makes perfect (and lava!).** Try reducing the bake time next go-around.
- What if I don’t have vanilla extract? You *could* skip it, but honestly, it adds so much depth and warmth to the chocolate flavor. It’s like the unsung hero. Try to grab some next time, it’s worth it!
- Can I double the recipe? Absolutely! Just scale up all ingredients proportionally. No math degree needed, promise.
- What do I serve it with? Oh, the possibilities! Vanilla bean ice cream, a dusting of powdered sugar, fresh raspberries or strawberries, a dollop of whipped cream. Or, you know, a giant spoon straight out of the ramekin. No judgment from me.
Final Thoughts
So there you have it, your ticket to chocolatey bliss. You’ve just unlocked a cheat code for impressing dinner guests or just treating yo’ self after a long day. Go forth and conquer, my friend! Now go impress someone—or yourself—with your new culinary skills. You’ve earned it! (And maybe save me a bite?)


