Okay, let’s be real. You’ve probably encountered a dry, sad, crumbly excuse for stuffing more times than you can count. And you’re here because you demand better, right? You want that moist, flavorful, hug-in-a-bowl kind of stuffing. Good news, buttercup, you’ve come to the right place!
Why This Recipe is Awesome
First off, it’s virtually **idiot-proof**. Seriously, if I can make it without burning down the kitchen, so can you. It’s also packed with so much flavor, it practically sings show tunes in your mouth. Plus, it’s the ultimate comfort food – perfect for holidays, Tuesday nights, or when you just need a carb embrace. No judgment here!
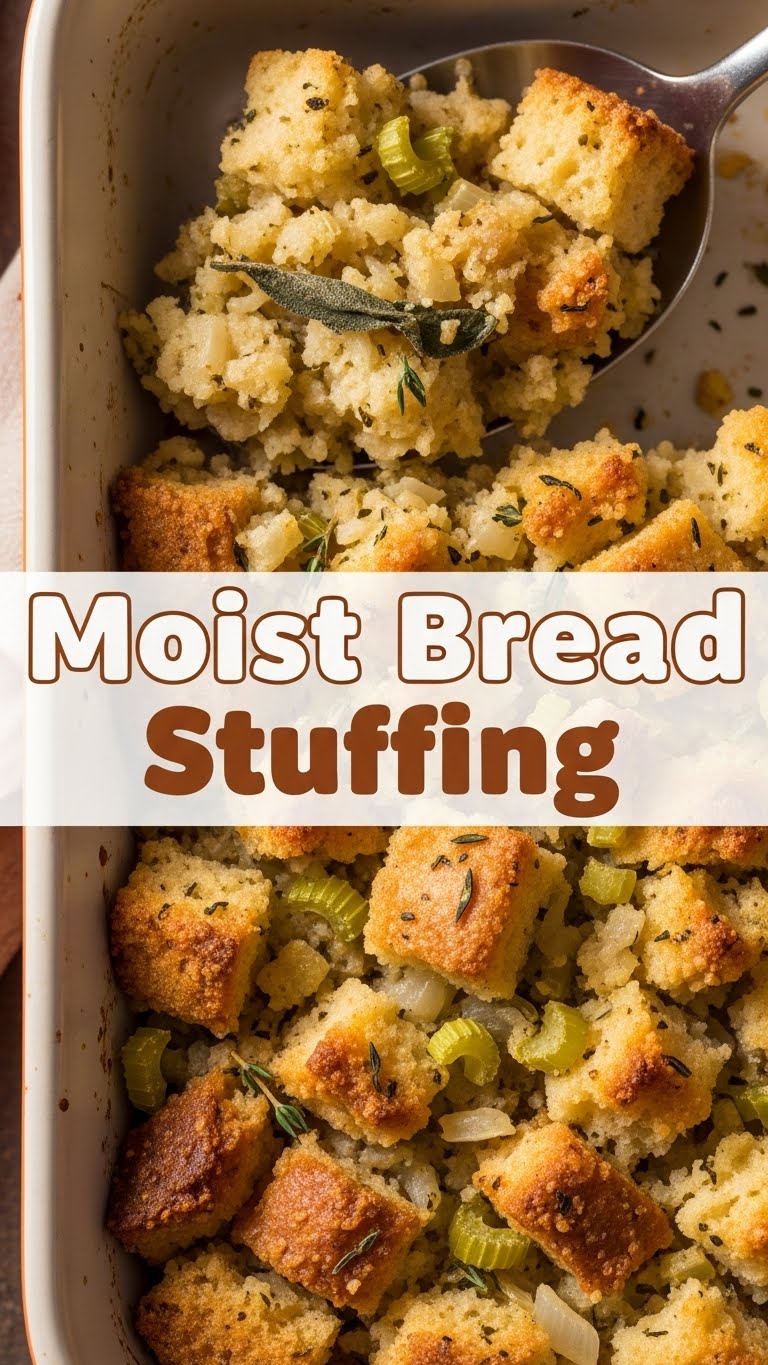
This recipe guarantees that sought-after moist interior with just the right amount of crispy edges. Forget those sad, brick-like stuffings of yore; we’re aiming for cloud-like deliciousness here.
Ingredients You’ll Need
- **Stale Bread:** About 1 pound, day-old or dried out. (Don’t use fresh, it’ll be mushy. We’re aiming for moist, not *moosh*.)
- **Butter:** 1/2 cup (1 stick). Go for the good stuff, you deserve it.
- **Onion:** 1 large, chopped. The unsung hero of flavor.
- **Celery:** 2-3 stalks, chopped. Adds a nice crunch and earthy note.
- **Chicken or Vegetable Broth:** 3-4 cups, low sodium. This is where the magic (moisture) happens.
- **Eggs:** 2 large, lightly beaten. Binds everything together like a delicious edible glue.
- **Fresh Herbs:** 1/4 cup total, chopped (sage, thyme, parsley are my faves). Fresh makes *such* a difference.
- **Salt and Black Pepper:** To taste. Don’t be shy, seasoning is key!
- (Optional) **Cooked Sausage or Bacon:** 1/2 pound, crumbled. Because why not take it up a notch?
Step-by-Step Instructions
- **Prep Your Bread:** Cube your stale bread into 1-inch pieces. Spread them on a baking sheet and let them air dry for a few hours, or toast them lightly in a 250°F oven for 15-20 minutes until dry. **This is crucial for preventing soggy stuffing!**
- **Sauté the Veggies:** Melt the butter in a large skillet over medium heat. Add the chopped onion and celery. Cook until softened, about 5-7 minutes. Your kitchen will start smelling amazing, FYI.
- **Combine the Dry:** In a really big bowl, toss the dried bread cubes with the sautéed veggies. Add your chopped fresh herbs, salt, pepper, and any optional cooked meats. Mix it all up gently.
- **Add the Wet:** Pour in the beaten eggs and gradually add 3 cups of broth, mixing gently after each addition. The bread should be moist but not swimming. If it still feels dry, add more broth a little at a time until it’s just right.
- **Bake It Up:** Transfer the mixture to a greased 9×13 inch baking dish. Cover with foil and bake at 375°F (190°C) for 30 minutes. This steams it and ensures it gets super moist.
- **Get Crispy:** Remove the foil and bake for another 15-20 minutes, or until the top is golden brown and delightfully crispy. Because who doesn’t love a crispy top?
- **Serve & Enjoy:** Let it cool for a few minutes before diving in. Trust me, it’ll be worth the wait.
Common Mistakes to Avoid
- **Using fresh bread:** Instant mush. Don’t do it. Use stale or dry it out! You want to absorb flavor, not turn into a bread paste.
- **Not enough liquid:** This is “moist” stuffing, not “desert sand” stuffing. Be brave with the broth! A dry stuffing is a sad stuffing.
- **Over-mixing:** Treat your bread cubes gently; you don’t want a paste. A light hand is key to maintaining texture.
- **Skimping on seasoning:** Bland stuffing is a crime against humanity. **Taste as you go!** (Well, maybe not the raw egg part, but you get the idea).
- **Baking uncovered the whole time:** Sure, you’ll get a crispy top, but the inside will be drier than a stand-up comedian’s jokes. Cover it first to lock in that moisture!
Alternatives & Substitutions
Feel free to get creative here! This recipe is super flexible.
- **Bread Type:** Sourdough, challah, cornbread, or even gluten-free bread works beautifully! Just make sure it’s stale. I’m partial to a good crusty sourdough myself; it adds amazing flavor.
- **Broth:** Turkey broth is awesome if you have it on hand, or even just water with some bouillon cubes in a pinch.
- **Herbs:** Rosemary, marjoram, or even a good quality poultry seasoning blend are great alternatives if you don’t have fresh sage/thyme. Use what you love!
- **Add-ins:** Sautéed mushrooms, chopped apples, dried cranberries, or toasted pecans can elevate this to *fancy* status. Go wild and make it your own!
FAQ (Frequently Asked Questions)
- **Q: Can I make this ahead of time?** A: Absolutely! Assemble everything up to the point of baking, cover, and refrigerate for up to 2 days. When ready to bake, let it sit out for 30 minutes to an hour to come to room temp, then bake as directed (you might need a few extra minutes).
- **Q: My stuffing looks too wet before baking, what gives?** A: Uh oh! You might have added too much broth, or your bread wasn’t dry enough. Don’t panic! You can add a handful or two of extra dry bread cubes to soak up some of the excess liquid. Problem solved!
- **Q: What if I don’t have fresh herbs?** A: No worries, dried herbs work too! Just remember they’re more potent. Use about 1/3 of the amount (so, roughly 1 tablespoon total dried sage/thyme/parsley). Fresh is superior, IMO, but dried will still deliver.
- **Q: Can I bake this inside a turkey?** A: You *can*, but if you’re chasing truly moist stuffing, baking it separately in a dish is the way to go. Plus, it bakes more evenly and you avoid any raw turkey juice drama. Safety first, friends!
- **Q: Why do I need eggs?** A: Eggs act as a binder, helping the stuffing hold its shape without being crumbly. They also contribute to that lovely moist texture. Think of them as the unsung heroes of structure and moisture!
Final Thoughts
So there you have it, champ! A recipe for stuffing that’s so moist, it practically melts in your mouth. No more dry, disappointing side dishes for you, my friend. Now go impress someone—or yourself—with your new culinary skills. You’ve earned it!
Happy cooking, and remember: life’s too short for boring food!


