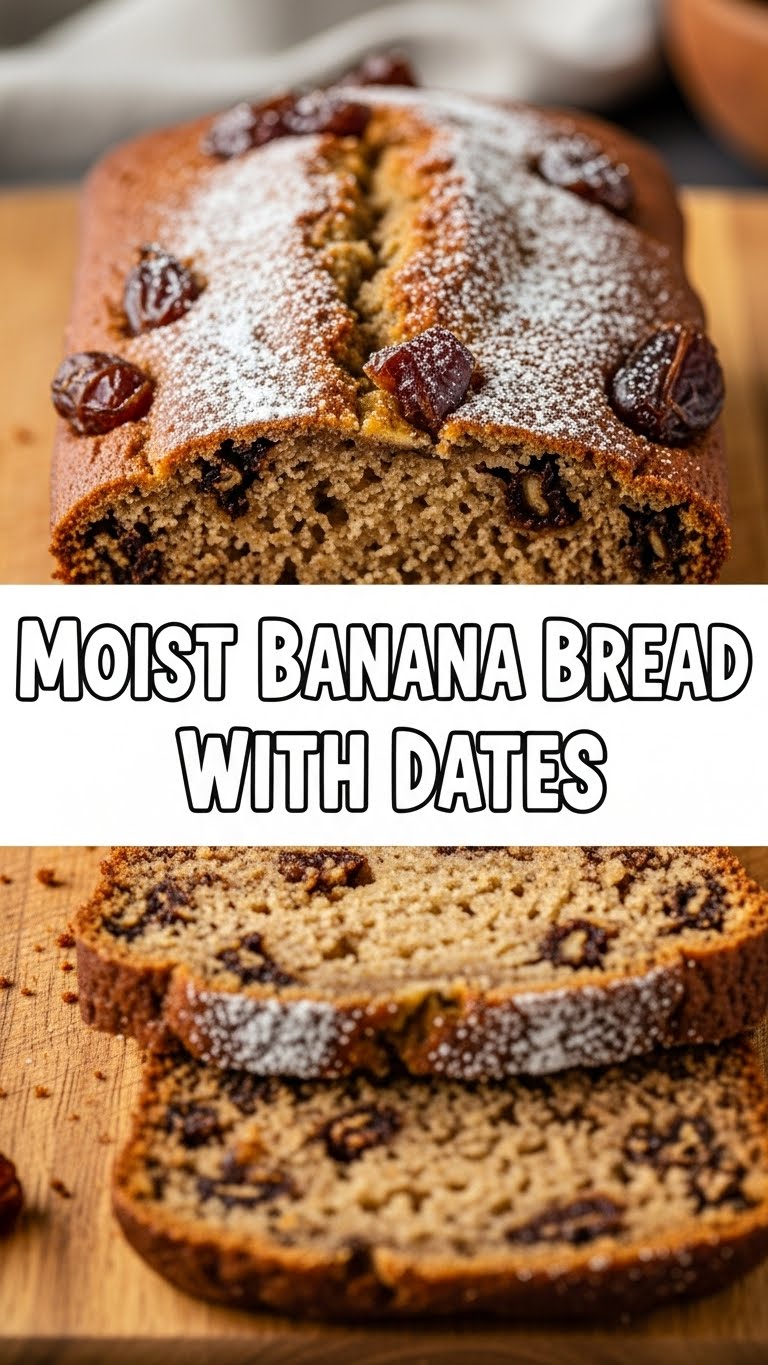
Moist Banana Bread With Dates: Because Life’s Too Short for Dry Cake!
So you’re craving something tasty but too lazy to spend forever in the kitchen, huh? Same. We’ve all been there. That moment when you open the fridge, stare blankly, and think, “What can I whip up with these sad, overripe bananas staring back at me?” Well, my friend, your quest for deliciousness ends here. Prepare yourself for banana bread that’s so ridiculously moist and packed with sweet little date surprises, it’ll make you question all the dry, crumbly loaves you’ve suffered through before. Let’s do this! 🙂
Why This Recipe is Awesome (Seriously)
Okay, so what makes this banana bread recipe a total rockstar? For starters, it’s practically foolproof. We’re talking about a recipe that’s so forgiving, even if you’re a kitchen novice who occasionally mistakes salt for sugar (don’t worry, we won’t judge… much), you’ll still end up with a masterpiece. Plus, those dates? They’re like little pockets of chewy, caramel-y goodness that elevate this from “meh” banana bread to “OMG, I need another slice RIGHT NOW” banana bread. And the moisture? It’s legendary. Say goodbye to chalky, sad excuses for baked goods. This bread is so moist, it practically weeps with flavor.
Ingredients You’ll Need (No Fancy Stuff Required!)
- 3-4 very ripe bananas: The browner, the better. They should look like they’ve seen better days, almost questionable. That’s pure flavor gold, people!
- 1/3 cup melted butter: Or, you know, just slop it in there. Precision is overrated.
- 1/2 cup sugar: Brown sugar is preferred for that extra oomph of caramel-y magic, but regular white sugar is fine if that’s what you’ve got.
- 1 large egg: Make sure it’s not cold from the fridge; let it chill on the counter for a bit.
- 1 teaspoon vanilla extract: The secret weapon of all good bakers.
- 1 teaspoon baking soda: Don’t skip this! It’s what makes the magic happen (rise-wise).
- Pinch of salt: Just a tiny bit to balance out all that sweetness.
- 1 1/2 cups all-purpose flour: The structural integrity of our glorious bread.
- 1/2 cup chopped dates: Medjool dates are the bomb, but any kind will do. Chop ’em up small enough so they don’t bully the other ingredients.
- Optional: 1/2 cup chopped walnuts or pecans: If you’re feeling fancy and like a little crunch.
Step-by-Step Instructions (You Got This!)
- Preheat your oven and prep your pan. Crank that oven up to 350°F (175°C). Grease and flour a standard loaf pan. Think of it as giving your bread a comfy bed to sleep in.
- Mash those bananas. In a large bowl, get mashing. You want them lumpy, not baby-food smooth. A fork works wonders.
- Mix in the wet stuff. Add your melted butter, sugar, egg, and vanilla extract to the mashed bananas. Stir it all together until it looks like a happy, goopy mess.
- Dry ingredients, assemble! In a separate bowl, whisk together the flour, baking soda, and salt. Just give it a quick swirl.
- Combine and conquer. Pour the dry ingredients into the wet ingredients. Stir *just* until combined. Seriously, don’t overmix! Lumps are your friends here.
- Date time! Gently fold in your chopped dates (and nuts, if you’re using them). Be gentle, we don’t want a date-mush situation.
- Bake it ’til it’s done. Pour the batter into your prepared loaf pan. Pop it in the oven for about 50-65 minutes. You’ll know it’s ready when a toothpick inserted into the center comes out clean (or with a few moist crumbs).
- Cool down. Let the bread cool in the pan for about 10 minutes before turning it out onto a wire rack to cool completely. Patience is a virtue, especially when it comes to warm, delicious banana bread.
Common Mistakes to Avoid (Don’t Be That Person)
- Thinking you don’t need to preheat the oven: Rookie mistake! Your bread will come out sad and dense.
- Overmixing the batter: This is the #1 enemy of tender baked goods. Stop mixing when you *just* see the last of the flour disappear.
- Using unripe bananas: If your bananas are still yellow and firm, your bread will be bland and probably not very moist. Go for the spotted, brown ones.
- Opening the oven door too much: Let the oven do its thing. Peeking constantly can cause your bread to sink.
- Cutting it too soon: I know, it’s torture. But letting it cool allows the structure to set and the flavors to meld.
Alternatives & Substitutions (When Life Gives You Lemons… or No Dates)
Can’t find dates? No worries! You can totally swap them out for **chocolate chips**. Because, let’s be honest, chocolate makes everything better. Or, if you’re feeling adventurous, try **dried cranberries** for a tart surprise, or even some **raisins** if you’re feeling traditional. If you’re out of butter, **oil** (like vegetable or canola) works in a pinch, but it might change the texture a little. IMO, butter is the way to go for that rich flavor.
FAQ (The Burning Questions You Might Have)
Can I use margarine instead of butter? Well, technically yes, but why hurt your soul like that? Butter adds flavor and a certain je ne sais quoi. Margarine can sometimes make baked goods greasy. Stick with butter if you can!
My bananas aren’t that ripe. What do I do? You *could* try to bake them on a baking sheet at 300°F (150°C) for 15-20 minutes until they’re soft and spotty. Or, just… buy new bananas and wait. Patience, grasshopper.
Can I make this gluten-free? Yes! You can usually substitute a good quality gluten-free all-purpose flour blend 1:1 for the regular flour. Just make sure it contains xanthan gum.
What’s the best way to store this banana bread? Airtight container at room temperature for 2-3 days is ideal. You can also freeze slices for later! Just wrap them well.
Can I add spices like cinnamon or nutmeg? Absolutely! A teaspoon of cinnamon or a pinch of nutmeg would be delightful additions. Mix them in with your dry ingredients.
Is it okay if there are still some lumps of banana? YES! Lumps are good. They mean you haven’t overmixed, and they contribute to that glorious moist texture.
Final Thoughts (Go Forth and Bake!)
There you have it! Your ticket to incredibly moist, date-filled banana bread. It’s the perfect treat for breakfast, snack time, or even a slightly more civilized dessert. Seriously, give it a go. It’s ridiculously easy, and the results are SO worth it. Now go impress someone—or yourself—with your new culinary skills. You’ve earned it! Happy baking!


