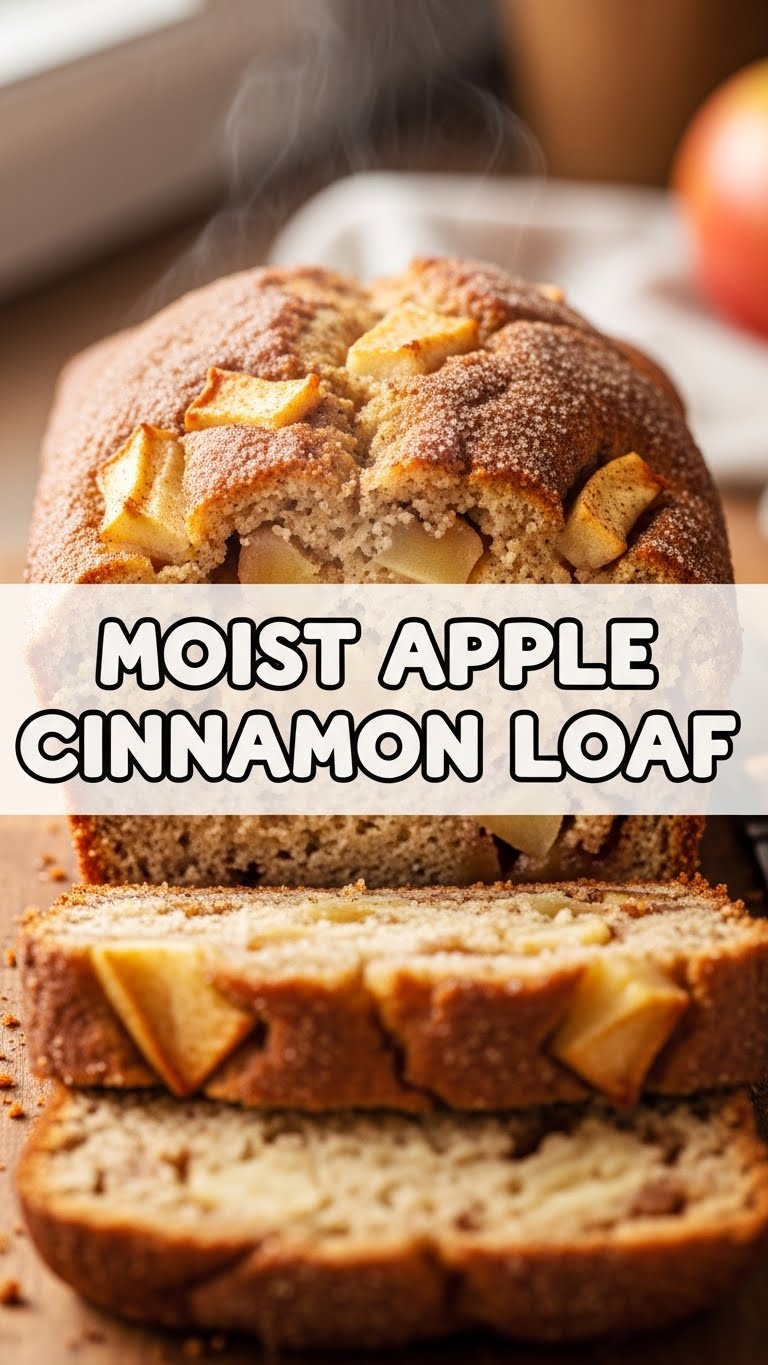
So you’re craving something tasty but too lazy to spend forever in the kitchen, huh? Same. And maybe you’ve got a few sad-looking apples hanging around, judging you from the fruit bowl? Don’t worry, we’re turning those frowns upside down and into the most ridiculously delicious, moist apple cinnamon loaf you’ve ever had. Get ready to smell like a cozy autumn day, even if it’s 90 degrees outside.
Why This Recipe is Awesome
Okay, let’s be real. This isn’t just any apple loaf. This is the apple loaf. Why? Because it’s ridiculously easy. Seriously, if you can stir, you can make this. It’s practically idiot-proof – even I didn’t manage to mess it up, and my kitchen has seen some things. Plus, it smells incredible while baking, tastes even better, and stays moist for days. Days! You won’t have dry, crumbly sadness here, my friend. We’re all about that tender, spiced goodness.
Ingredients You’ll Need
- 1 ½ cups all-purpose flour: The backbone of our operation. Don’t worry, it’s not judging your life choices.
- 1 teaspoon baking soda: Our little magic fluffy-maker.
- ½ teaspoon salt: Just a pinch to make everything pop. Don’t skip it, it’s a team player.
- 2 teaspoons ground cinnamon: The star of the show! Go big or go home, baby.
- ¼ teaspoon ground nutmeg: Cinnamon’s sassy sidekick. A little goes a long way.
- ½ cup unsalted butter, melted: Because everything is better with butter. Melt it gently!
- 1 cup granulated sugar: Sweetness for your soul.
- ½ cup packed light brown sugar: Adds that caramel-y depth. So good.
- 2 large eggs: Room temp, if you’re fancy. Otherwise, just grab ’em from the fridge.
- 1 teaspoon vanilla extract: Liquid gold. Don’t skimp.
- ½ cup buttermilk: Our secret weapon for ultimate moistness. (No buttermilk? See FAQ!)
- 2 medium apples, peeled, cored, and diced: Honeycrisp, Fuji, Granny Smith – whatever makes your heart sing. Just dice ’em small-ish.
Step-by-Step Instructions
- Prep Time! Preheat your oven to 350°F (175°C). Seriously, do it now. Line a 9×5 inch loaf pan with parchment paper, leaving an overhang on the sides for easy lifting. Give it a quick spray with non-stick stuff too, just to be safe.
- Dry Mix. In a medium bowl, whisk together the flour, baking soda, salt, cinnamon, and nutmeg. Set this aside. This is your “flavor base.”
- Wet Mix Part 1. In a large bowl, combine the melted butter, granulated sugar, and brown sugar. Whisk them together until they’re smooth and well-combined.
- Wet Mix Part 2. Crack in the eggs, one at a time, whisking well after each addition. Stir in the vanilla extract until it’s all happy and blended.
- Combine the Squad. Gradually add the dry ingredients to the wet ingredients, alternating with the buttermilk. Start and end with dry. Mix until just combined – don’t overmix! Lumps are okay. Lumps mean moisture.
- Apple Time! Gently fold in your diced apples. Embrace the apple goodness!
- Into the Pan! Pour the batter into your prepared loaf pan. Smooth the top with a spatula if you’re feeling fancy.
- Bake It Up! Pop it in the preheated oven and bake for 50-65 minutes. Or until a wooden skewer or toothpick inserted into the center comes out clean. Keep an eye on it!
- Cool Down. Let the loaf cool in the pan for about 10-15 minutes before using those parchment paper handles to lift it out onto a wire rack to cool completely. Or, you know, eat it warm because who are we kidding?
Common Mistakes to Avoid
- Forgetting to preheat the oven: Rookie mistake. Your loaf will thank you for being patient.
- Overmixing the batter: This is the express train to dry, tough loaf town. We want fluffy, so mix just until combined.
- Cutting into it too soon: I know, I know, the smell is intoxicating. But a little cool-down time helps it set and prevents it from crumbling. Patience, young padawan!
- Not lining your pan: Unless you enjoy chiseling baked goods out of metal, parchment paper is your friend.
- Under-baking: A gooey center is a no-go. Make sure that toothpick comes out clean!
Alternatives & Substitutions
- Apples: Any firm apple works! Granny Smiths offer a nice tart contrast, but Honeycrisps are always a crowd-pleaser. Got pears? Go for it!
- Spices: Feeling adventurous? Add a pinch of ground ginger or cardamom for an extra layer of warmth. Yum!
- Buttermilk: No buttermilk? No problem! Add 1 tablespoon of white vinegar or lemon juice to regular milk and let it sit for 5 minutes. Voila! Instant “buttermilk.”
- Nuts: Want some crunch? Fold in ½ cup of chopped walnuts or pecans with the apples. IMO, it’s a great addition!
- Streusel Topping: For extra indulgence, mix ¼ cup flour, 2 tablespoons brown sugar, 1 tablespoon cold butter, and ½ teaspoon cinnamon. Crumble over the top before baking!
FAQ (Frequently Asked Questions)
- “Can I use margarine instead of butter?” Well, technically yes, but why hurt your soul like that? Butter just tastes better, period. But if you must, it’ll work.
- “My loaf is browning too fast on top, what do I do?” Easy peasy! Loosely tent it with aluminum foil for the remaining bake time. Problem solved!
- “How long does this moist magic last?” Wrapped tightly at room temperature, it’s great for 3-4 days. In the fridge, maybe a week. But honestly, it rarely lasts that long!
- “Can I freeze it?” Absolutely! Wrap it tightly in plastic wrap, then foil. It’ll keep for up to 3 months. Thaw at room temp. FYI, it’s still delish after freezing.
- “What kind of apples are best?” I love a good Honeycrisp or Fuji for sweetness, but Granny Smith adds a lovely tartness that cuts through the richness. Mix ’em up!
- “Do I need to peel the apples?” For the best texture in a loaf, yes, peeling is recommended. Those peels can get a bit tough when baked.
Final Thoughts
See? You totally nailed it! You’ve just whipped up a loaf of pure, unadulterated comfort. This apple cinnamon loaf is your new best friend for breakfast, a coffee break, or a sneaky midnight snack. Seriously, don’t be surprised if people start showing up at your door, sniffing around for a slice. Now go impress someone—or yourself—with your new culinary skills. You’ve earned it! Maybe put on some comfy socks and enjoy your masterpiece. You deserve it!


