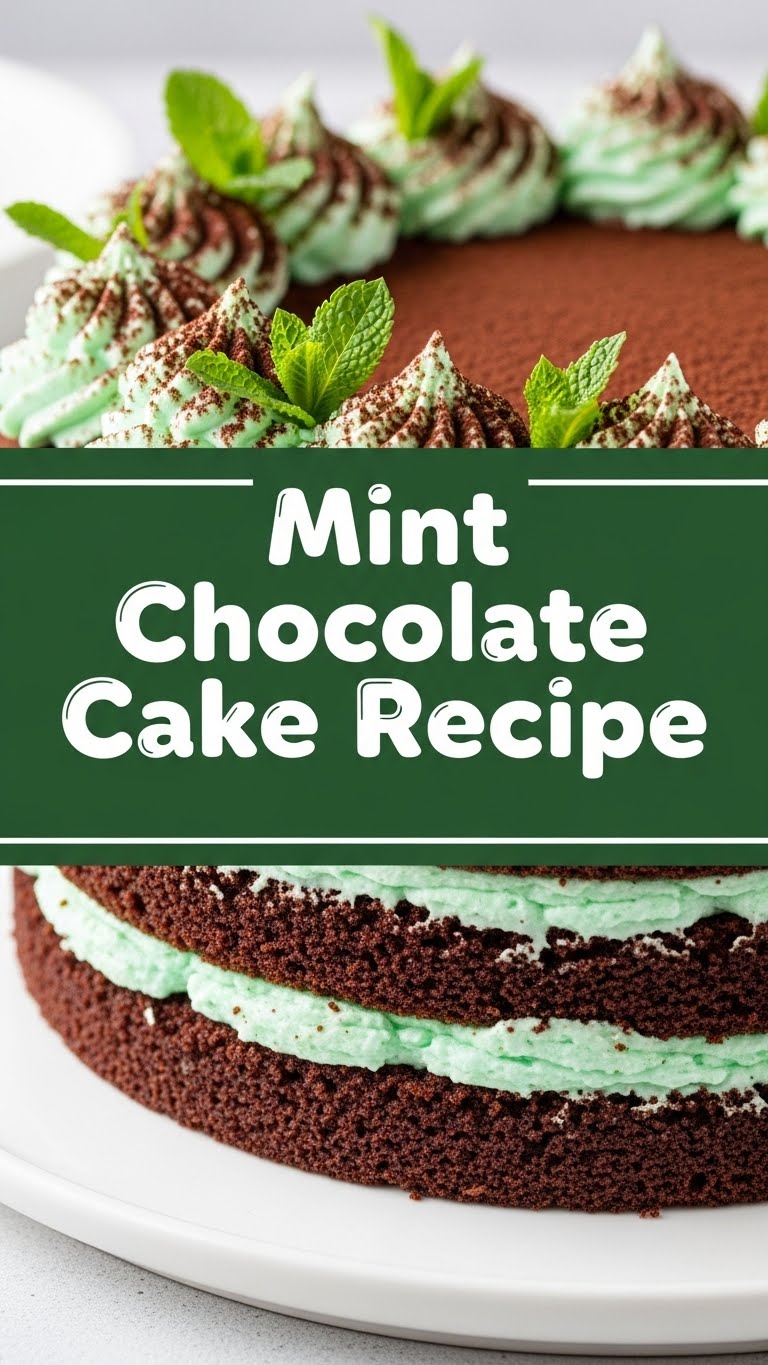
So you’re craving something minty, chocolatey, and totally decadent but also, like, *not* a huge fuss to make? You’ve come to the right place, my friend. We’re about to dive into a Mint Chocolate Cake recipe that’s so good, you’ll wonder if you secretly became a pastry chef overnight. (Spoiler: You didn’t, it’s just *that* easy.)
Why This Recipe is Awesome
Listen, I get it. Life’s short, and who wants to spend hours in the kitchen meticulously folding egg whites when you could be… well, eating cake? This recipe is basically your culinary fairy godmother. It’s idiot-proof, truly. Even if your last baking attempt involved a smoke detector, you’ll nail this. It looks fancy, tastes even fancier, and yet, your effort level will be surprisingly low. Plus, it’s mint chocolate – a flavor combo so good it should have its own national holiday. Just sayin’.
Ingredients You’ll Need
Time to gather your edible arsenal! Here’s what you’ll need to transform into a baking superstar:
- Flour: 2 cups (all-purpose, no fancy business required. Unless you *are* fancy, then go wild.)
- Unsweetened Cocoa Powder: ¾ cup (because we’re adding sugar, duh. Make it a good quality one; your taste buds will thank you.)
- Granulated Sugar: 1 ¾ cups (lots of it! Don’t skimp, it’s cake, not a health retreat.)
- Baking Soda: 1 ½ teaspoons (the rising star!)
- Baking Powder: 1 teaspoon (its trusty sidekick. Don’t confuse them, or your cake will be flat like my patience on a Monday.)
- Salt: 1 teaspoon (just a pinch! To make all the other flavors pop, like a tiny culinary fireworks show.)
- Large Eggs: 2 (room temperature. Seriously, it makes a difference. Don’t be lazy on this one.)
- Whole Milk: 1 cup (for richness, or whatever you have lurking in the fridge.)
- Vegetable Oil: ½ cup (canola oil works too… something neutral. Keeps the cake super moist, which is key.)
- Vanilla Extract: 2 teaspoons (the OG flavor booster. Don’t skip it!)
- Peppermint Extract: 1 teaspoon (the star of the show for the minty kick. Start small, taste, add more if you’re brave.)
- Green Food Coloring: A few drops (optional, but really drives home the mint theme. Or not, if you’re a minimalist. I won’t judge.)
For the Mint Buttercream Frosting:
- Unsalted Butter: 1 cup (2 sticks), softened (or salted, if you like a little rebel streak.)
- Powdered Sugar: 4 cups (sifted, or prepare for lumps! Your choice, really.)
- Heavy Cream: ¼ cup (a splash for ultimate frosting decadence.)
- Vanilla Extract: 1 teaspoon
- Peppermint Extract: ½ teaspoon (or to taste)
- Green Food Coloring: A few drops (optional, for that iconic minty hue!)
- Chocolate Chips or Shavings: For garnish (because presentation matters, even if you’re eating it alone in your PJs.)
Step-by-Step Instructions
- Preheat & Prep: First things first, get that oven to 350°F (175°C). Grease and flour two 8-inch round cake pans. Or line them with parchment paper. Whatever floats your boat, just don’t let it stick!
- Dry Mix Magic: In a large bowl, whisk together your flour, cocoa powder, sugar, baking soda, baking powder, and salt. Make sure it’s all happy and combined. No lumpy surprises, please.
- Wet Mix Whisk: In another bowl, whisk your eggs, milk, oil, and vanilla extract. This is where the liquid magic happens. Give it a good swirl.
- Combine Forces: Pour the wet ingredients into the dry ingredients. Mix on low speed (or by hand) until just combined. Don’t overmix! Seriously, that’s how you get tough cake. A few lumps are totally fine.
- Minty Freshness: Add your peppermint extract and a few drops of green food coloring if you’re using it. Mix gently until the color is even and that minty aroma hits you. Mmm, sensory overload!
- Bake It Up: Divide the batter evenly between your prepared cake pans. Pop them in the preheated oven for 25-30 minutes, or until a toothpick inserted into the center comes out clean. Patience, young padawan!
- Cool Down: Let the cakes cool in the pans for about 10 minutes, then carefully invert them onto a wire rack to cool completely. Don’t try to frost a warm cake unless you’re aiming for a melty, messy disaster.
- Frosting Time! While the cakes cool, beat your softened butter in a medium bowl until creamy. Gradually add the sifted powdered sugar, a little at a time, beating until smooth. Add the heavy cream, vanilla, and another dash of peppermint extract (and more green food coloring if you want the frosting minty green too!). Beat until light and fluffy.
- Assemble Your Masterpiece: Once the cakes are completely cool, spread a generous layer of frosting on top of one cake. Carefully place the second cake on top. Cover the entire cake with the remaining frosting, smoothing it out with an offset spatula or knife.
- Garnish & Gloat: Sprinkle with chocolate chips or shavings. Maybe a fresh mint leaf if you’re feeling fancy. Stand back and admire your handiwork. You did that! Now, go eat it!
Common Mistakes to Avoid
Because nobody’s perfect, but we can at least avoid these:
- Overmixing: Seriously, I warned you! Mixing too much develops the gluten, making your cake tough and chewy instead of light and fluffy. It’s cake, not bread. Chill.
- Warm Cake Frosting: Ever tried frosting a hot cake? It’s like trying to paint a melting ice sculpture. Messy, sad, and utterly pointless. Wait till it’s stone cold.
- Ignoring Room Temp Ingredients: Eggs and milk at room temp emulsify better, giving you a smoother, more uniform batter. It’s a small step that makes a *big* difference, IMO.
- Not Greasing/Flouring Pans Properly: Rookie mistake! If your cake sticks, you’re not getting a pretty slice, you’re getting cake shrapnel. Don’t be that person.
- Eyeballing Extracts: Peppermint extract is potent stuff. A little goes a long way. Don’t just dump it in unless you want a cake that tastes like toothpaste. Start small, taste, add more.
Alternatives & Substitutions
Feeling adventurous or just working with what you’ve got? No problem!
- Dairy-Free? Swap regular milk for almond or oat milk, and use a plant-based butter alternative for the frosting. Easy peasy lemon squeezy.
- No Peppermint Extract? You could try a tiny bit of mint essential oil (ensure it’s food-grade!) or even crushed peppermints in the frosting for texture. But really, just get the extract, it’s worth it for the consistent flavor.
- Chocolate Choices: Dark cocoa powder will give you a deeper, richer chocolate flavor. For the garnish, feel free to use white chocolate chips, chocolate curls, or even chopped Andes Mints for an extra minty punch!
- Cake Pan Size: If you only have 9-inch pans, that’s fine, but your cakes will be a bit thinner and might bake faster. Just keep an eye on them.
FAQ (Frequently Asked Questions)
- Can I use oil instead of butter in the cake? This recipe already uses oil for maximum moistness, which is genius, right? But if you’re thinking about swapping *that* for butter, you *could*, but honestly, the oil keeps it so perfectly moist, why mess with perfection?
- My cake came out dry! What happened? Oh no! Most likely culprits: overmixing the batter or overbaking. Get a timer, stick to the instructions, and for the love of cake, don’t overmix!
- How do I get my frosting super green? More food coloring! Gel food coloring gives a more vibrant color with less liquid, FYI. Just keep adding tiny drops until you reach your desired shade of ‘Hulk Smash’ mint.
- Can I make this as cupcakes? Absolutely! Divide the batter into cupcake liners and bake for about 18-22 minutes. You’ll get around 18-24 cupcakes, depending on how full you fill them. Perfect for individual portions, or, you know, eating 5 at once.
- How long does this cake last? If you manage to not devour it all in one sitting (impressive willpower, truly), it’ll stay fresh at room temperature for 2-3 days, or in the fridge for up to a week. Just make sure it’s covered tightly. Freezes well too!
- Is it okay if I don’t use green food coloring? Of course! The green is purely for aesthetics. Your cake will still taste like a delicious mint chocolate dream, just… less green. It’s like wearing pajamas to a fancy dinner; still good, just a different vibe.
Final Thoughts
Alright, my friend, you’ve officially leveled up your baking game. This Mint Chocolate Cake isn’t just a dessert; it’s a statement. A statement that says, “Yes, I can make something utterly delicious and beautiful without breaking a sweat (or a single eggshell, hopefully).” So go forth, slice yourself a generous piece, and bask in the glory of your creation. You totally earned it. Now go impress someone—or yourself—with your new culinary skills. Maybe share a slice… maybe.


