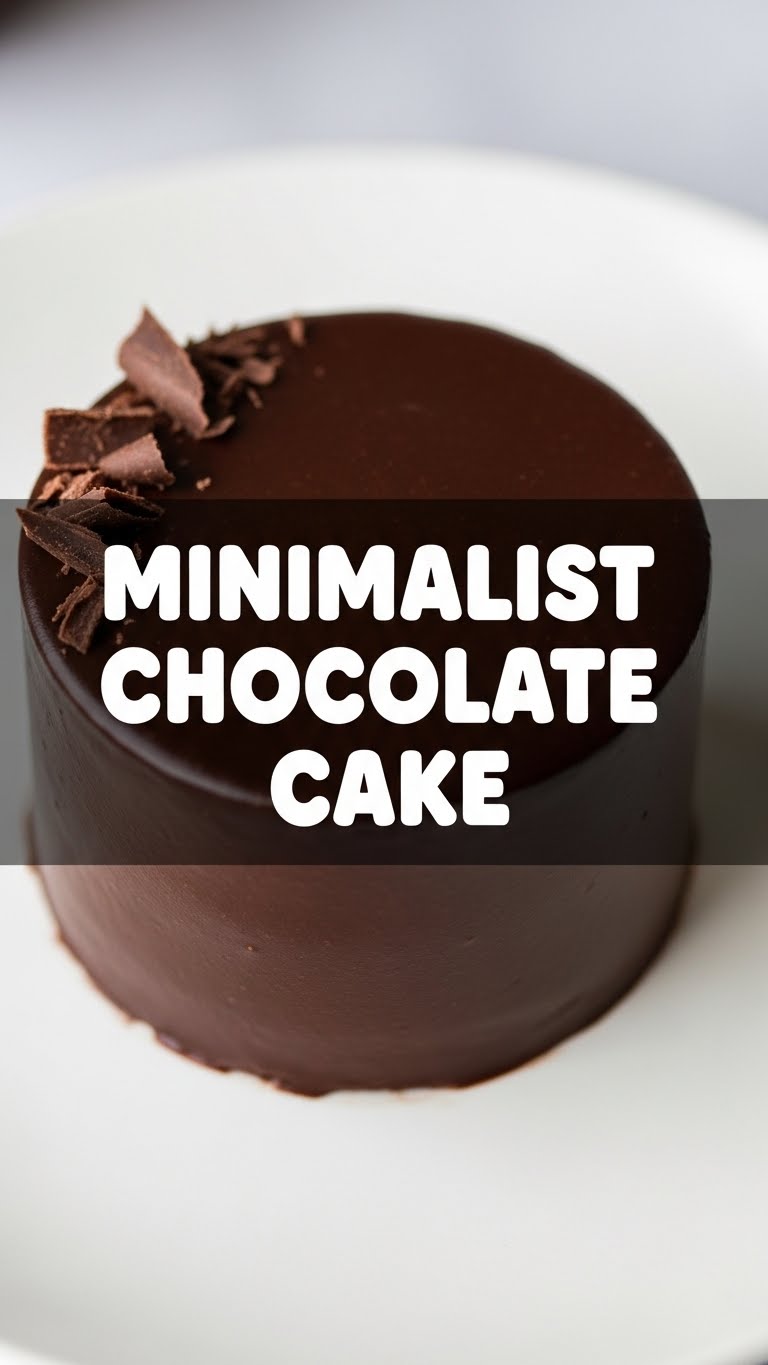
So you’re craving something tasty but too lazy to spend forever in the kitchen, huh? Same. We’ve all been there: that deep, primal urge for something chocolatey, something comforting, but the mere thought of a multi-tiered, frosting-swirled, kitchen-annihilating cake just makes you want to curl up with a bag of chips instead. Fear not, my friend! I present to you the **Minimalist Chocolate Cake** – your new bestie for when you want maximum deliciousness with minimum effort (and minimal dishwashing, because let’s be real, that’s half the battle).
Why This Recipe is Awesome
Okay, let’s cut to the chase. This isn’t just *a* chocolate cake recipe; it’s *the* chocolate cake recipe for the discerning lazy genius. Why is it awesome? First off, it’s practically **idiot-proof**. Seriously, even I didn’t mess it up, and my track record in the kitchen is… *varied*. You likely have all the ingredients lurking in your pantry right now. No fancy stuff, no obscure extracts, just pure, unadulterated chocolate goodness. It’s quick to whip up, bakes in a flash, and delivers a moist, rich, chocolatey hug that tastes like you spent hours on it. **Minimal effort, maximum reward.** That’s the motto we live by, right?
Ingredients You’ll Need
Gather ’round, my sweet-toothed companions! Here’s the small, but mighty, squad you’ll need for this chocolatey mission:
- **All-Purpose Flour:** About 1 ½ cups. The good old standard. Don’t overthink it.
- **Granulated Sugar:** 1 cup. Because happiness is sweet.
- **Unsweetened Cocoa Powder:** ½ cup. Go for a decent quality one here; it makes a difference, trust me.
- **Baking Soda:** 1 teaspoon. Our little magic fluffy-maker.
- **Salt:** ½ teaspoon. Just a pinch to make everything else sing.
- **Milk:** 1 cup. Any kind works, but whole milk makes it extra luscious.
- **Vegetable Oil (or other neutral oil):** ½ cup. Keeps things moist without all the butter-softening drama.
- **Vanilla Extract:** 1 teaspoon. Don’t skip this, it really rounds out the chocolate.
- **White Vinegar (or apple cider vinegar):** 1 teaspoon. Sounds weird, works wonders with the baking soda for lift.
- **Optional (but highly recommended): Chocolate Chips or chunks:** ½ cup, for an extra chocolatey punch!
Step-by-Step Instructions
Alright, apron on, game face ready! Let’s get baking this masterpiece. No stress, just success.
- **Preheat Your Oven & Prep Your Pan:** First things first, get that oven heated to **350°F (175°C)**. While it’s warming up, grab an 8×8 inch square baking pan and grease it thoroughly. You can also dust it lightly with cocoa powder instead of flour for an extra non-stick, chocolatey edge.
- **Mix Dry Ingredients:** In a large bowl, whisk together your flour, sugar, cocoa powder, baking soda, and salt. Make sure there are no lumpy bits, especially with the cocoa. You want everything well combined.
- **Combine Wet Ingredients:** In a separate, smaller bowl, mix your milk, oil, and vanilla extract. Give it a good swirl until everything is friendly.
- **Unite Them!** Pour the wet mixture into the dry ingredients. Now, here’s the crucial part: add the vinegar last, right on top of everything. Gently mix until just combined. **Do not overmix!** A few lumps are totally fine; overmixing develops gluten and can make your cake tough.
- **Add Optional Goodies:** If you’re using chocolate chips, fold them in now. Don’t be shy!
- **Bake It Up:** Pour your batter into the prepared pan. Pop it into your preheated oven and bake for **30-35 minutes**, or until a toothpick inserted into the center comes out clean.
- **Cool & Devour:** Once baked, let your cake cool in the pan for about 10-15 minutes before transferring it to a wire rack to cool completely. Or, if you’re like me and have zero patience, dig in while it’s still warm and gooey. You do you!
Common Mistakes to Avoid
We’re all human, we all make mistakes. But some mistakes are just… avoidable. Learn from my past culinary misadventures:
- **Forgetting to Preheat the Oven:** Rookie mistake! Your cake won’t rise properly if it goes into a cold oven. **Always preheat!**
- **Overmixing the Batter:** This is a big one. You want to mix until *just* combined. Stirring too much develops gluten, leading to a tough, chewy cake. We’re going for tender and moist, remember?
- **Not Greasing Your Pan:** Unless you enjoy a cake that’s cemented to the bottom of the pan, grease it generously. Even better, line the bottom with parchment paper for easy removal.
- **Opening the Oven Door Too Early:** Resist the urge to peek! Especially in the first 20 minutes, opening the door can cause your cake to sink in the middle. Patience, grasshopper.
Alternatives & Substitutions
Life’s too short not to experiment! Here are a few swaps and tweaks you can try:
- **Dairy-Free?** Swap regular milk for almond milk, soy milk, or oat milk. They all work beautifully!
- **Oil-Free?** Not really for this recipe, IMO. The oil is key for moisture and tenderness. If you want to try, applesauce could be a partial substitute, but prepare for a different texture.
- **Different Flours?** I’d stick with all-purpose for this one. Gluten-free flours behave differently, and you might need to adjust liquids. If you *must*, a 1:1 GF blend might work, but no guarantees on the “idiot-proof” status then.
- **Add-ins:** Feeling fancy? Toss in some espresso powder (a teaspoon or two) for a richer chocolate flavor, or a sprinkle of cinnamon for warmth. Mini marshmallows? Go wild!
FAQ (Frequently Asked Questions)
Got questions? I’ve got (casual) answers!
- **Can I make this in a round pan?** Absolutely! An 8 or 9-inch round pan will work. Baking time might be a tiny bit less for a 9-inch since the cake will be thinner, so keep an eye on it.
- **What about frosting? Isn’t that part of “minimalist”?** Good question! Minimalist often means no frosting, just a dusting of powdered sugar. But hey, if you want to slather it with a quick ganache or simple buttercream, I won’t judge. Life’s about balance!
- **Can I freeze this cake?** You bet! Once cooled, wrap it tightly in plastic wrap and then foil. It’ll keep for up to a month. Thaw at room temperature.
- **Why the vinegar? Does it make it taste weird?** Nope, no weird taste! The vinegar reacts with the baking soda to create air bubbles, giving your cake that lovely lift and tenderness without needing eggs. It’s a chemistry marvel!
- **Can I halve or double the recipe?** Halving is easy! Just use half of everything. Doubling? You’ll need a bigger pan (like a 9×13 inch) and possibly a longer bake time. **FYI**, always adjust baking times when changing pan sizes.
Final Thoughts
See? That wasn’t so scary, was it? You just made a delicious, moist, chocolatey cake with minimal fuss and maximum fun. This Minimalist Chocolate Cake is proof that you don’t need to be a Michelin-starred chef (or even own a stand mixer) to whip up something truly satisfying. So go ahead, grab a slice (or two!), pair it with a cup of coffee or a cold glass of milk, and bask in your culinary glory. Now go impress someone—or yourself—with your new culinary skills. You’ve earned it!

