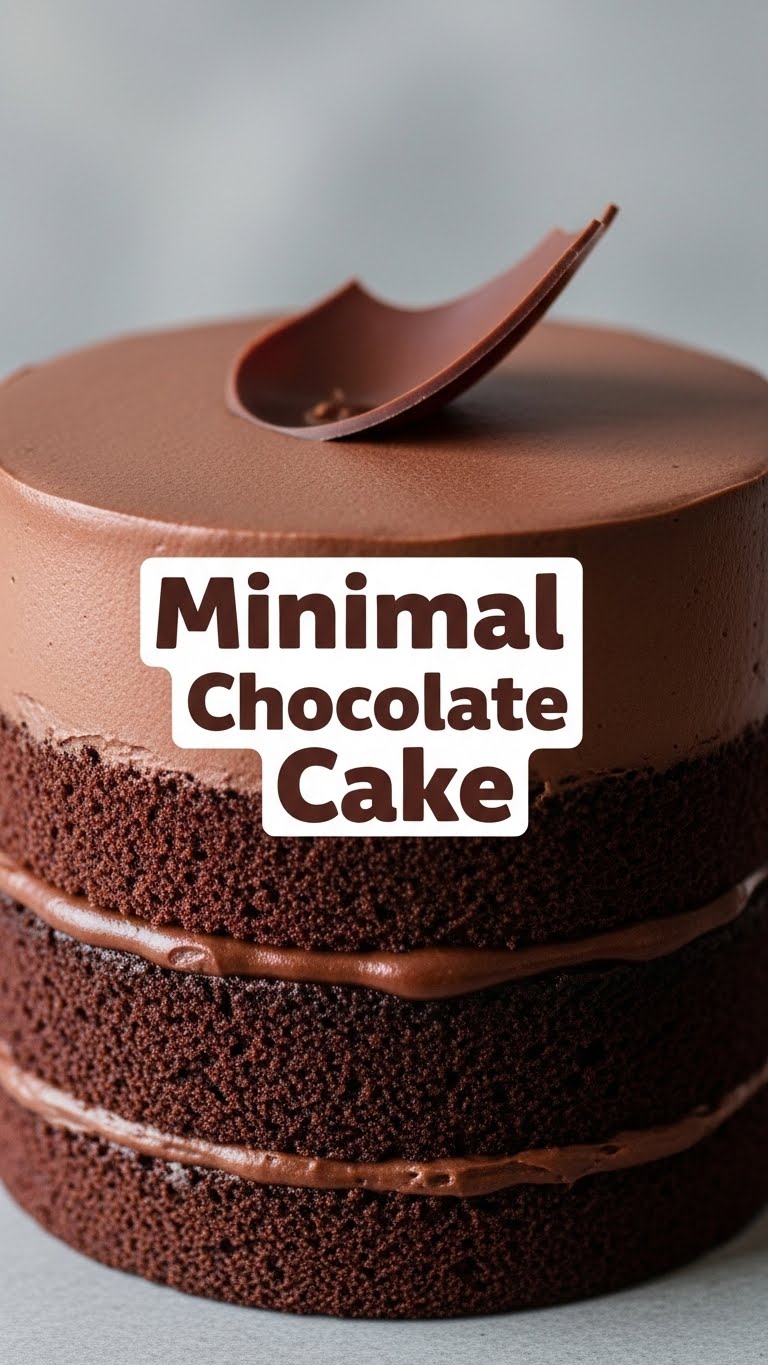
So, you’re craving something tasty but too lazy to spend forever in the kitchen, huh? Same. High-fives all around! We’ve all been there: that sudden, intense need for chocolate cake, followed by the crushing realization that most recipes involve a gazillion steps, a sink full of dishes, and the patience of a saint. Well, my friend, today we’re throwing all that out the window. Say hello to your new best friend: The Minimal Chocolate Cake.
Why This Recipe is Awesome
Because it’s practically magic, that’s why! This isn’t just a chocolate cake; it’s a “I need cake NOW and I don’t have all day” cake. Seriously, it’s so quick, simple, and uses ingredients you probably already have lurking in your pantry. We’re talking one bowl (if you’re brave, two if you like order), no fancy mixers required, and a final product that tastes way more indulgent than it has any right to be. It’s idiot-proof, even I didn’t mess it up, and that’s saying something. Plus, it’s naturally dairy-free if you use water and vegetable oil, which is a bonus for some, or just a happy accident for others!
Ingredients You’ll Need
Gather ’round, my fellow lazy bakers! Here’s your ridiculously short shopping list:
- 1 ½ cups All-Purpose Flour: Just regular stuff, no need for anything fancy. Unless you *want* to be fancy, then go for it.
- 1 cup Granulated Sugar: For that essential sweetness. Don’t skimp, this is cake after all.
- ½ cup Unsweetened Cocoa Powder: The good stuff! This is where the chocolate magic happens.
- 1 teaspoon Baking Soda: Our little leavening hero, making sure our cake isn’t a brick.
- ½ teaspoon Salt: Don’t skip it! It balances the sweetness and makes the chocolate taste even chocolate-ier.
- ½ cup Vegetable Oil (or Canola): For moisture without the fuss of butter.
- 1 teaspoon Vanilla Extract: Because vanilla makes everything better, period.
- 1 cup Hot Water: Yep, hot water. It blooms the cocoa and makes for a super moist crumb. Trust me on this.
Step-by-Step Instructions
Get ready to feel like a culinary genius with minimal effort. You got this!
- Preheat Your Oven: First things first! Get that oven to 350°F (175°C). While it’s heating up, lightly grease and flour a standard 8×8 inch square pan or a 9-inch round cake pan. Don’t skip this, unless you enjoy fighting with stuck cake.
- Whisk the Dry Stuff: In a large bowl, dump your flour, sugar, cocoa powder, baking soda, and salt. Give it a good whisk until everything is nicely combined. We’re talking no lumps here, folks.
- Add the Wet Wonders: Now, pour in the vegetable oil and vanilla extract. Give it a little stir, just to get things started.
- Bring in the Hot Water: Slowly pour in the hot water. Mix it with a whisk or spatula until it’s *just* combined. Do not overmix! A few small lumps are totally okay, even desirable, because overmixing equals dry, tough cake. And nobody wants that.
- Pour and Bake: Scrape that beautiful batter into your prepared pan. Pop it into the preheated oven for 25-30 minutes. You’ll know it’s done when a toothpick inserted into the center comes out clean.
- Cool Down: Let it cool in the pan for about 10-15 minutes before attempting to flip it out onto a wire rack to cool completely. Or, if you’re like me and have zero patience, just eat it warm straight from the pan. No judgment.
- Devour: Slice, serve, and bask in the glory of your minimal effort, maximal deliciousness chocolate cake!
Common Mistakes to Avoid
Even the simplest recipes have pitfalls! Here are a few to steer clear of if you want cake success:
- Overmixing the Batter: This is probably the biggest rookie mistake. Mix until *just* combined, no more. Overmixing develops the gluten too much, leading to a tough, dense cake. We want light and fluffy, people!
- Not Preheating the Oven: Thinking you don’t need to preheat the oven? Rookie mistake! A properly preheated oven ensures even baking from the start. Otherwise, your cake might not rise properly.
- Opening the Oven Door Constantly: Stop peeking! Every time you open the door, the oven temperature drops, which can cause your cake to sink in the middle. Be patient, let it bake.
- Skipping the Salt: Seriously, don’t. That tiny bit of salt is a flavor enhancer that makes the cocoa taste richer and deeper. It’s not just for seasoning; it’s for *oomph*.
- Ignoring the Hot Water: The hot water really helps the cocoa “bloom,” intensifying its flavor and contributing to the cake’s amazing moistness. Cold water just won’t cut it.
Alternatives & Substitutions
Feeling a little adventurous, even within the minimalist framework? I got you.
- Gluten-Free Version: Swap out the all-purpose flour for a 1:1 gluten-free flour blend. Your cake will still be awesome, trust.
- Amp Up the Chocolate: Instead of hot water, use hot brewed coffee. It seriously enhances the chocolate flavor without making the cake taste like coffee. Mind blown, right?
- Different Oil: You can use melted butter instead of vegetable oil for a slightly richer flavor, but honestly, the oil works brilliantly for moisture.
- Frosting (or lack thereof): This cake is fantastic on its own. But if you *must* dress it up, a simple dusting of powdered sugar, a dollop of whipped cream, or a super quick two-ingredient ganache (melted chocolate + warm cream) will do the trick without overcomplicating things.
FAQ (Frequently Asked Questions)
Got questions? I’ve got answers (and probably some sarcasm).
- Can I use milk instead of water? Well, technically yes, but why hurt your soul like that? The hot water helps bloom the cocoa powder and gives this cake its signature moist, tender crumb. Don’t mess with perfection!
- Do I *really* need unsweetened cocoa powder? YES! Unsweetened is key. If you use sweetened cocoa, your cake will be way too sugary and the texture might be off. Unless you’re going for a sugar-induced coma, stick to unsweetened.
- My cake is dry, what happened? Likely culprits: overmixing the batter (developing too much gluten) or overbaking. Keep an eye on that baking time and remember, a toothpick should come out with moist crumbs, not completely dry.
- Can I double the recipe? Absolutely! Just use a larger pan (a 9×13 inch pan is perfect) and extend the baking time slightly. Keep checking with a toothpick.
- How long does this cake last? Mine usually disappears within hours. But theoretically, it will last 2-3 days stored in an airtight container at room temperature.
- Can I add chocolate chips to the batter? Oh, you rebel! Yes, a handful (say, ½ cup) of chocolate chips won’t hurt. Just remember, we’re aiming for *minimal* chocolate cake here, so don’t go overboard!
Final Thoughts
See? Told ya it was easy! Now you have no excuse not to whip up a delicious chocolate cake whenever the craving strikes. This Minimal Chocolate Cake is proof that you don’t need to spend hours slaving away in the kitchen to achieve pure dessert bliss. It’s perfect for a quick fix, an unexpected guest, or just because it’s Tuesday and you deserve it. Now go impress someone—or yourself—with your new culinary skills. You’ve earned it!


