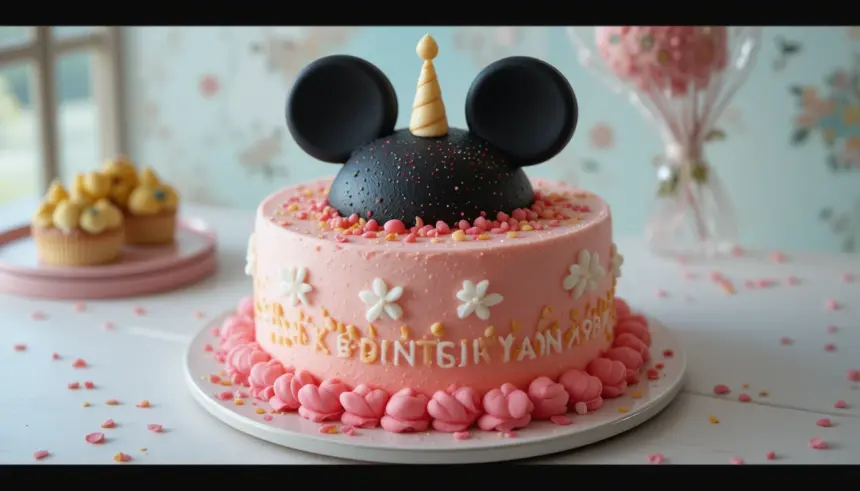
So, someone’s got a birthday coming up, and you’re thinking, “How can I make this extra magical without turning into a stressed-out kitchen monster?” We’ve all been there, staring blankly at Pinterest boards. But fear not, my friend! Today, we’re whipping up a Mini Mouse Birthday Cake that’s so darn cute, it practically winks at you. And the best part? It’s totally doable, even if your usual baking specialty is toast.
Why This Recipe is Awesome
Let’s be real, you want to impress without, you know, actually stressing. This Mini Mouse cake? It’s your secret weapon. First off, it’s cute enough to make anyone go “awww!” (especially the birthday kiddo). Secondly, it looks way harder than it actually is. Seriously, you’ll be patting yourself on the back, feeling like a culinary genius, and all you did was follow a few simple steps. **It’s basically an illusion of extreme effort**, which, IMO, is the best kind of effort. Plus, who doesn’t love a classic vanilla cake? It’s a crowd-pleaser, easy to adapt, and guaranteed to disappear fast.
Ingredients You’ll Need
Get ready for some kitchen magic! Here’s what you’ll need to transform into a Mini Mouse masterpiece:
- **For the Cake (Vanilla Vibes):**
- 1 ½ cups (3 sticks) unsalted butter, softened (the good stuff, no “spread” imposters!)
- 3 cups granulated sugar (because sweetness is life)
- 6 large eggs, room temperature (they just mix better when they’re not shivering)
- 1 tablespoon vanilla extract (don’t skimp here, it’s the soul of the cake)
- 3 cups all-purpose flour (plain old flour, nothing fancy)
- 1 tablespoon baking powder (the lift-off agent)
- ½ teaspoon salt (brings out all the flavors, trust me)
- 1 cup whole milk, room temperature (again with the room temp, it matters!)
- **For the Buttercream Frosting (Cloud Nine Status):**
- 2 cups (4 sticks) unsalted butter, softened
- 8 cups powdered sugar (sifted, if you’re feeling extra fancy)
- 1 teaspoon vanilla extract
- ¼ cup whole milk or heavy cream (add more if needed, for desired consistency)
- Pinch of salt
- Red gel food coloring (a little goes a long way!)
- Black gel food coloring (same deal)
- **For the Mini Mouse Magic (Decorations!):**
- 12-16 Oreo cookies (the regular size, for the ears!)
- Red fondant or red candy melts (for Mini’s iconic bow)
- Small round cookie cutter (for the white polka dots on the bow, if using fondant)
- White chocolate chips or white candy melts (for polka dots on the red cake if you skip the bow fondant)
Step-by-Step Instructions
- **Get Your Oven & Pans Ready:** Preheat your oven to 350°F (175°C). Grease and flour two 8-inch round cake pans. Or, line them with parchment paper. This prevents sticking, **a common rookie mistake you’re now too smart to make!**
- **Cream the Dream Team:** In a large bowl, beat the softened butter and granulated sugar together with an electric mixer until light and fluffy. This usually takes about 3-5 minutes.
- **Egg-cellent Additions:** Add the eggs one at a time, beating well after each addition. Stir in the vanilla extract. Scrape down the sides of the bowl to ensure everything is incorporated.
- **Dry Mix Magic:** In a separate medium bowl, whisk together the flour, baking powder, and salt.
- **Combine & Conquer:** Gradually add the dry ingredients to the wet ingredients, alternating with the milk, beginning and ending with the flour mixture. Mix until just combined. Be careful not to overmix, or your cake might get tough.
- **Bake ‘Em Up!** Divide the batter evenly between your two prepared cake pans. Bake for 30-35 minutes, or until a wooden skewer inserted into the center comes out clean.
- **Cool Down Time:** Let the cakes cool in the pans for about 10-15 minutes. Then, carefully invert them onto a wire rack to cool completely. **Patience, young grasshopper! Cooling completely is crucial before frosting.**
- **Buttercream Bash:** While the cakes cool, make your frosting. In a large bowl, beat the softened butter until creamy. Gradually add the powdered sugar, vanilla, salt, and milk/cream. Beat on high until light and fluffy. If it’s too thick, add a tiny bit more milk; too thin, add more powdered sugar.
- **The Mini Mouse Transformation:** Level your cakes if needed. Place one cake layer on your serving plate or cake stand. Frost the top. Place the second cake layer on top and frost the entire cake with white buttercream. Smooth it out as best you can – it doesn’t have to be perfect, this is fun!
- **Color Me Red!** Take about 1 cup of your white buttercream and dye it red using red gel food coloring. Spread this red frosting around the bottom third of your cake. This is Mini’s dress!
- **Ear-y Fun:** Gently push two Oreo cookies into the top of the cake, where Mini’s ears would be. Space them evenly.
- **Bow Down to the Bow:** If using red fondant, roll it out and cut a bow shape. Attach it between the ears. Use a small round cutter for white polka dots. If using red candy melts, melt them, spread onto parchment, let cool slightly, cut a bow, and attach. You can also just pipe white dots onto the red frosting section of the cake for Mini’s polka dots.
- **Black Outline (Optional but Awesome):** Take a tiny amount of buttercream and dye it black. Using a small round piping tip, carefully pipe a thin black line around the red section of the cake to give it a neat finish. This makes it pop!
Common Mistakes to Avoid
- **Overmixing the Batter:** This is probably the number one offender. Overmixing develops the gluten too much, leading to a tough, dry cake. Mix until just combined, then stop!
- **Not Greasing/Flouring Pans Properly:** Ever had half your cake stuck to the bottom? Yeah, don’t be that person. Grease and flour (or use parchment) meticulously.
- **Frosting a Warm Cake:** Seriously, what are you doing? Your frosting will melt into a sad, sugary puddle. **Wait until the cakes are COMPLETELY cool.**
- **Ignoring Room Temperature Ingredients:** There’s a reason we tell you this! Room temperature ingredients emulsify better, creating a smoother, more uniform batter and a better-textured cake.
- **Not Sifting Powdered Sugar:** Especially for frosting, unsifted powdered sugar can lead to lumps. Nobody wants lumpy frosting.
Alternatives & Substitutions
- **Cake Flavor Swap:** Not a vanilla fan? You could totally use a chocolate cake mix or recipe for a different vibe. Mini Mouse in chocolate? Why not!
- **Frosting Fun:** Instead of classic buttercream, try a cream cheese frosting (reduce sugar a bit) or even a whipped ganache. Just make sure it’s stable enough for decorating.
- **Bow Bling:** If fondant or candy melts sound like too much work for the bow, you can totally just cut a bow shape out of red fruit leather or even a large red gummy candy! Or just pipe a bow using red buttercream.
- **Gluten-Free Option:** You can definitely substitute a 1:1 gluten-free flour blend for the all-purpose flour. Just make sure it includes xanthan gum.
- **Dairy-Free:** Use plant-based butter and milk. The texture might be slightly different, but it’ll still be delicious!
FAQ (Frequently Asked Questions)
Got questions? I probably have answers (or at least funny opinions!):
- **Can I make the cake layers ahead of time?** Absolutely! Bake them, let them cool completely, wrap them tightly in plastic wrap, and freeze for up to a month. Just thaw them in the fridge overnight before frosting. Genius, right?
- **What if I don’t have buttermilk for some reason (even though this recipe doesn’t use it, people always ask)?** Well, this recipe uses regular milk, so you’re good! But for other recipes, mix 1 cup of milk with 1 tablespoon of white vinegar or lemon juice, let it sit for 5-10 minutes. Voila! Instant buttermilk.
- **My frosting is too thin/thick, help!** Too thin? Add more powdered sugar, a tablespoon at a time. Too thick? Add more milk or cream, a teaspoon at a time. It’s a dance, not a science experiment (mostly).
- **Can I use a different size cake pan?** You can, but you’ll need to adjust baking times. If you go smaller, you might need to bake longer; larger, possibly shorter. Keep an eye on it!
- **How do I get super smooth frosting?** A warm offset spatula or bench scraper can do wonders. Also, an initial “crumb coat” (a very thin layer of frosting to trap crumbs) chilled for 15 minutes helps immensely before applying your final, thicker coat.
- **Can I turn this into Mickey Mouse instead?** Um, yes! Just skip the red bow and red bottom section. Simple as that! (But Mini is clearly superior, just saying.)
Final Thoughts
There you have it, folks! Your very own, super adorable, Mini Mouse Birthday Cake. Wasn’t that way easier (and way more fun) than you expected? Now go impress someone—or yourself—with your new culinary skills. You’ve earned those bragging rights, and probably a huge slice of cake. Go on, dig in!


