So, you’re looking for a dessert that’s ridiculously cute, takes minimal effort, and basically guarantees smiles? Welcome to your new favorite obsession, my friend. We’re talking about mini ice cream cones here, and before you roll your eyes thinking it’s too much work for something so tiny, let me stop you right there. This isn’t a Martha Stewart-level project; this is a “I just raided my pantry and fridge and called it a day” kind of vibe. Perfect for when you want a little sweet treat without committing to a whole sundae experience. Less mess, more ‘awww,’ and infinitely customizable. Let’s get scoopin’!
Why This Recipe is Awesome
Okay, let’s be real. In a world full of complicated recipes, this one is basically a vacation. Why is it awesome, you ask? Because it’s:
- Idiot-proof: Seriously, if I can do it without setting off the smoke detector, you’re golden. There’s no baking, no complex techniques, just pure assembly line joy.
- Instant Gratification: From zero to hero (or at least, from ‘hungry’ to ‘happy’) in like, five minutes. Perfect for those sudden dessert cravings.
- Customization Nation: This isn’t a dictatorship; it’s a democracy of toppings! Everyone gets exactly what they want. It’s like a tiny, personal ice cream parlor.
- Portion Control’s Cooler Cousin: Want a little treat without eating a whole pint? These mini cones are your new bestie. Plus, they look super impressive for how little effort they actually require.
Ingredients You’ll Need
Get ready for a shocker – you probably have most of this stuff already. Or at least, it’s a good excuse for a quick grocery run to stock up on fun stuff!
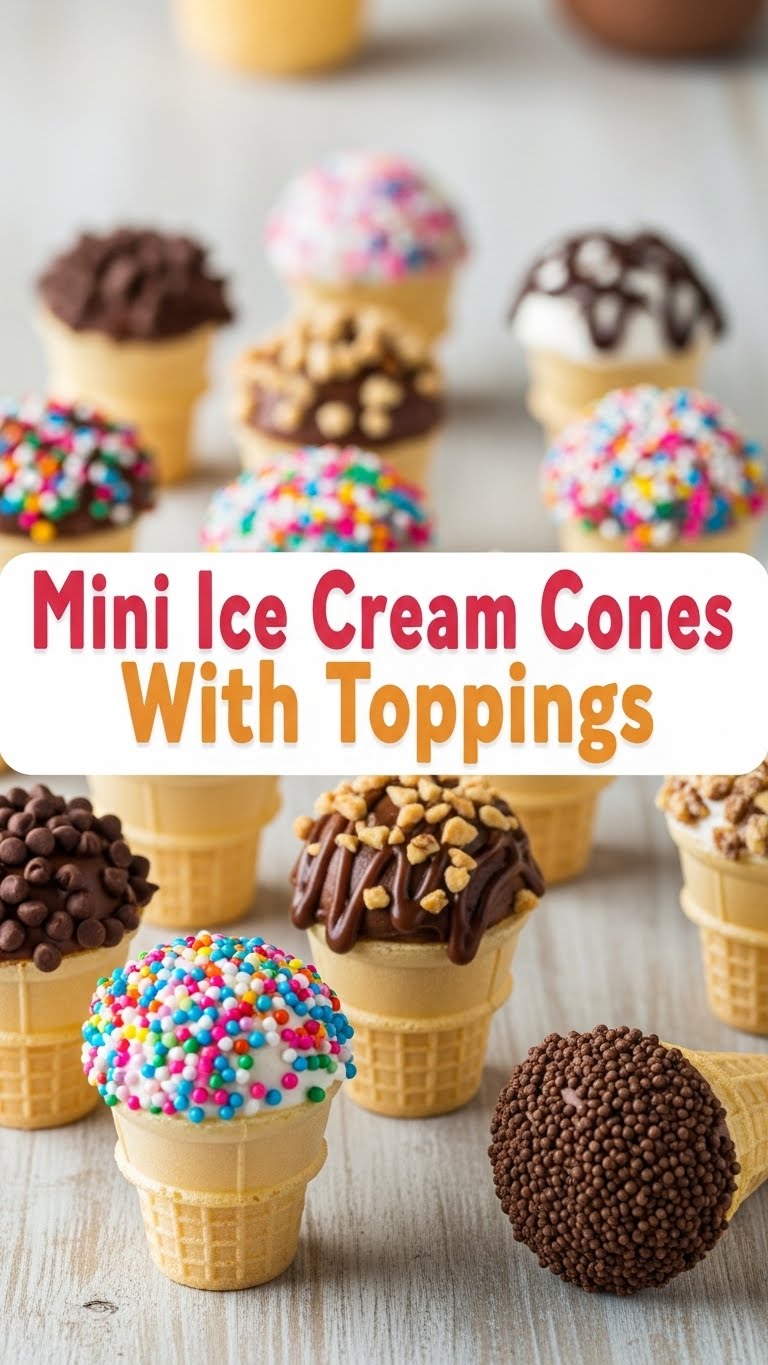
- Mini Ice Cream Cones: The obvious star! Look for the tiny ones, usually in the baking aisle. They’re dangerously cute.
- Your Favorite Ice Cream: Or two, or three! Variety is the spice of life, especially in mini form. Pick something that scoops easily.
- Toppings Galore: This is where the real fun begins! Think:
- Sprinkles (duh)
- Mini chocolate chips
- Chopped nuts (pecans, walnuts, pistachios – whatever floats your boat)
- Crushed Oreos or cookies
- Melted chocolate (for dipping the rims, fancy pants!)
- Caramel sauce or hot fudge
- Gummy bears, mini M&Ms, or other candies
Step-by-Step Instructions
Alright, put on your imaginary chef’s hat (or just a regular hat, whatever) and let’s do this. It’s so easy, you’ll wonder why you haven’t been doing this your whole life.
- Prep Your Battle Station: Lay out all your toppings in small bowls. This makes the assembly process super smooth and less messy.
- Soften the Scoop: Take your ice cream out of the freezer a few minutes before you start. You want it pliable, not rock-hard, for easy scooping into those tiny cones.
- The “Fancy” Dip (Optional but Recommended): If you’re feeling extra, melt some chocolate (microwave it in 30-second bursts, stirring in between). Dip the rim of each mini cone into the melted chocolate, then immediately into a bowl of sprinkles or mini chocolate chips. Let it set for a minute or two on parchment paper. This makes them look bakery-worthy, FYI.
- Scoop ‘Em Up: Using a small spoon or a melon baller (my secret weapon for tiny scoops!), place a small scoop of ice cream into each cone. Don’t overfill, or you’ll have an avalanche on your hands.
- Topping Time!: Immediately after scooping, gently dip the ice cream mound into your chosen toppings. Or, just sprinkle them over the top. The slightly soft ice cream will act like glue.
- Serve and Devour: Present your adorable mini cones on a platter and watch them disappear faster than you can say “more please!”
Common Mistakes to Avoid
Nobody’s perfect, but we can avoid some face-palm moments, right?
- Rock-Hard Ice Cream: Trying to scoop ice cream straight from the Arctic tundra? Good luck. You’ll either break the cone or your spoon. Let it soften a bit!
- Overfilling: We get it, you love ice cream. But those mini cones are delicate. Too much ice cream and they’ll tip over, melt faster, and generally be a hot mess. Embrace the mini-ness!
- Forgetting the Toppings Setup: Trying to open bags, find scissors, and pour sprinkles while your ice cream melts? Amateur hour. Have everything ready to go beforehand. Mise en place is your friend here.
- Leaving Them Out Too Long: These are mini for a reason – they melt fast! Serve immediately, or pop them back in the freezer on a tray if you’re making a batch for later (more on that below).
Alternatives & Substitutions
Feeling adventurous? Or just don’t have exactly what I listed? No worries, we can totally adapt!
- Different Cones: Can’t find mini cones? Use regular sugar cones or waffle cones and just… don’t fill them to the brim. Or, get creative and use edible cups!
- Vegan/Dairy-Free Options: Absolutely! Swap out regular ice cream for your favorite plant-based brand. Most cones are naturally dairy-free, but always double-check the ingredients.
- Fruity Fun: Instead of just candy and chocolate, try fresh mini fruit pieces like blueberries, raspberries, or finely diced strawberries as toppings. Adds a nice pop of freshness!
- Nut-Free Zone: If allergies are a concern, obviously skip the nuts. There are tons of nut-free sprinkles, chocolate chips, and crushed cookies out there.
FAQ (Frequently Asked Questions)
Got questions? I probably do too, but here are some I *think* I know the answer to!
- Can I make these ahead of time? Yes, absolutely! Assemble them, pop them on a tray (or in a muffin tin to keep them upright!), and freeze them for about 15-30 minutes until firm. Then you can transfer them to an airtight container. Just be warned, they’re so good, they might not make it to the “later” part.
- What if I don’t have a melon baller? No biggie! A regular small spoon works perfectly. Just aim for a smaller, compact scoop.
- My cones are getting soggy! Help! This usually happens if they’ve been sitting out too long or if the ice cream is super soft and melting. Freeze them quickly after assembly, and make sure your ice cream isn’t a liquid mess when you scoop.
- Can kids help with this? OMG, yes! This is the ultimate kid-friendly recipe. Let them go wild with the toppings (under supervision, unless you want sprinkles in your hair). It’s a fantastic activity! And IMO, the best kind of activity.
- How many do these make? That really depends on how many cones are in your pack and how generous you are with each scoop. But generally, one pint of ice cream can yield quite a few mini cones, especially if you’re making them truly mini.
- Is it okay to eat more than one? Is the sky blue? Is water wet? Of course it is! These are mini, remember? That’s our excuse, and we’re sticking to it. 😉
Final Thoughts
See? Told you it was easy peasy! These mini ice cream cones are not just a dessert; they’re an experience. They’re fun to make, even more fun to eat, and they bring a little spark of joy to any gathering (or solo Tuesday night, no judgment here!). So go on, unleash your inner dessert artist. You’ve now mastered the art of the adorable, low-effort treat. Now go impress someone—or yourself—with your new culinary skills. You’ve earned it!


