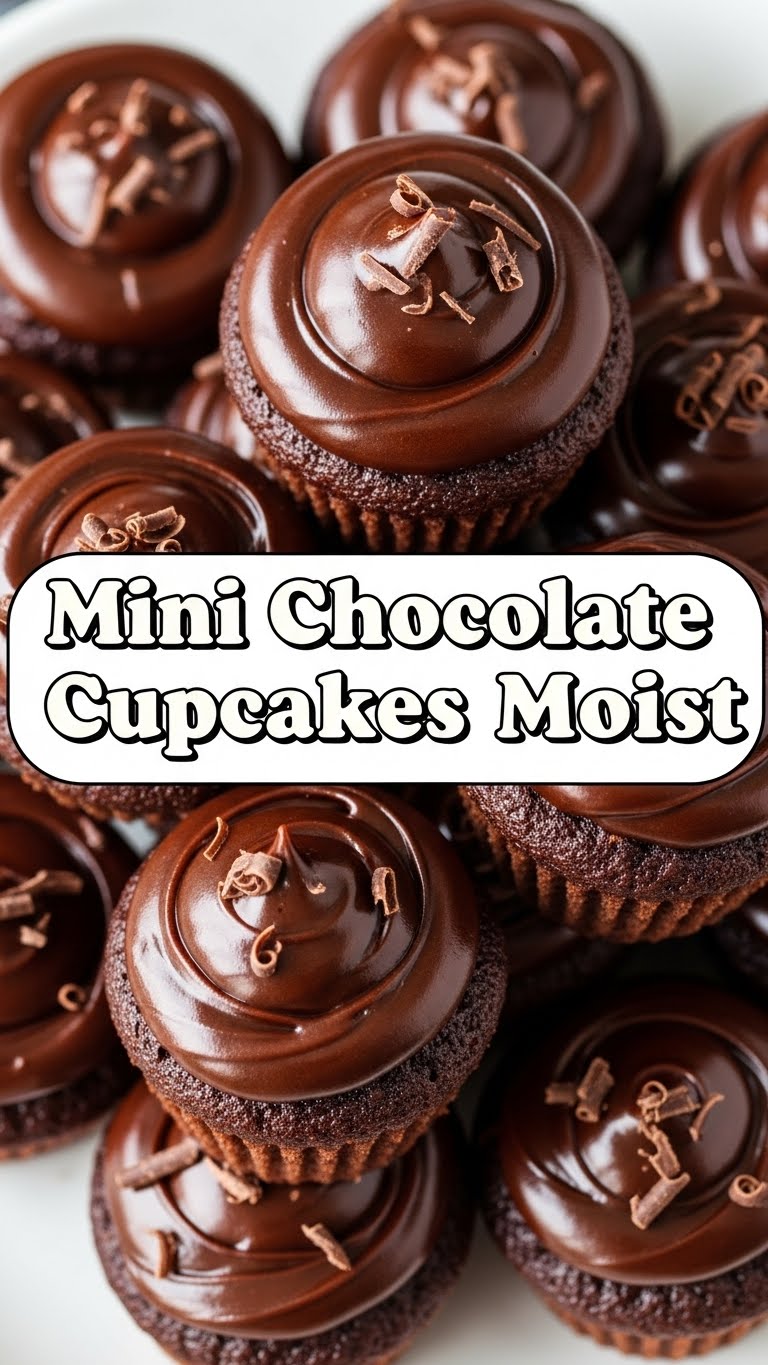
So you’re craving something ridiculously tasty but also kinda want to avoid doing a full-on baking marathon, right? Like, you want maximum deliciousness for minimum effort? My friend, I feel you deep in my soul. That’s exactly where these **Mini Chocolate Cupcakes** come into play. They’re tiny, they’re moist, they’re chocolatey, and honestly, they’re practically a magic trick for your tastebuds and your schedule. Forget stressing over perfect slices or giant portions; these little fellas are just pure, unadulterated joy in a bite.
Why This Recipe is Awesome
Let’s be real, you’re not here for a lecture on advanced pastry techniques. You’re here because you want something easy that actually *works*. And guess what? This recipe is precisely that. It’s practically idiot-proof – even I (who once set off a fire alarm with toast) manage to nail these every single time. Seriously, they’re:
- **Quick to whip up:** From zero to hero in under 30 minutes, including bake time. Bam!
- **Ridiculously moist:** No dry, crumbly sadness here. Just rich, melt-in-your-mouth goodness.
- **Perfectly portioned:** Because sometimes you just need a *little* chocolate hug, not a full-on embrace. Plus, you can justify eating three. Don’t tell anyone I said that.
- **Minimal fuss, maximum flavor:** You probably have most of these ingredients chilling in your pantry already.
It’s the kind of recipe that makes you look like a baking superstar without actually breaking a sweat. You’re welcome.
Ingredients You’ll Need
Gather your troops! These are the basic warriors for our mini cupcake adventure. No fancy stuff, just pure deliciousness.
- All-Purpose Flour: About 1 cup. The backbone of our little cakes. Don’t overthink it.
- Granulated Sugar: ¾ cup. For that essential sweetness. Yes, we need it.
- Unsweetened Cocoa Powder: ½ cup. The star of the show! Go for good quality if you can, it really makes a difference.
- Baking Soda: ½ teaspoon. Our leavening friend, making them rise beautifully.
- Salt: ¼ teaspoon. Just a pinch to balance all that sweetness and chocolate. Don’t skip it!
- Large Egg: 1, at room temperature. Happy eggs make happy cakes.
- Milk: ½ cup. Any kind you prefer, whole milk makes them extra lush.
- Vegetable Oil: ¼ cup. This is key for that incredible moistness. No butter here, we want ultimate squish!
- Vanilla Extract: 1 teaspoon. Because everything is better with a splash of vanilla.
- Hot Water or Coffee: ¼ cup. This magic ingredient blooms the cocoa, intensifying the chocolate flavor like crazy. If you use coffee, they won’t taste like coffee, just more chocolatey. Trust me.
Step-by-Step Instructions
Okay, apron on, game face on. Let’s make some mini magic happen!
- **Preheat Power-Up:** First things first, get your oven ready. Preheat it to **350°F (175°C)**. Line a mini muffin tin with mini paper liners. You’ll probably need about 24-30 of them.
- **Dry Mix It Up:** In a medium bowl, whisk together your flour, sugar, cocoa powder, baking soda, and salt. Make sure there are no lumpy bits. We want smooth sailing!
- **Wet Ingredients Party:** In a separate, slightly larger bowl, whisk together the egg, milk, vegetable oil, and vanilla extract until well combined.
- **Combine & Conquer:** Pour the wet ingredients into the dry ingredients. Mix gently with a spatula or whisk until *just* combined. Don’t overmix! A few small lumps are totally fine.
- **The Hot Secret:** Carefully pour the hot water (or coffee) into the batter. Whisk it in quickly until the batter is smooth and a bit thin. This step is super important for that deep chocolate flavor and moist texture.
- **Fill ‘Em Up:** Using a small scoop or two spoons, fill each mini cupcake liner about **2/3 full**. Don’t be greedy, they’ll puff up!
- **Bake Time Baby!** Pop the tin into your preheated oven. Bake for **10-12 minutes**. They’re done when a toothpick inserted into the center comes out with moist crumbs, not wet batter. Remember, mini cupcakes bake fast!
- **Cool Down:** Let them cool in the tin for a few minutes before transferring them to a wire rack to cool completely. Resist the urge to eat them all immediately. (Okay, maybe eat one warm, I won’t tell.)
Common Mistakes to Avoid
Listen up, buttercup! Don’t fall for these common pitfalls. Your cupcakes (and your ego) will thank you.
- **The “Oven Takes Forever” Myth:** Thinking you don’t need to preheat your oven. **Rookie mistake!** A cold oven means uneven baking and sad, dense cupcakes.
- **Overmixing Madness:** Whisking your batter like it owes you money. Overmixing develops the gluten in the flour, leading to tough, chewy cupcakes instead of light and fluffy ones. Mix *just* until combined.
- **Greedy Fillings:** Overfilling your liners. They’ll overflow and create mushroom-top cupcakes that are messy and not-so-pretty. Stick to 2/3 full.
- **Patience, My Friend:** Opening the oven door every two minutes to “check on them.” This drops the oven temperature and can cause your cupcakes to sink. Trust the process!
- **The Overbake Tragedy:** Baking them for too long. Mini cupcakes go from perfectly moist to dry little bricks faster than you can say “chocolate.” Keep an eye on them!
Alternatives & Substitutions
Feeling adventurous? Or just missing an ingredient? Here are some quick swaps and fun additions:
- **Dairy-Free Delight:** Swap regular milk for almond, soy, or oat milk. They work beautifully.
- **Oil Swap:** While vegetable oil gives the best moistness here, you could use melted coconut oil (just make sure it’s liquid) or another neutral oil like canola.
- **More Chocolate!** Stir in a handful of mini chocolate chips (about ¼ cup) into the batter before baking for extra chocolatey explosions.
- **No Mini Muffin Tin?** No problem! You can make regular-sized cupcakes. Just fill liners about 2/3 full and bake for 18-22 minutes, or until a toothpick comes out clean.
- **Spice It Up:** A tiny pinch of cayenne pepper in the cocoa powder can give a subtle, warming kick. Don’t tell anyone, just let them wonder what that amazing secret ingredient is!
FAQ (Frequently Asked Questions)
Got questions? I’ve got answers. No judgment here, just cupcake wisdom!
- **”Can I use margarine instead of vegetable oil?”** Well, technically yes, but why hurt your soul like that? Margarine often has more water and less fat, which can mess with the texture. Stick to oil for ultimate moistness, IMO.
- **”How do I know they’re cooked through without drying them out?”** A toothpick is your best friend! Insert it into the center of a cupcake. If it comes out with moist crumbs, you’re golden. If it’s wet batter, give ’em a minute or two more. If it’s totally clean, you’re on the edge of overbaking, so pull them out fast!
- **”Can I make the batter ahead of time?”** You *can*, but it’s not ideal. The leavening agents start working once wet, so you might lose some lift. Best to mix and bake immediately for the fluffiest results.
- **”What kind of frosting should I use?”** Oh, the possibilities! A simple chocolate buttercream, a cream cheese frosting, or even just a dusting of powdered sugar would be divine. Or, you know, just eat them plain because they’re *that* good.
- **”My cupcakes sunk in the middle! What happened?”** Usually, this means one of two things: either they were underbaked (open the oven door too soon, impatient baker!) or the leavening agents weren’t effective. Make sure your baking soda isn’t expired!
- **”How long do these mini delights last?”** If you manage to *not* devour them all in one sitting (a true test of willpower!), they’ll stay fresh in an airtight container at room temperature for 2-3 days. But honestly, they rarely make it past day one.
Final Thoughts
And there you have it, folks! Your new go-to recipe for ridiculously delicious, perfectly moist, and oh-so-cute mini chocolate cupcakes. See? I told you it was easy. No need for a culinary degree, just a love for chocolate and a willingness to follow a few simple steps.
Now go forth, bake these beauties, and bask in the glory of your newfound baking prowess. Whether you’re impressing friends, making a tiny treat for yourself, or just need a sweet pick-me-up, these mini wonders are always a win. You’ve earned it!


