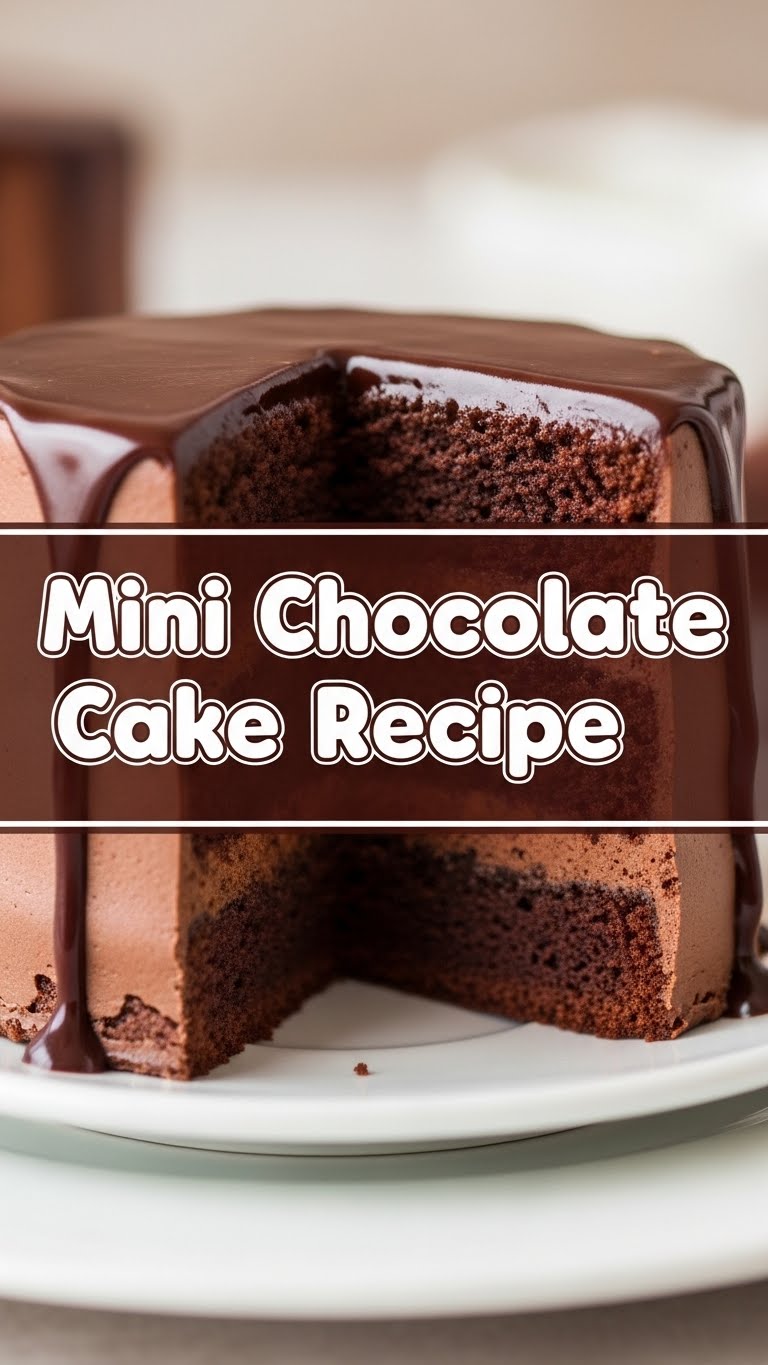
So you’re craving something tasty but too lazy to spend forever in the kitchen, huh? Same. Honestly, my brain goes from “I want cake” to “Ugh, effort” faster than I can say “whipped cream.” But fear not, my fellow dessert enthusiast, because I’ve cracked the code to ultimate chocolate cake satisfaction without the existential dread of a multi-tiered baking project. We’re talking mini chocolate cakes, folks! Little bundles of joy that practically bake themselves (okay, maybe not *practically*, but close).
Why This Recipe is Awesome
Look, I get it. Baking can be intimidating. But this mini chocolate cake recipe? It’s like the chill, encouraging friend of the baking world. Here’s why it’ll be your new go-to:
- Idiot-Proof: Seriously, it’s hard to mess up. Even *I* haven’t managed to completely botch these, and that’s saying something.
- Instant Gratification: Small cakes mean faster baking times. You’ll go from craving to devouring in record time.
- Portion Control (ish): You *could* just eat one. Or five. But at least they *start* as individual servings, right?
- Minimal Cleanup: We’re not talking about a mountain of dishes. Just enough to feel like you’ve accomplished something.
- Pure Joy: Because who doesn’t love a tiny cake? They’re just inherently cute and delicious.
Ingredients You’ll Need
Gather your troops, err, ingredients! Most of these are probably lounging in your pantry already. Get ready for some chocolatey magic:
- All-Purpose Flour: 1 cup (the OG baking staple, our structural hero).
- Granulated Sugar: ¾ cup (for that sweet, sweet bliss).
- Unsweetened Cocoa Powder: ½ cup (the star of the show, go for a good quality one—you deserve it!).
- Baking Soda: 1 teaspoon (our lift-off agent, don’t skimp).
- Salt: ½ teaspoon (don’t you DARE skip this! It makes everything pop).
- Large Egg: 1 (the binder, the unifier).
- Milk: ½ cup (any kind! Whole, 2%, even oat milk works for my lactose-averse pals).
- Vegetable Oil: ¼ cup (or melted butter for extra decadence, your call).
- Vanilla Extract: 1 teaspoon (liquid gold, IMO, don’t skip this for flavor depth).
- Boiling Water: ½ cup (the secret weapon for super moist cakes!).
- Optional: Mini chocolate chips, sprinkles, frosting/glaze (because life’s too short for naked cakes).
Step-by-Step Instructions
Alright, apron on, game face ready! Let’s get these tiny masterpieces baked:
- Preheat & Prep: Set your oven to 350°F (175°C). Seriously, **preheat it**! Then, grease and flour a 12-cup muffin tin, or line with cupcake liners. This recipe makes about 8-10 mini cakes, so you might have a few empty spots.
- Whisk the Dry Stuff: In a medium bowl, whisk together the flour, sugar, cocoa powder, baking soda, and salt. Make sure there are no lumpy bits of cocoa powder – nobody wants a dry powder bomb in their cake.
- Mix the Wet Stuff (Mostly): In a separate bowl, whisk together the egg, milk, vegetable oil (or melted butter), and vanilla extract.
- Combine & Conquer: Pour the wet ingredients into the dry ingredients. Mix with a spoon or spatula until just combined. Don’t overmix! A few lumps are totally fine.
- Add the Hot Stuff: Carefully pour in the boiling water. Stir until the batter is smooth. It’ll be thin, and that’s exactly what we want for super moist cakes.
- Fill ‘Em Up: Divide the batter evenly among your prepared muffin cups, filling each about two-thirds full. If you’re adding mini chocolate chips, now’s the time to gently stir them into the batter before filling the cups.
- Bake ‘Em Babies: Pop the tin into your preheated oven and bake for 18-22 minutes. You’ll know they’re done when a toothpick inserted into the center comes out with moist crumbs, not wet batter.
- Cool Down: Let the mini cakes cool in the muffin tin for about 5-10 minutes before carefully transferring them to a wire rack to cool completely. This prevents them from collapsing or sticking.
- Decorate & Devour: Once fully cooled, frost them, sprinkle ’em, or just eat them plain. Your kingdom, your rules!
Common Mistakes to Avoid
Even though this recipe is super chill, there are a few rookie errors that can turn your mini cake dreams into a crumbly nightmare. Learn from my past kitchen fails:
- Not Preheating the Oven: This isn’t a suggestion, it’s a command! Cold ovens lead to sad, flat cakes. Don’t do it.
- Overmixing the Batter: I know, it’s tempting to keep stirring. But overmixing develops the gluten too much, leading to tough, dense cakes. Mix until *just* combined, then back away from the bowl.
- Skipping the Grease/Liners: Ever had a cake welded to the pan? It’s soul-crushing. Take the extra 30 seconds to grease and flour or use liners. You’ll thank yourself later.
- Opening the Oven Door Too Early: Patience, grasshopper! Opening the door too soon can cause cakes to sink in the middle. Resist the urge to peek until at least 15 minutes in.
- Eyeballing Ingredients (Especially Flour): Baking is a science, not a “vibes-only” affair. Seriously, **measure properly**, especially the flour (lightly spoon into the cup, then level off).
Alternatives & Substitutions
Feeling a little rebellious? Want to personalize your mini cake experience? Here are some ideas:
- Milk Swap: Out of regular milk? Almond, soy, or oat milk work beautifully. Just ensure it’s unsweetened if you’re keeping the sugar consistent.
- Oil vs. Butter: Vegetable oil gives a really moist cake, but melted unsalted butter will add a richer flavor. Choose your adventure!
- Flavor Boosters: Add a teaspoon of instant espresso powder to the boiling water for a deeper chocolate flavor (it won’t taste like coffee, just more chocolatey, trust me!). A pinch of cayenne pepper for a subtle spicy kick is also divine.
- Topping Ideas: No time for frosting? Dust with powdered sugar, drizzle with a simple chocolate glaze (melted chocolate chips with a tiny bit of oil), or top with whipped cream and fresh berries. Sprinkles are always a win.
- Make it Gluten-Free: Swap out the all-purpose flour for a good quality 1:1 gluten-free baking blend.
FAQ (Frequently Asked Questions)
- Can I use margarine instead of butter/oil? Well, technically yes, but why hurt your soul like that? Margarine usually has more water, which can affect the texture. Stick to oil or butter for best results, FYI.
- My cakes are dry, what gives? Probably overbaked, boo! Or maybe you scooped your flour like it owed you money instead of weighing it. **Baking is a science**, not a vibes-only affair, darling.
- Can I make a big cake instead? Totally! Just pour the batter into an 8 or 9-inch round cake pan and bake for about 30-35 minutes, or until a toothpick comes out clean.
- How long do these mini cakes last? In my house? About 30 minutes. Realistically, stored in an airtight container at room temperature, they’re good for 2-3 days. In the fridge, maybe up to 5 days.
- Can I freeze them? Absolutely! Wrap cooled, unfrosted cakes individually in plastic wrap, then place in a freezer-safe bag for up to 2-3 months. Thaw at room temp before frosting.
- Do I need special mini cake pans? Nope! A standard 12-cup muffin tin is perfect. Cupcake liners make for easy removal and cleanup.
- What if I don’t have boiling water? Hot tap water is generally fine, but the boiling water really helps “bloom” the cocoa powder, enhancing its flavor and making the cakes super moist. Give it a try!
Final Thoughts
So there you have it, folks! Your new favorite, ridiculously easy, and utterly delicious mini chocolate cake recipe. Go on, don’t be shy. Get in that kitchen, whip up these little beauties, and then bask in the glory of your own culinary prowess. You deserve a treat, and these little cakes are just the ticket.
Now go impress someone—or yourself, which is arguably more important—with your new culinary skills. You’ve earned it!


