So, you’ve got that pesky chocolate craving knocking on your brain-door, but the thought of baking a whole cake feels like running a marathon, right? Been there, done that, bought the T-shirt (it’s covered in flour, btw). Good news, my friend! I’m here to rescue you from the abyss of store-bought cookies with a recipe so easy, so quick, and so perfectly portioned, it’s practically magic: Mini Chocolate Cakes!
Why This Recipe is Awesome
Listen, I’m not saying this recipe will solve all your life problems, but it *will* give you chocolate. And isn’t that basically the same thing? This isn’t just a recipe; it’s a personal chocolate intervention. It’s ridiculously simple, uses basic pantry staples, and bakes up in no time. Plus, because they’re mini, you don’t have to share. (Unless you *want* to. Your call, I won’t judge.) It’s practically idiot-proof, even I didn’t mess it up, and that’s saying something!
Ingredients You’ll Need
Gather your troops! Here’s what you’ll need for your chocolatey conquest:
- All-Purpose Flour: ½ cup. Just regular goodness. No need for fancy stuff unless you’re feeling extra bougie.
- Granulated Sugar: ½ cup. Sweetness! Because adulting is hard, and you totally deserve it.
- Unsweetened Cocoa Powder: ¼ cup. The darker, the better, for maximum chocolatey impact. This isn’t a drill!
- Baking Soda: ½ teaspoon. Our little lift-off agent. Don’t skip this, unless you like dense hockey pucks instead of fluffy cake.
- Salt: ¼ teaspoon. A tiny pinch, just to make everything else sing. Trust me on this.
- Milk: ½ cup. Any kind works – dairy, almond, oat. We’re inclusive here!
- Vegetable Oil: ¼ cup. Or canola, or whatever neutral oil you have. Moisture’s the name of the game.
- Vanilla Extract: 1 teaspoon. A splash of magic. Don’t even *think* about imitation. Your taste buds will know.
- Egg: 1 large. Just one! For binding and general cake-y happiness.
Step-by-Step Instructions
Alright, apron on, game face ready! Let’s get baking these tiny titans of deliciousness:
- Preheat & Prep: First things first, crank that oven up to 350°F (175°C). While it’s getting cozy, lightly grease and flour two mini cake pans (4-inch or 6-inch will work) or line a standard muffin tin with paper liners for cupcakes.
- Whisk the Dry Stuff: In a medium bowl, whisk together the flour, sugar, cocoa powder, baking soda, and salt. Make sure there are no lumps, because lumpy cake is sad cake.
- Combine the Wet Crew: In a separate, smaller bowl, whisk together the milk, oil, vanilla extract, and the egg. Give it a good swirl until it’s all blended.
- Mix ‘Em Up: Pour the wet ingredients into the dry ingredients. Grab your spatula and mix until just combined. Do not overmix! A few tiny lumps are okay, promise. We’re aiming for cake, not rubber.
- Divide & Conquer: Divide the batter evenly between your prepared mini cake pans or muffin cups. Don’t fill them more than two-thirds full.
- Bake It Off: Pop those beauties into the preheated oven. Bake for about 20-25 minutes for mini cakes, or 18-20 minutes for cupcakes. They’re done when a toothpick inserted into the center comes out clean.
- Cool Down: Let them cool in the pans for about 5-10 minutes. Then, gently transfer them to a wire rack to cool completely. Patience, young padawan, it’s worth it!
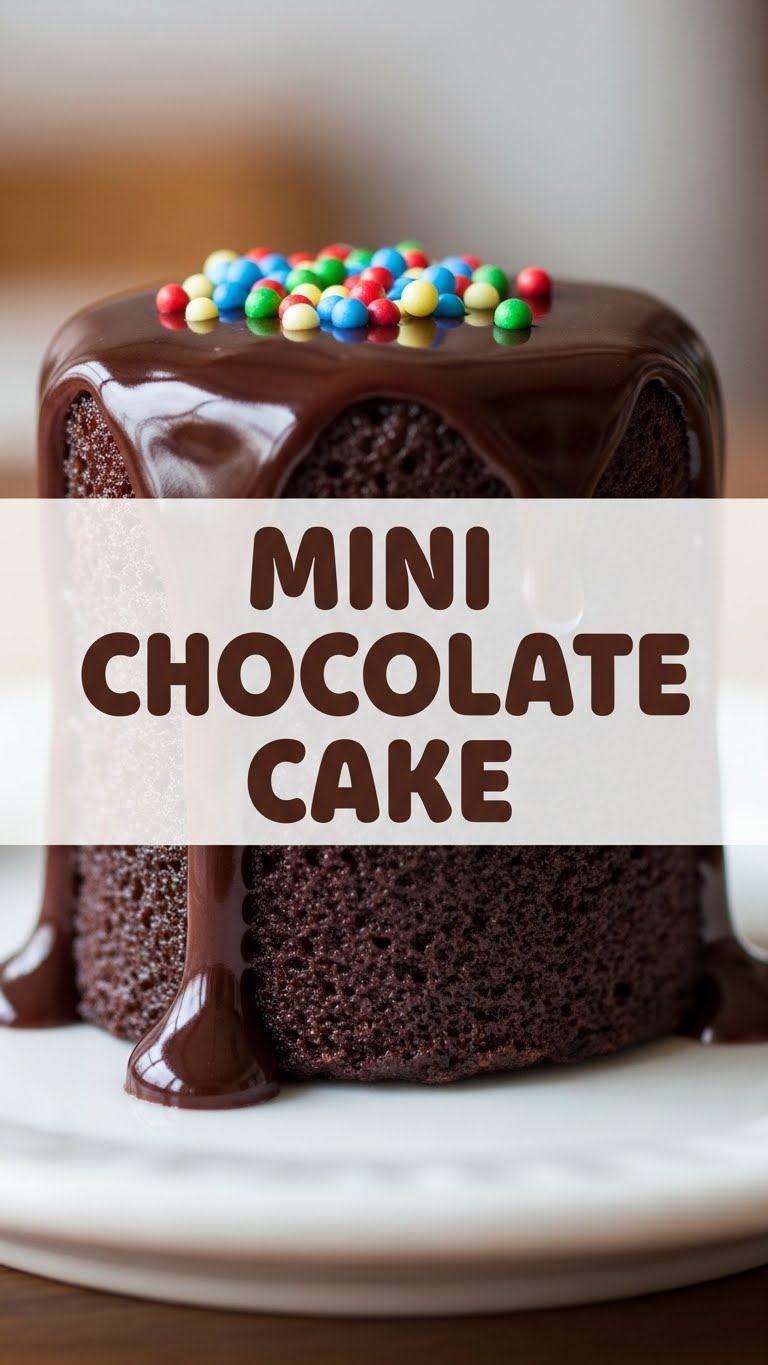
- Frost & Devour: Once completely cool, frost them with your favorite chocolate ganache, buttercream, or a simple glaze. Or just eat them plain. Your kingdom, your rules!
Common Mistakes to Avoid
Nobody’s perfect, but we can try to avoid these classic blunders, right?
- Thinking you don’t need to preheat the oven: Rookie mistake. Your oven needs a warm-up, just like you before leg day. Uneven heat means sad, unevenly baked cakes.
- Overmixing the batter: This is a biggie! Overmixing develops the gluten too much, leading to a tough, dense cake. Mix until just combined, then stop. Seriously.
- Opening the oven door too early: Patience, grasshopper. Let those cakes do their thing. Opening the door before they’re set can cause them to sink in the middle. They’re shy!
- Not letting them cool before frosting: Instant gratification is tempting, I know. But frosting a warm cake is a one-way ticket to a melted, gooey mess. Let them cool completely!
Alternatives & Substitutions
Feeling adventurous? Or just working with what you’ve got? No stress!
- Dairy-Free? No Problem: Swap out regular milk for almond, soy, or oat milk. The texture might be slightly different, but the chocolatey goodness remains.
- Oil Alternatives: If you don’t have vegetable oil, canola oil or even melted coconut oil (just make sure it’s liquid) will work fine. Olive oil? Maybe skip that unless you want a savory chocolate cake. (No, you don’t.)
- Add-Ins Galore: Feel free to fold in a handful of mini chocolate chips, sprinkles, or even a tablespoon of instant coffee granules (dissolved in a tiny bit of hot water) for a mocha kick. FYI: coffee enhances chocolate flavor like nobody’s business!
- Glaze vs. Frosting: If you’re feeling lazy (and who isn’t sometimes?), a simple glaze of powdered sugar and a tiny bit of milk or water is perfectly acceptable. Or, for the truly decadent, make a quick chocolate ganache.
FAQ (Frequently Asked Questions)
Got questions? I’ve got (casual) answers!
- Can I use margarine instead of vegetable oil?
Well, technically yes, but why hurt your soul like that? Margarine can work, but oil generally gives a moister crumb in cakes like this. Stick to the oil if you can! - How long do these mini cakes last?
If you manage not to eat them all in one sitting (which is a challenge, IMO), they’ll stay fresh in an airtight container at room temperature for about 2-3 days. In the fridge, maybe 4-5 days. - Can I make them ahead of time?
Absolutely! Bake them, let them cool completely, and then wrap them tightly in plastic wrap. You can freeze them for up to a month. Thaw at room temp, then frost and serve. - What if I don’t have mini cake pans?
No worries! You can use a standard muffin tin to make cupcakes. The baking time will be similar, just keep an eye on them. Or, if you only have one small cake pan, bake in batches! - Can I add espresso powder to enhance the chocolate flavor?
YES! A thousand times yes! A teaspoon or two dissolved in the wet ingredients will deepen that chocolate flavor without making it taste like coffee. It’s a secret weapon! - Is frosting really necessary?
Necessary? No. Delicious and highly recommended? You bet your sweet bottom dollar it is! A little something extra never hurt anyone.
Final Thoughts
There you have it, my friend! Your very own mini chocolate cake adventure, conquered with minimal fuss and maximum deliciousness. These little guys are perfect for a solo treat, a sweet pick-me-up, or even to share (if you’re feeling generous). Now go impress someone—or yourself—with your new culinary skills. You’ve earned it!


