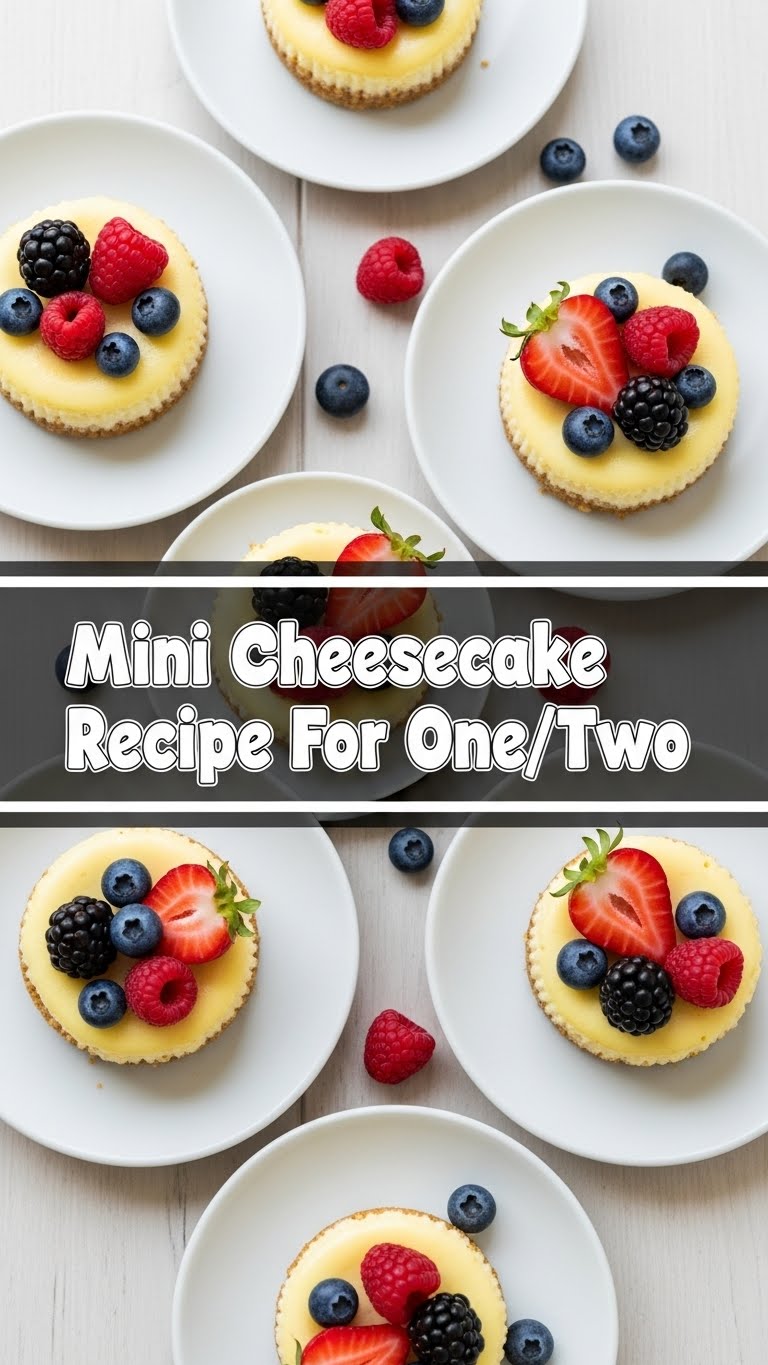
So, you’re craving something ridiculously delicious, creamy, and sweet, but the thought of baking a whole cheesecake (and then having to share it, the horror!) or committing to eating a giant one all by yourself (no judgment, we’ve all been there) just feels like too much effort? My friend, I feel you. That’s why we’re making mini cheesecakes for one or two. Because sometimes, you just need a little bite of heaven without the commitment.
Why This Recipe is Awesome
Let’s be real, life is complicated enough. Your dessert shouldn’t be. This recipe is your new best friend because:
- It’s for a small batch, meaning you don’t end up with a week’s worth of tempting leftovers whispering your name from the fridge.
- It’s ridiculously quick. From “I want cheesecake” to “I’m eating cheesecake” in record time.
- Minimal cleanup, because who needs more dishes? Not you.
- It’s practically idiot-proof. Seriously, even if your culinary skills are usually limited to boiling water, you’ve got this. I certainly didn’t mess it up, and that’s saying something.
- Perfect for a sudden, urgent craving. We all have those, right?
Ingredients You’ll Need
Gather your weapons, chef! Or, you know, just grab these few things:
For the Crust (because a cheesecake without a crust is just… cream cheese, right?):
- **2-3 graham cracker squares (or about 1/4 cup crumbs):** The classic, the OG. Feel free to sub with any cookie you’ve got lying around – Oreos, Biscoff, you do you.
- **1 tablespoon unsalted butter, melted:** Because everything’s better with butter.
- **1 teaspoon granulated sugar:** Just a tiny bit, to make it all stick together like glue.
For the Mini Cheesecake Filling (the good stuff!):
- **4 oz (half a standard block) full-fat cream cheese, softened:** And when I say softened, I mean really, truly softened. Take it out of the fridge way before you start. Cold cream cheese = lumpy cheesecake, and nobody wants that.
- **2-3 tablespoons granulated sugar:** Depending on how sweet you like your life (and your dessert).
- **1 large egg yolk:** Just the yolk, for richness and binding power. Don’t be shy, separate that egg!
- **1/2 teaspoon vanilla extract:** A splash of pure, unadulterated joy.
- **1 tablespoon sour cream or plain Greek yogurt:** The secret weapon for that perfect tang and creamy texture. Don’t skip this, **it really makes a difference.**
Step-by-Step Instructions
Alright, let’s get down to business. Follow these simple steps, and you’ll be in cheesecake heaven in no time.
- **Preheat & Prep:** Preheat your oven to 325°F (160°C). Line a regular muffin tin with two paper liners. If you only want one mini cheesecake, you can use a small ramekin instead!
- **Crust Me:** In a small bowl, combine your graham cracker crumbs, melted butter, and sugar. Mix ’em up until it looks like wet sand. Press this mixture firmly into the bottom of your two prepared muffin liners (or one ramekin). You can use the back of a spoon or your fingers.
- **Filling Frenzy:** In another small bowl, beat the softened cream cheese and sugar together until it’s super smooth and fluffy. Scrape down the sides of the bowl.
- **Egg-cellent Addition:** Add the egg yolk and vanilla extract to the cream cheese mixture. Beat again, just until combined. **Be careful not to overmix!** Too much air equals cracks later, and we’re aiming for smooth sailing.
- **Sour Power:** Gently fold in the sour cream or Greek yogurt until everything is beautifully incorporated.
- **Fill ‘Em Up:** Divide the cheesecake filling evenly over your crusts in the muffin liners (or pour it into your ramekin).
- **Bake, Baby, Bake:** Pop them into your preheated oven. Bake for about 15-20 minutes. They’re done when the edges look set, but the center still has a slight, adorable jiggle.
- **Chill Out:** Turn off the oven, crack the door slightly, and let your cheesecakes cool inside for about 15 minutes. This helps prevent cracking. Then, remove them from the oven, let them cool completely on a wire rack, and finally, transfer them to the fridge to chill for at least 1-2 hours. **Chilling is non-negotiable for that perfect firm texture.**
- **Top It Off (Optional but Highly Recommended):** Once chilled, peel off the liners and top your mini masterpieces with whatever your heart desires! Fresh berries, a drizzle of chocolate, whipped cream, lemon curd… the world is your oyster!
Common Mistakes to Avoid
We’re all human, we make mistakes. But let’s try to avoid these rookie errors, shall we?
- **Ignoring the “Softened Cream Cheese” Rule:** Seriously, this is probably the #1 culprit for lumpy cheesecake. **Don’t rush it!**
- **Overmixing the Filling:** When you beat the filling too much, you incorporate too much air. This air expands during baking and then collapses as it cools, leading to those annoying cracks. Mix just until combined, *obvi*.
- **Opening the Oven Door Like a Maniac:** Patience, young padawan. Sudden temperature changes are a cheesecake’s arch-nemesis, causing it to fall and crack.
- **Skipping the Chill Time:** I know, I know, you want to eat it NOW. But those precious hours in the fridge let the cheesecake firm up and reach its full, glorious potential. Don’t deprive it!
- **Thinking You Don’t Need Liners/Greasing:** Unless you enjoy chiseling your dessert out of the pan, use those liners or heavily grease your ramekin. Trust me.
Alternatives & Substitutions
Feeling adventurous? Or just working with what you’ve got? Here are some ideas:
- **Crust Variations:** Instead of graham crackers, try crushed Oreos (chocolate cheesecake heaven!), Biscoff cookies, vanilla wafers, or even shortbread. Each brings its own vibe!
- **Topping Galore:** Get creative! A simple dollop of whipped cream, a handful of fresh raspberries, a drizzle of store-bought caramel or chocolate sauce, a spoonful of cherry pie filling, or a slice of kiwi. The possibilities are endless.
- **Sour Cream Swap:** If you’re out of sour cream, plain full-fat Greek yogurt is an excellent substitute. It provides that essential tang and creaminess.
- **One Big Mini:** Don’t have a muffin tin? You can make one slightly larger mini cheesecake in a small oven-safe ramekin (around 4-6 oz capacity). Just adjust baking time slightly, it might need a few extra minutes.
FAQ (Frequently Asked Questions)
Got questions? I’ve got (casual, opinionated) answers!
- **Can I use low-fat cream cheese?** Well, technically yes, but why hurt your soul like that? It won’t be as rich, creamy, or set as well. **IMO, stick to full-fat for the best experience.** This is a treat, remember?
- **How long do these mini cheesecakes last?** In the fridge, covered, they’ll be good for about 3-4 days. But let’s be honest, they probably won’t survive the first evening.
- **Can I freeze them?** Absolutely! Without toppings, wrap each mini cheesecake individually in plastic wrap, then place them in an airtight container or freezer bag. They’ll last for about a month. Thaw them in the fridge when you’re ready for another treat.
- **My cheesecake cracked! What went wrong?** It’s usually a sign of over-baking or cooling too quickly. **Don’t panic!** That’s what toppings are for. Cover those cracks with berries or whipped cream, and no one will ever know your secret.
- **Do I *really* need a water bath for these small ones?** For this mini, small-batch recipe, thankfully, no! That’s part of what makes it so much easier and faster.
- **What if I don’t have vanilla extract?** It adds a lovely depth of flavor. If you absolutely have to skip it, a tiny pinch of lemon zest could offer a little brightness, but vanilla is truly king here.
- **Can I make these ahead of time?** **FYI, yes!** They’re actually better chilled overnight, so they’re perfect for prepping the day before.
Final Thoughts
See? You just whipped up a gourmet-level dessert without breaking a sweat, buying a springform pan, or having to deal with a whole entire cheesecake. You’re basically a culinary genius now, but way more relaxed. So go ahead, pat yourself on the back, and enjoy your little slice of creamy, dreamy perfection. You’ve earned it!


